ITGuy's 2003 Sierra 1500/2500 4x4 RCLB Build Thread

:themoreyouknow:

I don't like cheesy.. Or I could save a few hundred and pick another tire.
They have great review though.. heavy, built tough and great in dirt / gravel etc.
I guess the lettering is a patch vs. paint.

I think they would look outstanding on the methods either way.
 
Last edited:
Yeah I really like the tire itself, just not so much the red letters. Like you said though, they seem to be a great tire build/performance wise and you can always flip them. But if you flip them, buy some black tire markers cuz I hate it when you can see the colored letters still on the backside :rofl:

Sent from TapaTwat
 
I keep forgetting you guys like to be all fancy with your x10 and x12 wide wheels.

i've never had good luck in snow with MTs. They do alright but tend to loose traction was sooner then an AT.
 
I am going with the 20x10 Methods. They have a -24 offset [just like my Predators] and a 4.5" backspace.
The only other rim I had in mind were the chrome MM962's and they would be a 20x9 @ 0 offset or 20x12 @ -44 offset.

I have plenty of time to work this all out over next couple of weeks. So much to do before I even get around to a lift :security:
 
I will run my little steelies in the winter unless the lift prevents me from doing so. Otherwise, I will dip the rims for the winter or get another sh!tty set. I don't want them to corrode / pit again.
 
You need the 20x12 chrome moto metals, 6-7" lift and 35s will looks tits my man!

I personally do not care for methods because they are machined, and I'm not a fan of the look of raw machined wheels because it looks unfinished. Chrome or polished looks much better imo
 
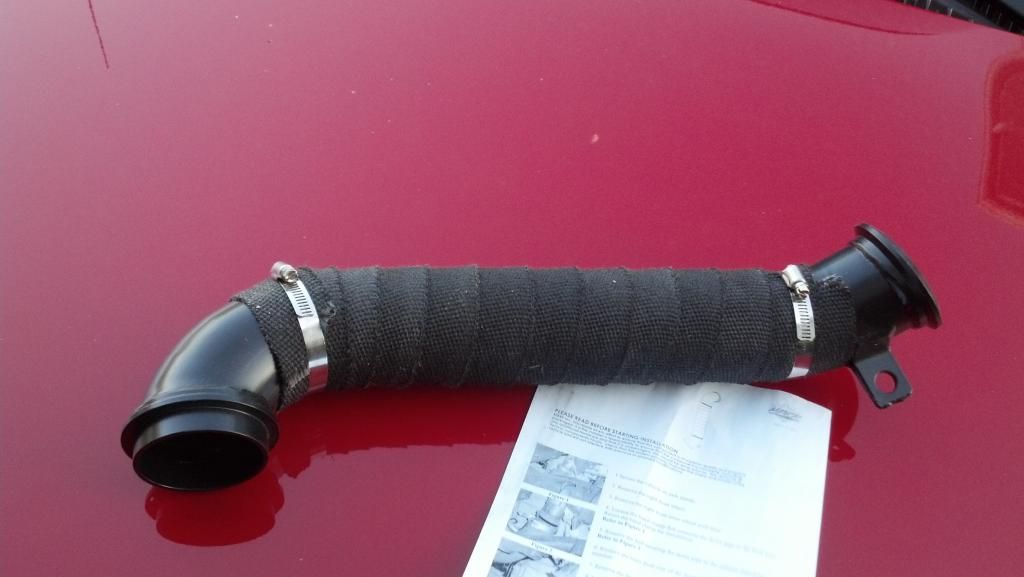
Got downpipe today. I might do my fender swap tomorrow and install downpipe while I have it apart.
Then I can move on and work on the hood. I probably won't be installing the exhaust until after it's painted.

IMG_20140606_194343_038_zpstdw2rgd0.jpg


You need the 20x12 chrome moto metals, 6-7" lift and 35s will looks tits my man!

I personally do not care for methods because they are machined, and I'm not a fan of the look of raw machined wheels because it looks unfinished. Chrome or polished looks much better imo

I will check a few posts on the MM962's quality. I am sure I can find some feedback from people. I just had a bad experience, and Aluminum just seems easier for em to care for.
 
Last edited:
Sunny day today. Sounds perfect for ripping sh!t apart. :happy:

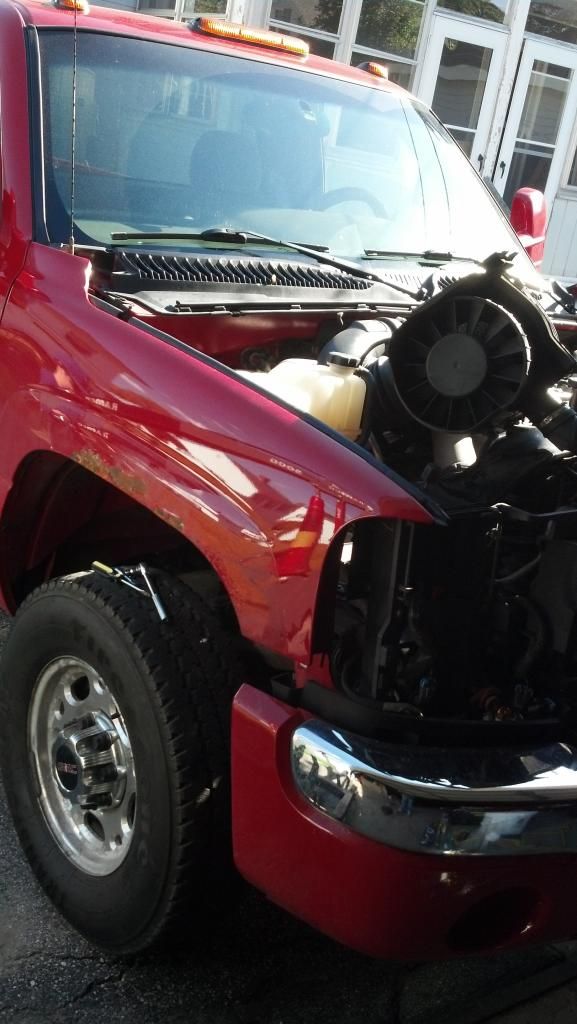
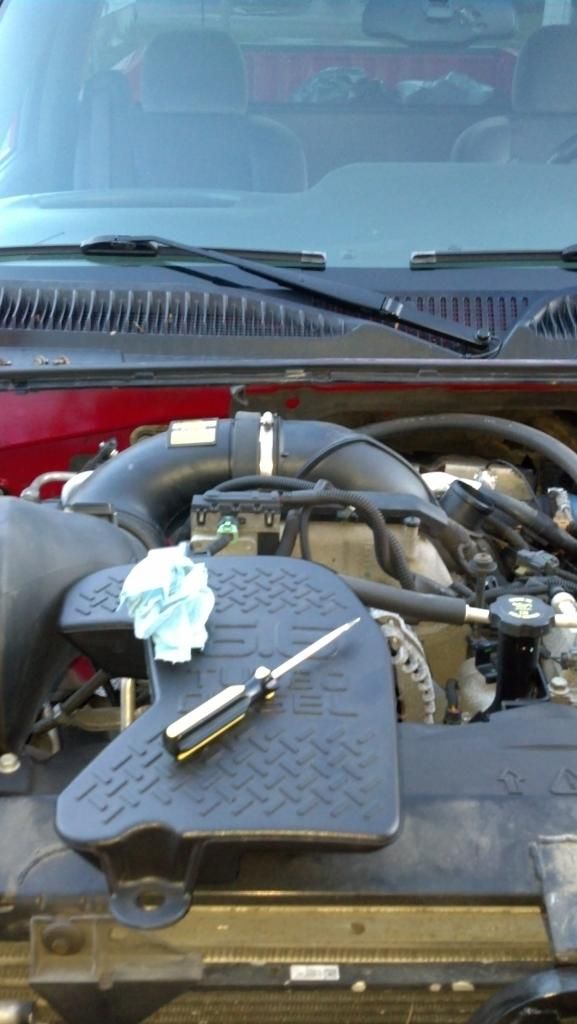
Time to remove the hood, front end, right fender etc.
IMG_20140607_165122_448_zps30poik9b.jpg


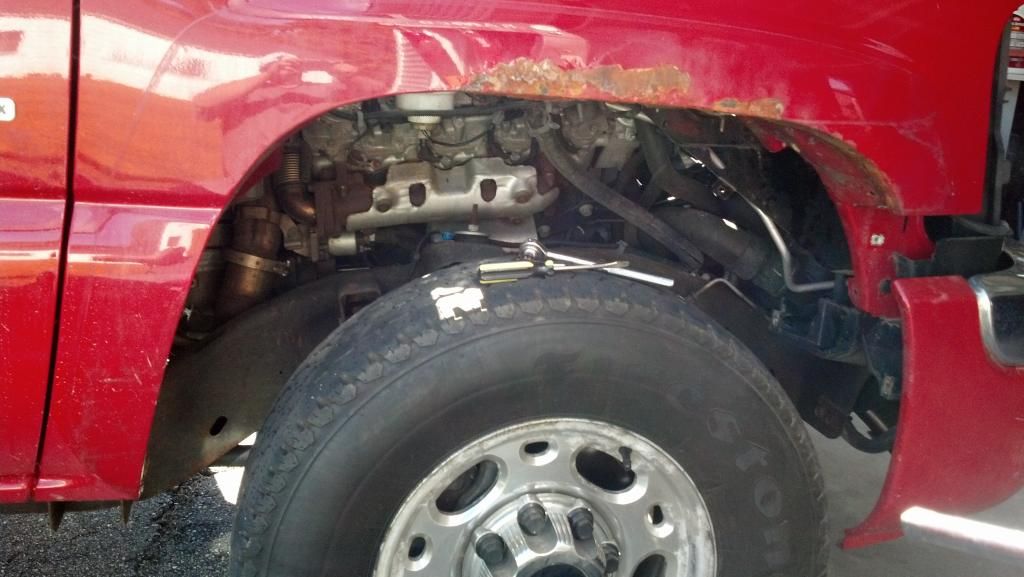
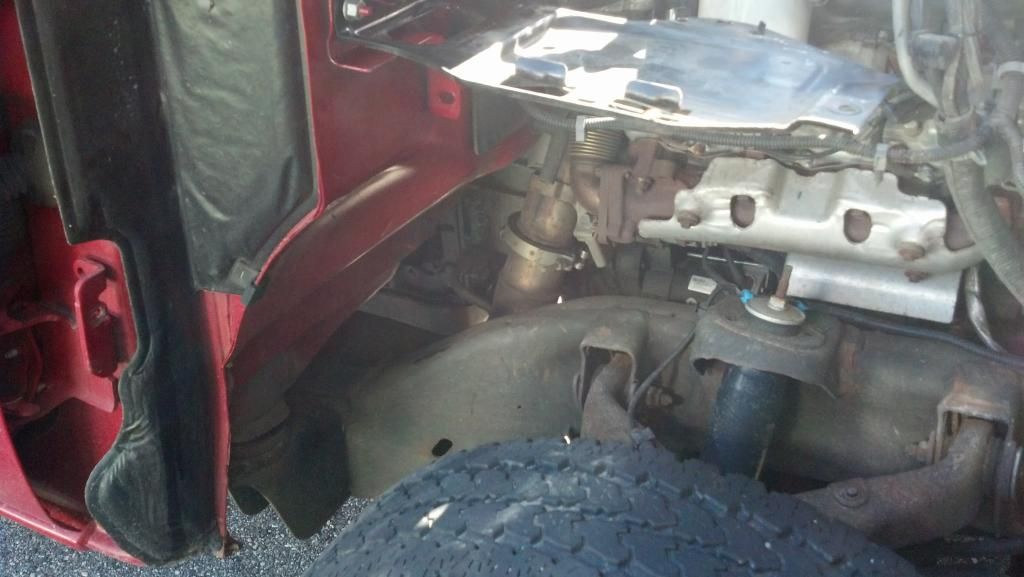
Swapping the fender from the 1500 takes care of this rust buildup where the flare used to be.
IMG_20140607_165147_000_zps0z4nbtgj.jpg


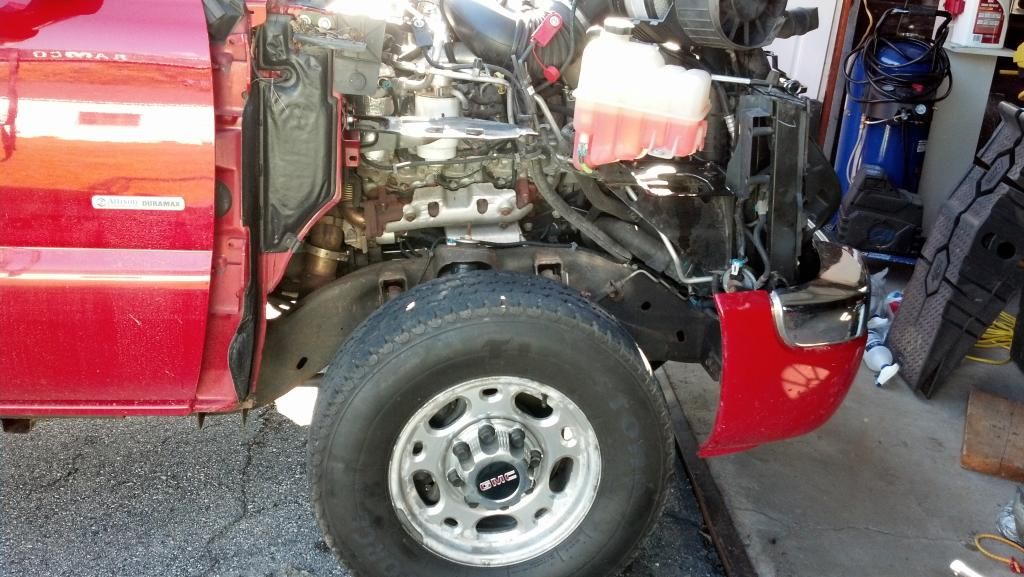
Very pleased to see how clean the engine bay and frame is. Hopefully it makes upcomming maintenance easier.
IMG_20140607_171919_885_zpsawr4aa5j.jpg


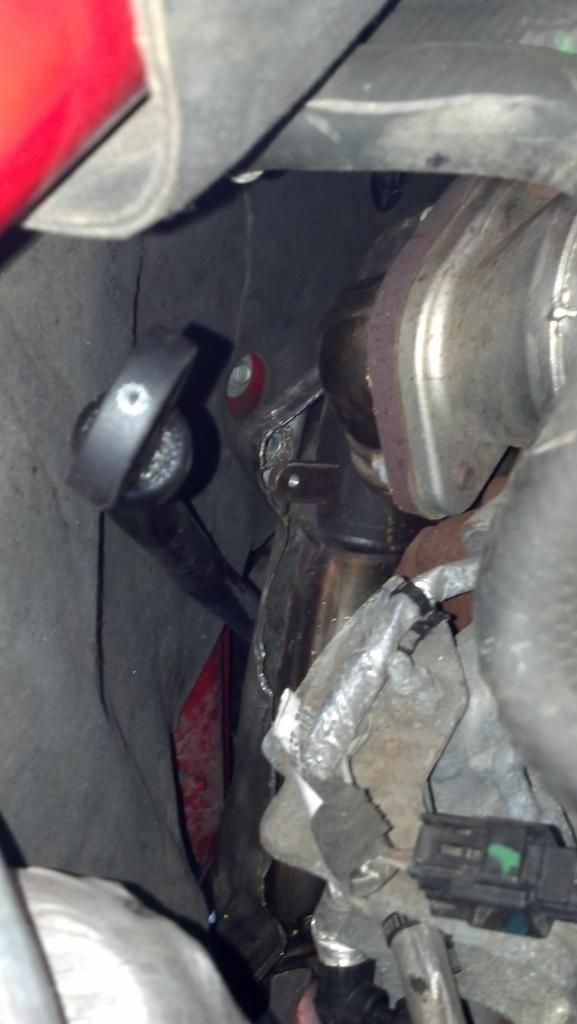
Spraying seals, nuts and bolts with Kroil (penetrating oil). Letting is sit for a while before I go wrenching on it. Good view of the Downpipe here.
IMG_20140607_171933_681_zpsbebogq2e.jpg
 
Last edited:
:jelly: of frame and clean engine bay !!! looks easy to get the down pipe that way for sure !!looks like you could throw a EGR block in there pretty easy IMO
 
Ran out of daylight...was going to use shop lights but the bugs... eating me alive.

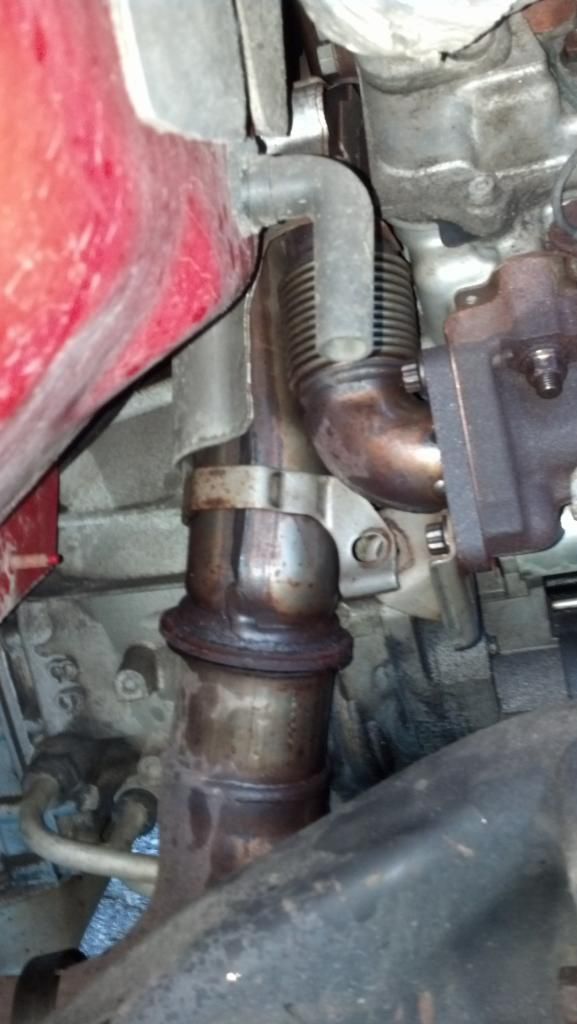
Removed clamp pretty easily after it soaked. I cut off the extra bolt with my dremel so I could get a socket on it.
Loosened it up and popped it off with a couple taps. Mounting bolt came out easily as well. I also loosened up the front pipe just behind the t-bar cross member. Made wiggling it around a bit easier. instructions say to fully remove it. We'll see.
IMG_20140607_200348_695_zpsvfu3ir8m.jpg


Making room to access heat shield in back.
IMG_20140607_201752_350_zpslqfiejfi.jpg


Heat shield unbolted. Futzed with it for a bit. Looks like top clamp is spun around to the bottom.
I'll get an early start on it in the morning.
IMG_20140607_201805_134_zpsddfpicvd.jpg
 
Yeah! The directions recommended removing passenger wheel and that it would be a tight space.
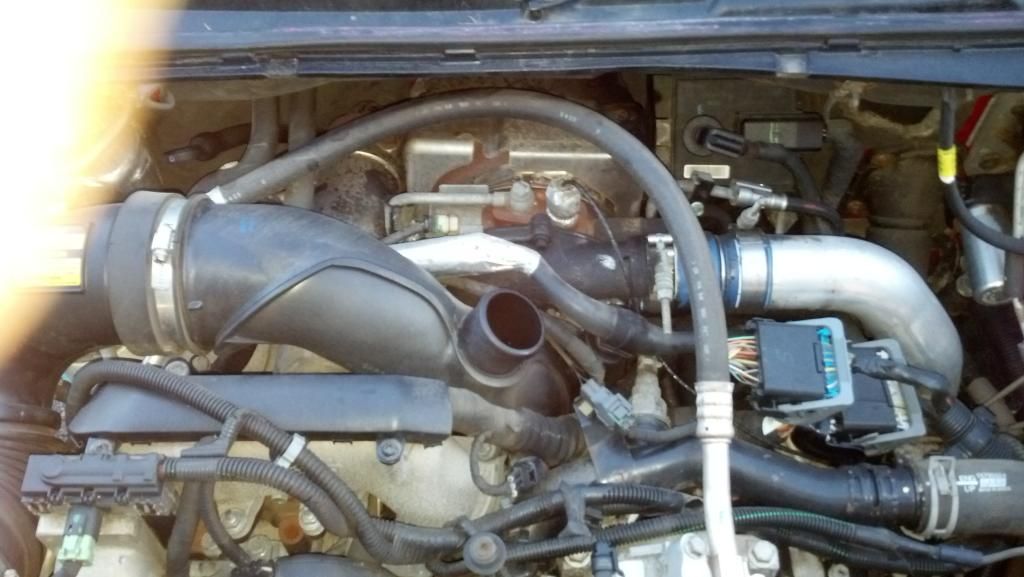
No fender + battery, intake, and Coolant overflow out of the way; makes for a lot more room.
I am glad I decided to install it while having it apart.

I'll cut the heat shield out tomorrow and may need to unbolt a few more things to get to the upper clamp.
Then remove the dipstick tube and with some luck, the old downpipe will come out with minimal hammering.
 
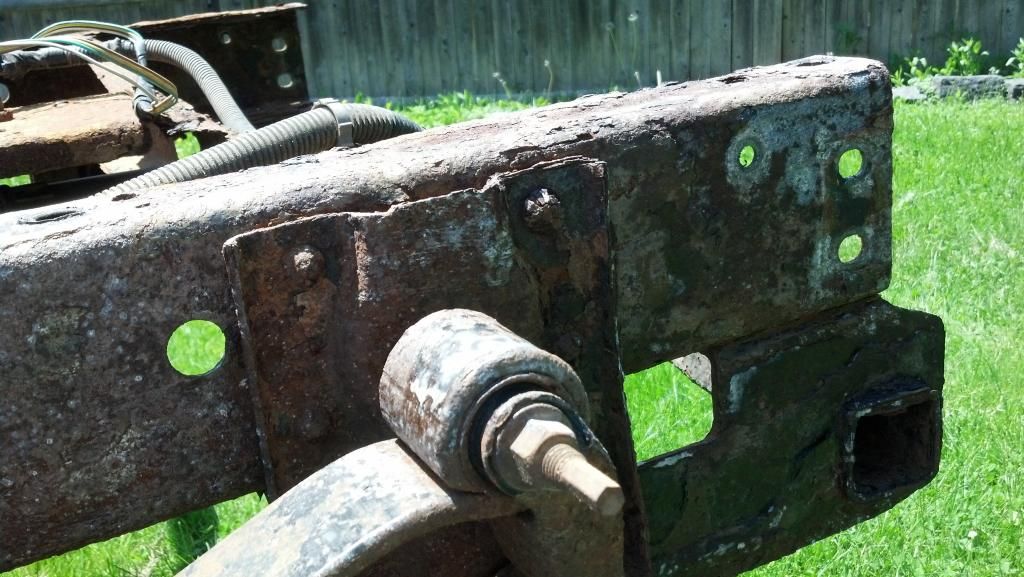
Rust "Randomness"
Slathered some naval jelly on the old frame, you can see it going to work.
I'll rinse it off tomorrow and have a look. Normally you would grind off the scale first.
IMG_20140608_131754_876_zpsxzf5l82x.jpg
 
Last edited:
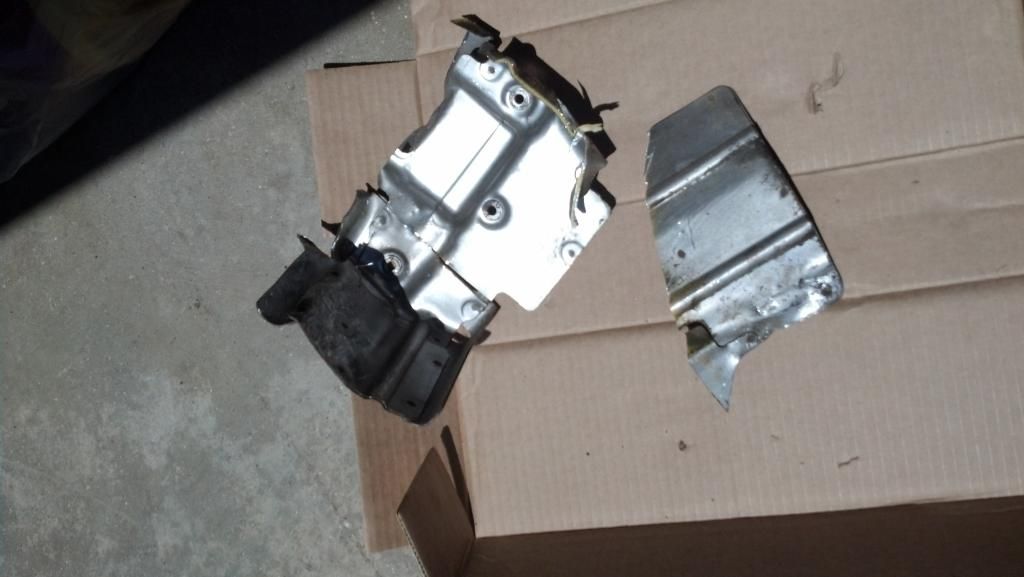
Heat shield + Sawzall = removed.
IMG_20140608_131821_441_zpsql8ksqtw.jpg


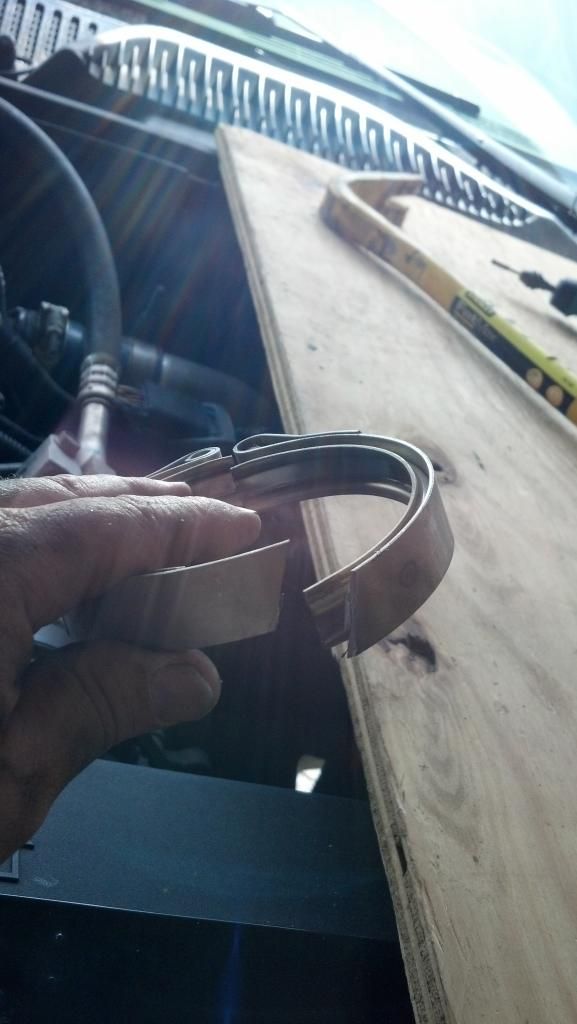
Had to cut this band off :down:, it was on the top of the pipe, upside down. Couldn't reach it.
Unfortunately now I need to order one.
IMG_20140608_140256_793_zpsk0c4hhxq.jpg


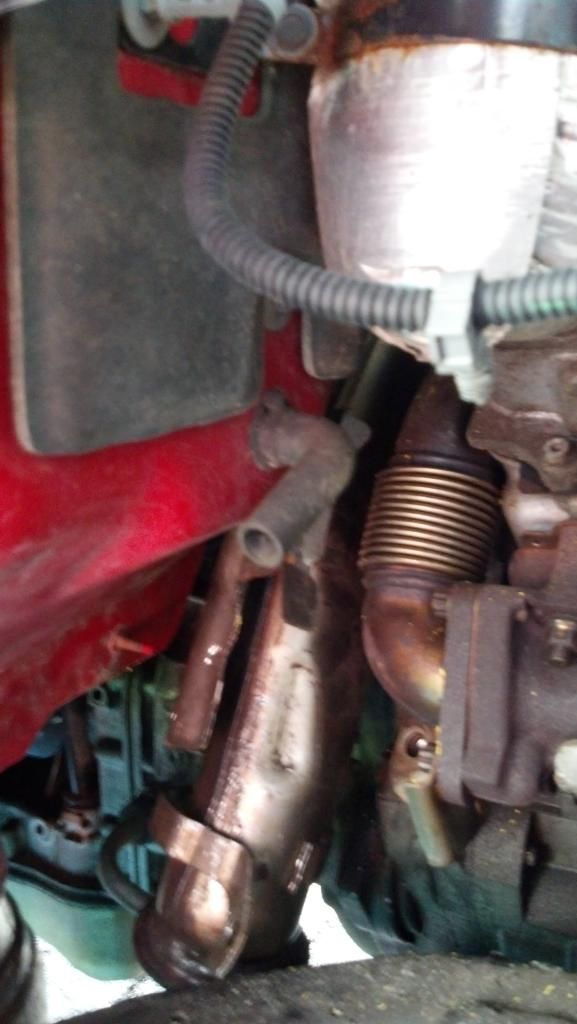
Popped the downpipe off at the top. Heat shield is still stuck on somehow.
IMG_20140608_152923_821_zpsfagxbtac.jpg


I'll go out and beat on it some more. Just taking a break. I did end up disconnecting the front pipe and rolling it out of the way. Next I'll remove the dipstick bracket.. it's probably preventing the downpipe from dropping out.
IMG_20140608_152942_454_zpszgrkjy0g.jpg


What a lengthy project.
 
Last edited: