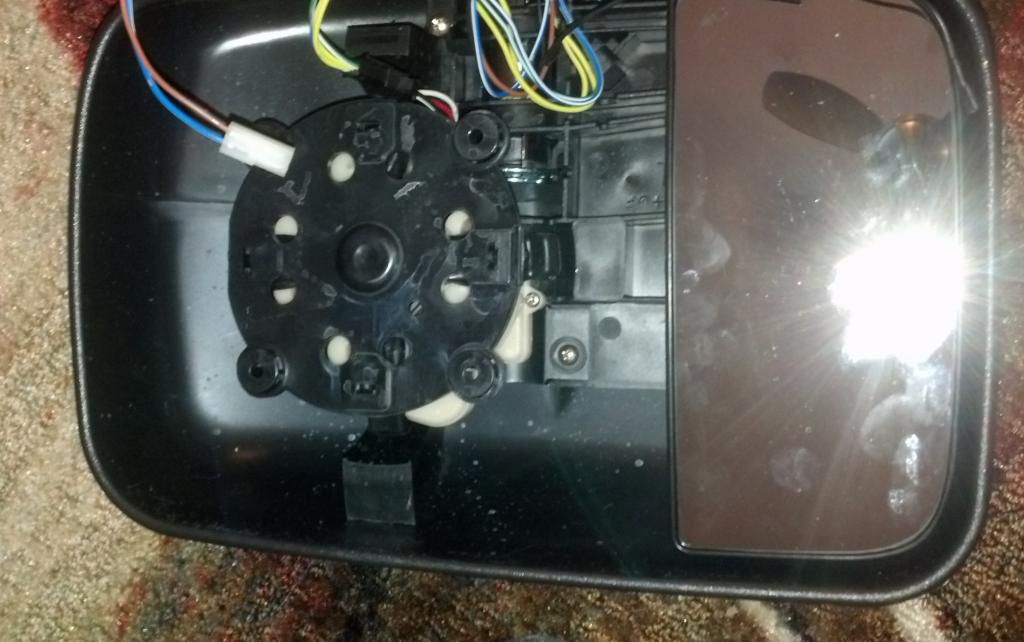
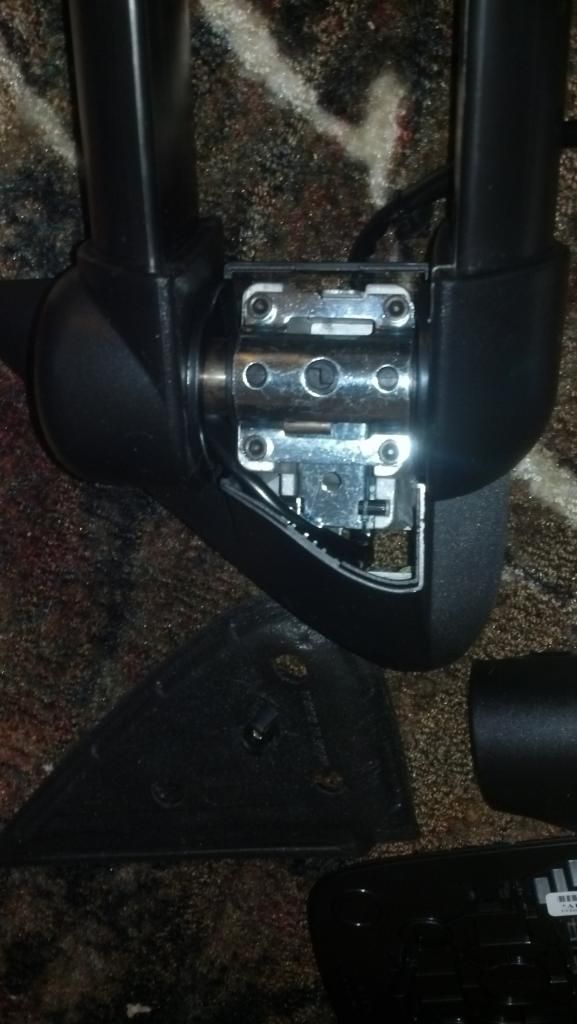
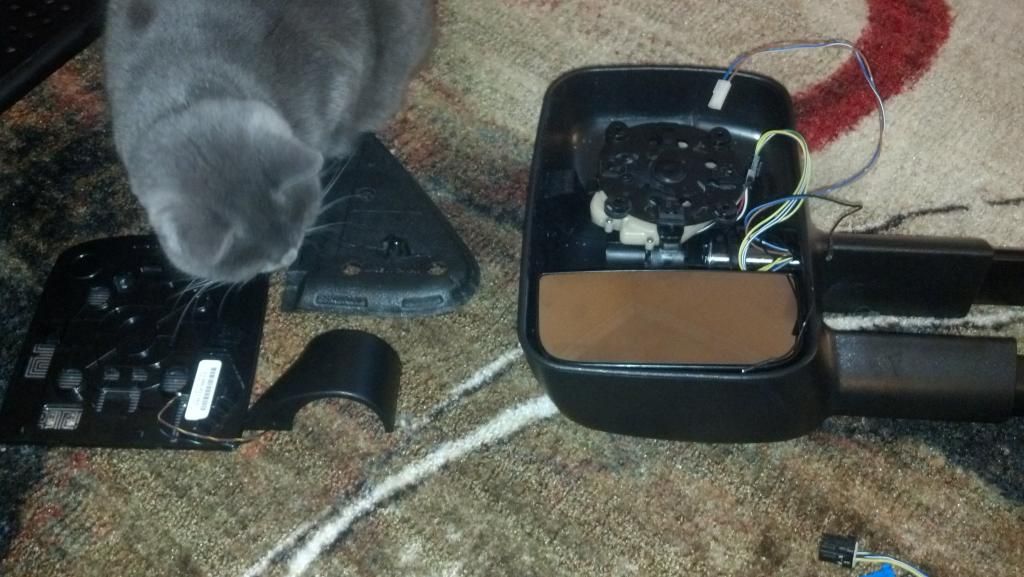
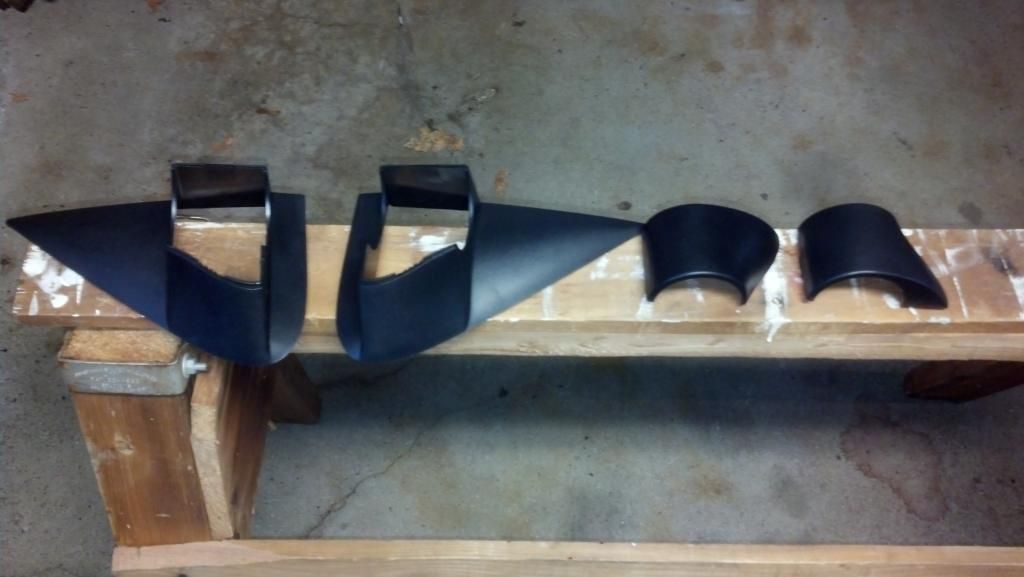
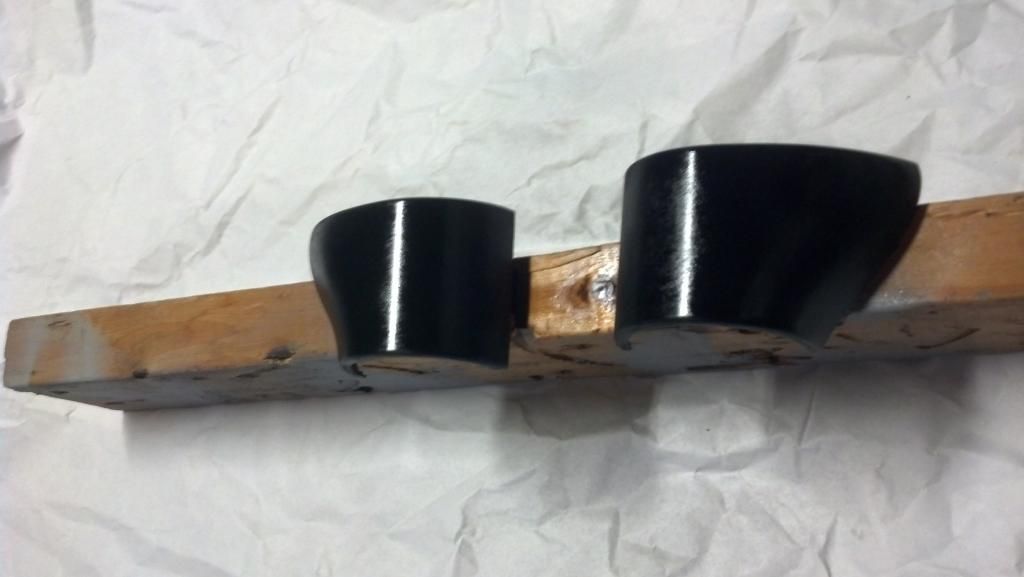
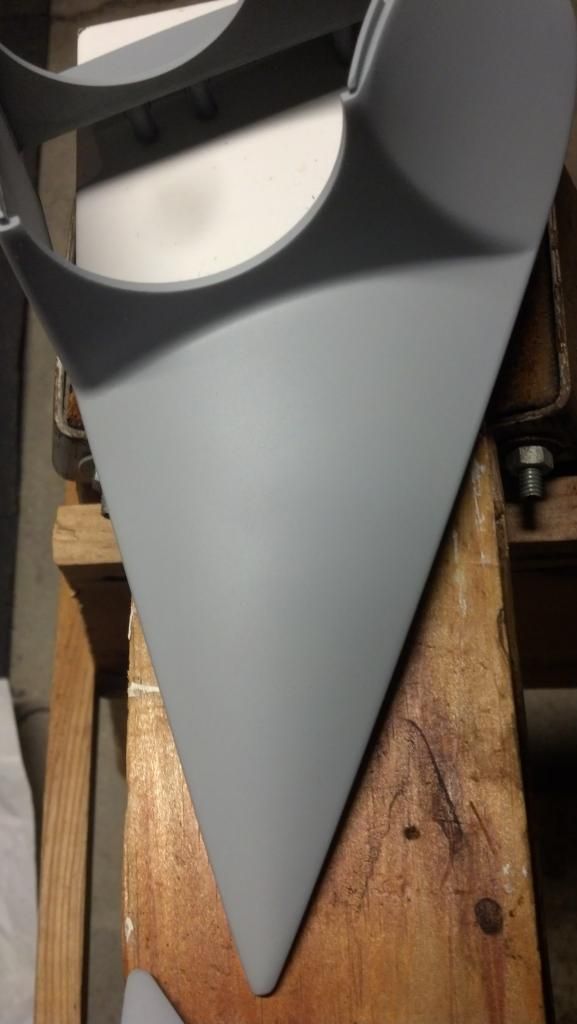
ITGuy's 2003 Sierra 1500/2500 4x4 RCLB Build Thread

Painting them here.

It's not cost effective to send away the parts to get painted..
especially the mirrors.. probably due to the prep labor.

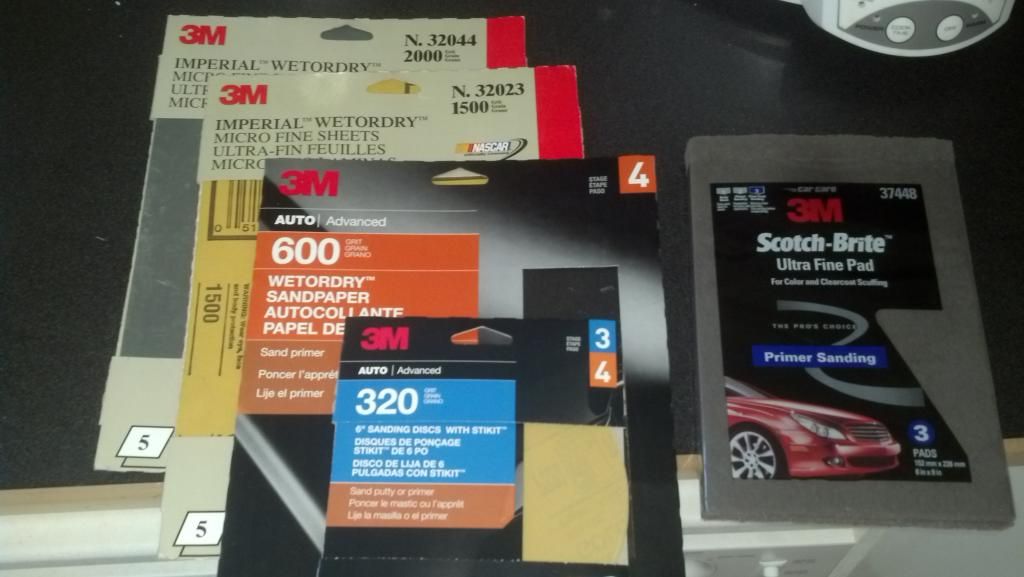
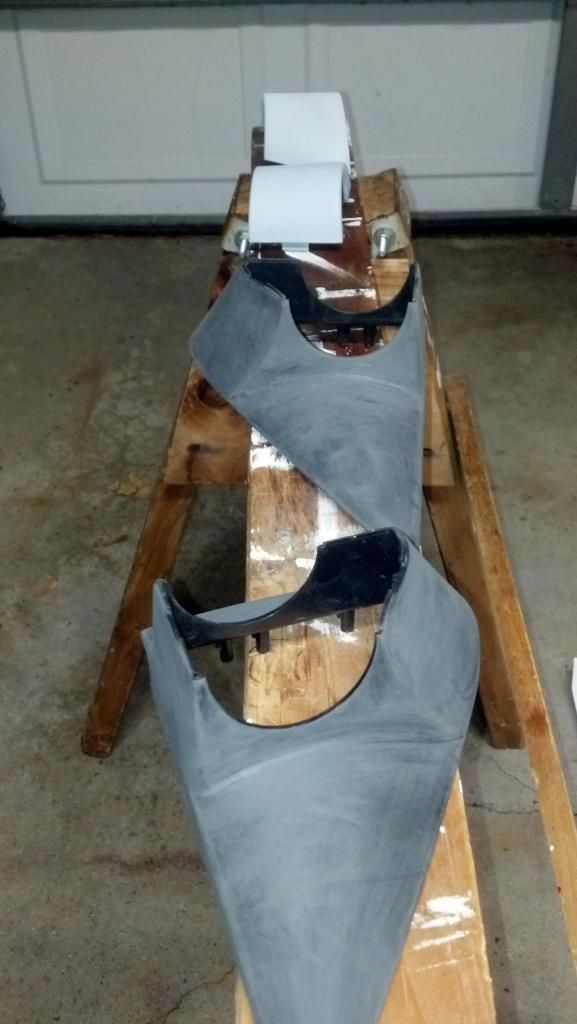
I am using a 220-320 grit to sand down the parts
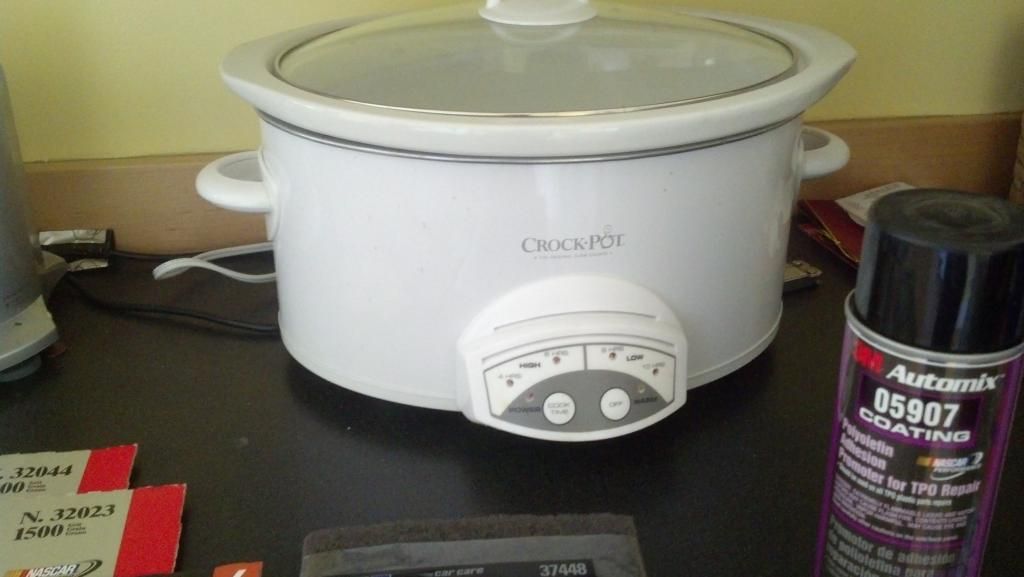
3M Adhesion promoter for plastics, (do NOT buy at NAPA.. I ran out and they ripped me off)
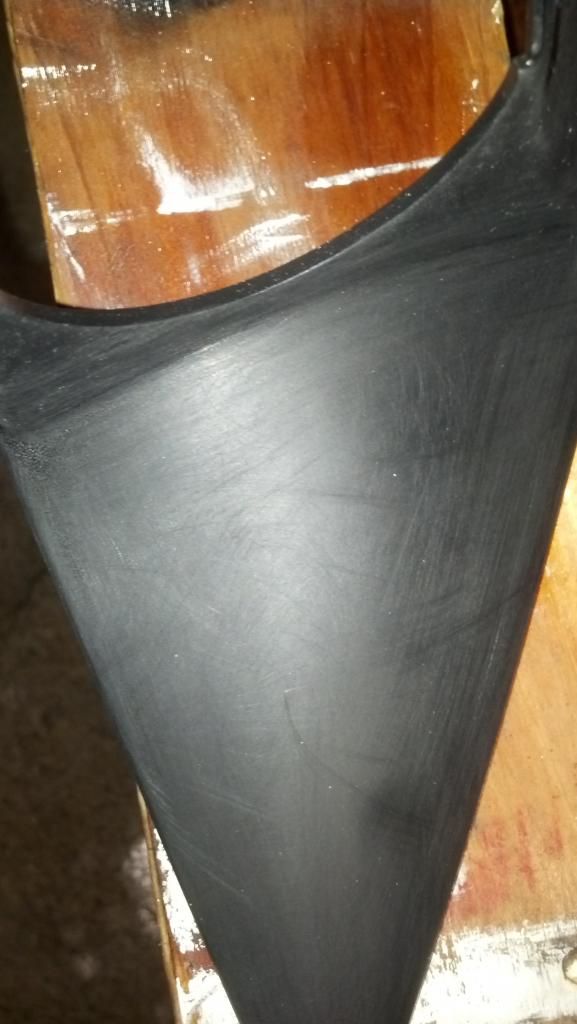
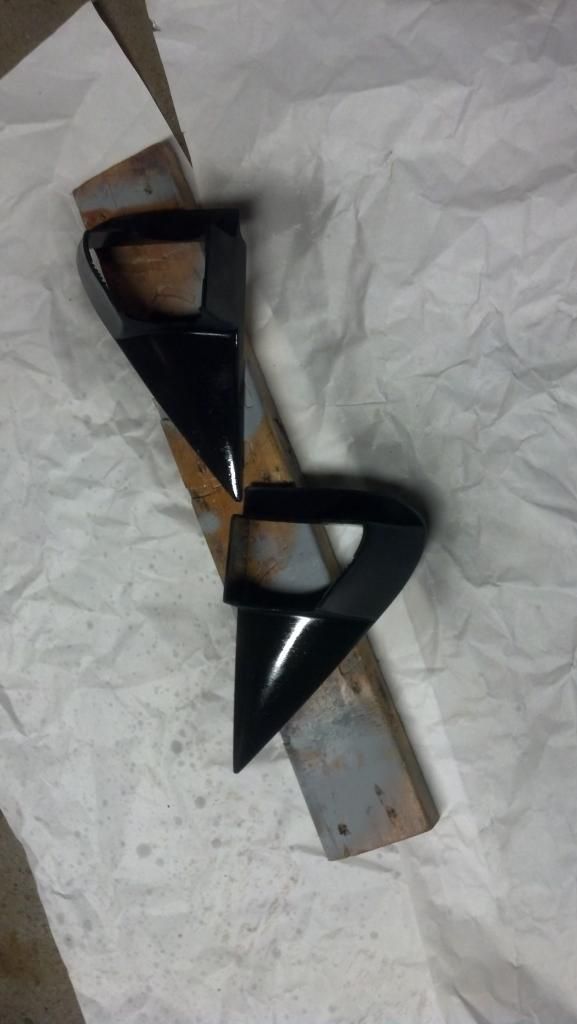
primer then 600 grit to smooth it out for 2-3 coats of paint then clear.

If you were local I'd shoot your parts for you marc. Most of the work is prep.
I'm no pro though.
 
Last edited:
Ok will post pics of the mirrors. I'll be hitting them with 320 at first..and then 220 if it's too slow.

Maybe I will prep and paint my stock ones for practice and get the right finish.
 
Last edited:
taking mirrors apart. Not sure about painting the slides.. pretty tight fit already.
The rest of it comes apart and I can sand / paint the pieces individually.

Top Mirror removed by popping the clip on the bottom.
20_zps60f62a21.jpg


Unscrewing the mount frees up the cover, and another clip can be popped to expose the bracket.
21_zpscd15aebf.jpg


This little guy is how I get things done so fast (primarily from fear of parts going missing...)
22_zpse14f0821.jpg


Sanding and tape in the morning.
 
Do you wet sand at all? Or do you use a 1500-2000 grit on the finish with buffing?
that can really bring out that shine you are looking for. I usually end up with some 'orange peel'
and end up sanding way more than a person who is skilled lol.

Here's a few of the items I use. For the mirrors I will probably need 220 or 180 since they are harder than the bumper.
The crock pot on the right was not used.

23_zpsc694baa7.jpg
 
Last edited:
Thanks for the encouragement. I realize most guys here have some pretty amazing rigs so I appreciate it.

I do regret not finish painting the brackets and mounts. I removed them from the truck again.
I'll spray them with a few topcoats tomorrow so they will last longer, then put it all back together again.

I was looking over the fog mount installation but looks pretty straight forward.
I'll probably just run the wires into the engine bay until I have more time to do a nice finished install.

All apart again.
notagain_zps0302fc31.jpg
 
i sanded with like a 220 grit and then sanded with a 320 i think but as soon i put primer on i noticed all these little hairs sticking up and then id sand it again ... but i dono im not patient enough i guess
 
A few shots. Getting a lot done today. I know.. dirty front bumper - it will get a bath when I am through.

Brackets with a few topcoats to protect from elements. Ready to re-install.
24_zpsb45cd7dc.jpg


220 Grit is great. Just rough them up, doesn't have to be perfect.
Clean them and make another pass if it doesn't look smooth enough.

First pieces
25_zps1d19c301.jpg


I'll clean these and make another pass over them (by hand) with 220
26_zps95a2ffbc.jpg


Cleaned and then sprayed with adhesion promoter. Single pass / 1 coat. Ready in 10 min or so.
27_zpsd973ec66.jpg


I'll then hit them with my primer and let them dry so I can sand. I'll use my 320 to sand.
Another light coat and then hit it with the 600 grit before painting. (I hope)
Headed back out...
 
A few more. I am sure there are plenty of "how to" threads on painting so I won't bore you.

ready to be cleaned.
28_zpsd56907d1.jpg


Close up of surface after 220 grit.
30_zps94497380.jpg


and adhesion promoter (I spray them suspended to get all of the edges)
The surface will appear a little bumpy etc but it dries in about 10 min.
32_zpse6c6bbd3.jpg


Ok I will finish doing this same process to all the parts.
Then go back over all parts sanding again 600 grit or 3M scotch pad. Depends on how they look.

Hope to have everything close to painting by tomorrow. Taking longer than I would like.
I prefer big flat surfaces.
 
Not much do here. A single pass of 600 grit should work.
34_zpse557698a.jpg


This one will need a little bit of work. You can see a little particle in the middle.
Nothing a little more sanding can't fix.
35_zpsaf6094b3.jpg


This one is good too. Pic doesn't help much..
33_zps80562d5a.jpg


Off to sanding the other components to prep for primer.
 
Yes I think you are right. I'm a novice, but I find it easier to lay down rows in an even distribution. I imagine you can achieve similar results with aerosol, especially on small panels but would require more sanding and finishing work. Spraying with compressor requires less time.

For primer - I use whatever I have, a 2in1 aerosol in this case. I am not so picky as long as I can sand / wet sand it.

Although I will say I spent quite a while sanding last night.. probably over 2-3 hours?
Maybe I am slow. I will recommend anyone doing this that maybe a 180 grit would be better.
I hand sanded it.. no orbital. I was afraid of it taking off too much.

I will spray bomb my old mirrors afterwards, I bet I can get them looking pretty good! They are smaller and easier to sand.
 
Last edited: