BARBER's 2003 Chevy LB7 Duramax

Tonights progress consisted of working under the hood. This turbo kit is a slight pain since this one was completely custom made and I'm slowly piecing together and figuring out how it goes together. A little more involved than "bolting" it on. Anyways got the turbo mocked up and start working on the intake horn and the Y bridge.

IMG_20141212_240911_850_zpstxmcycnc.jpg


The Y bridge
IMG_20141212_240940_498_zpsin7vrbax.jpg


My mess
IMG_20141212_241002_364_zpseu3fclh8.jpg
 
Tranny is in! Just need to get the convertor bolts in is all. Got new hydraulic hoses made up to match the factory cooler lines today. Also picked up the new wheels and tires today too.

IMG_20141212_190158_888_zps4ufnsjem.jpg


IMG_20141213_010034_198_zpszzjymr08.jpg
 
No, they were chewed up by the gravel from myself and my buddy who had them before me. I hate any rim that has a large center cap covering the lugnuts and they were hard to wash the mud out of. That are tires are a hell of a lot cheaper for 17s than they are for 20s.
 
Those are a really nice looking wheel I think. And my cousins all run those pro comp tires and love them
 
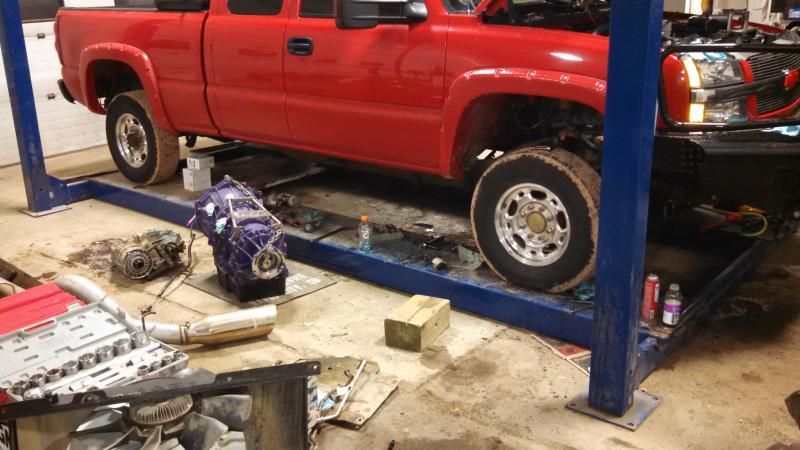
Update...things are coming together slowly. I swear I keep hitting small "bumps in the road" and am tired of making trips to town after parts, bolts, and shit. I'm ready for this red-headed bastard to be done. Anyways, the tranny is in and about done. Found out the torque convertor bolts are for the stock flexplate, so I'll need to buy some longer bolts the next time I am in town. Sunday I got all of my cluster, switches, panels all back in after the LED swap. Everything looks good, except I only had one battery hooked up and my drivers side window wouldn't roll up and the switches on the left side of the dash were dim. The kid told me I need to have my second battery hooked up. So we will see once that battery is relocated and hooked up soon. In which, I got some 2/0 cable and ends to relocate the battery to the bed as opposed to mounting in down on the passenger side frame rail.

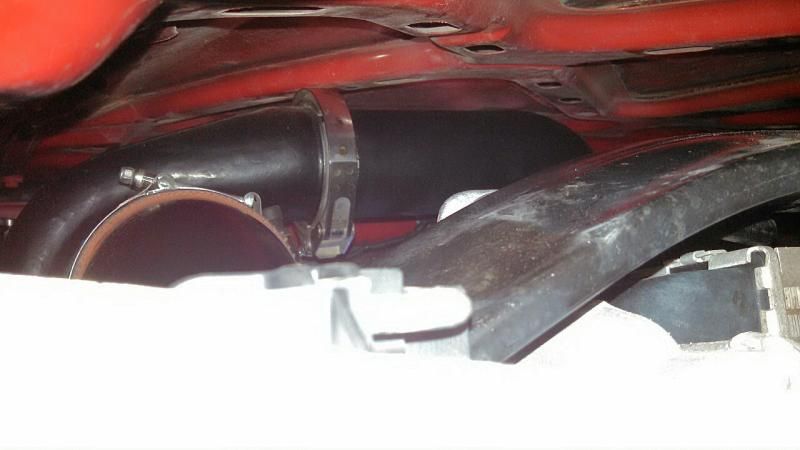
Last night, I got the aftermarket tranny cooler mounted, transmission lines routed, got the back half of the new 5in. exhaust route and mounted loosely. I'll need to take a small section about 10 inches long, expanded on either end to hook up to the downpipe. I won't be able to get my pickup into the shop the Monday after Christmas...the 29th. Since the one guy will be gone this coming week. FML...I was hoping to have it in the end of this week. Oh well.

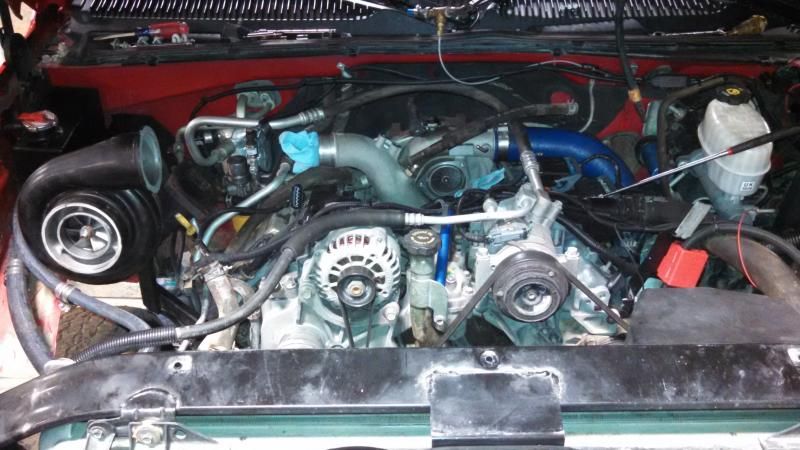
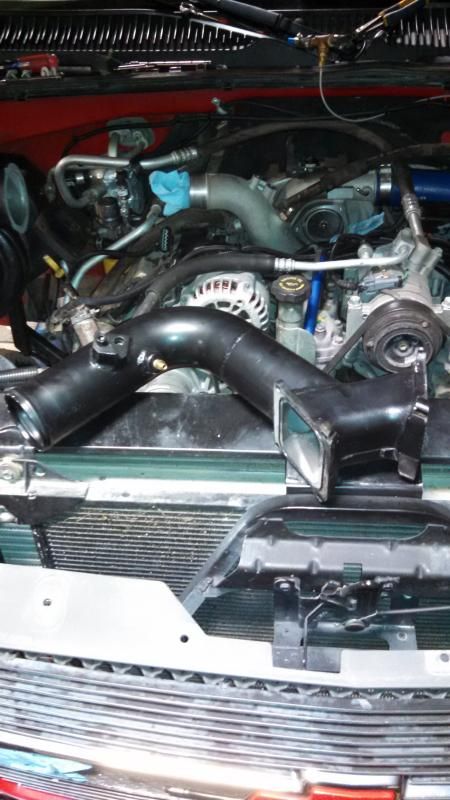
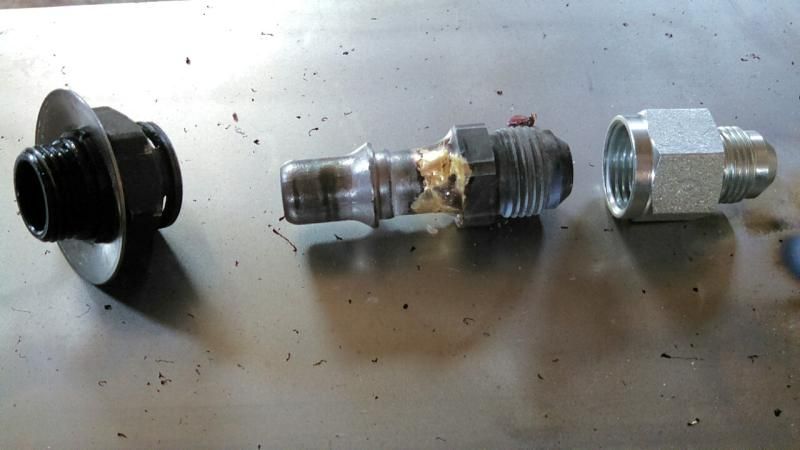
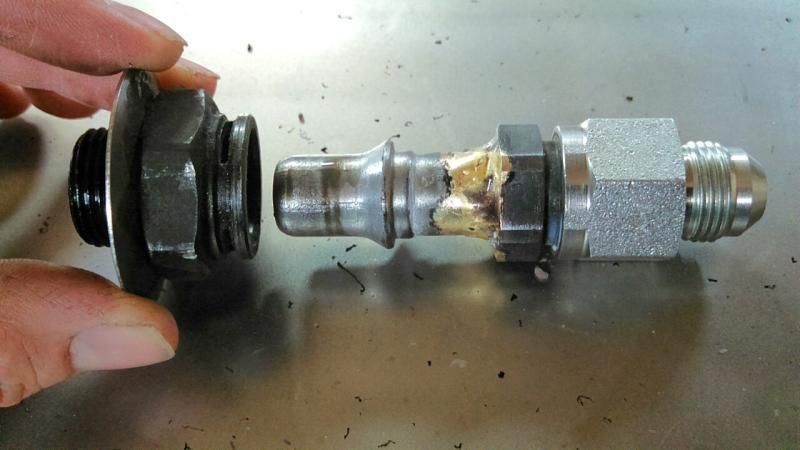
Ran into some issues with the trans cooler fittings that go into the radiator. They have this large retaining ring that holds either a tank or something that is inside the radiator itself. So those will need to stay. Now the cooler lines, I pulled and had 1/2in. hydraulic hoses made up with JIC fittings on all the ends. They don't make a fitting (that I know of) that mimics the factory push-lock style ends. So tonight, me and a friend brazed some fittings up that will work.

Pictures do all the explaining...

IMG_20141216_200331_zps1frjq2qa.jpg


IMG_20141216_200420_zpspthym0nc.jpg


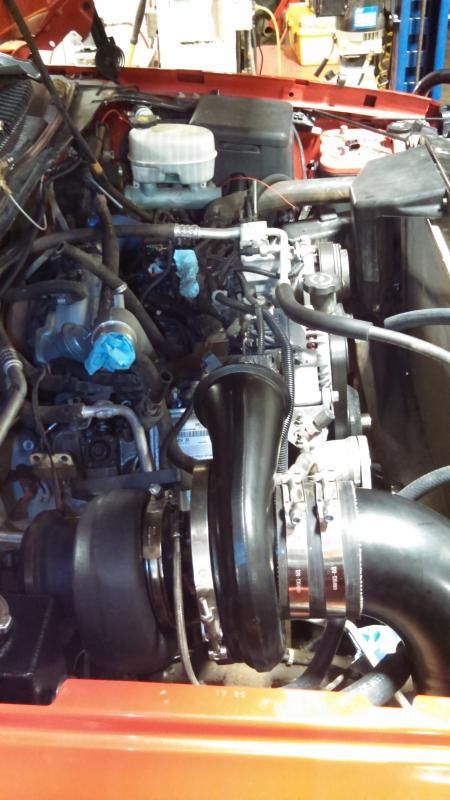
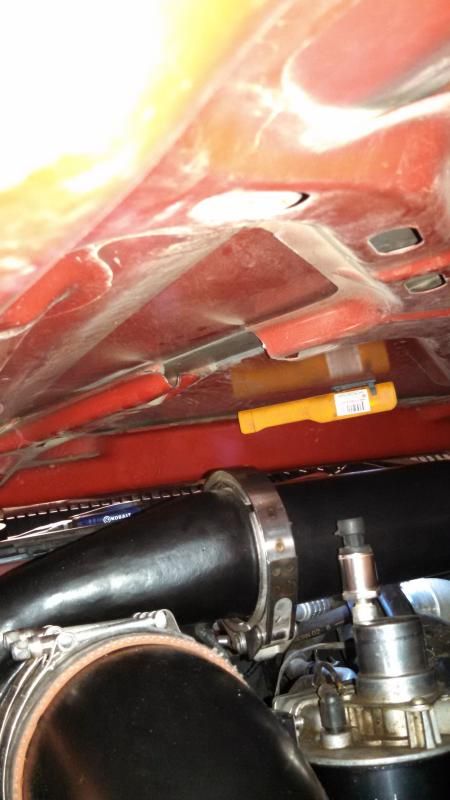
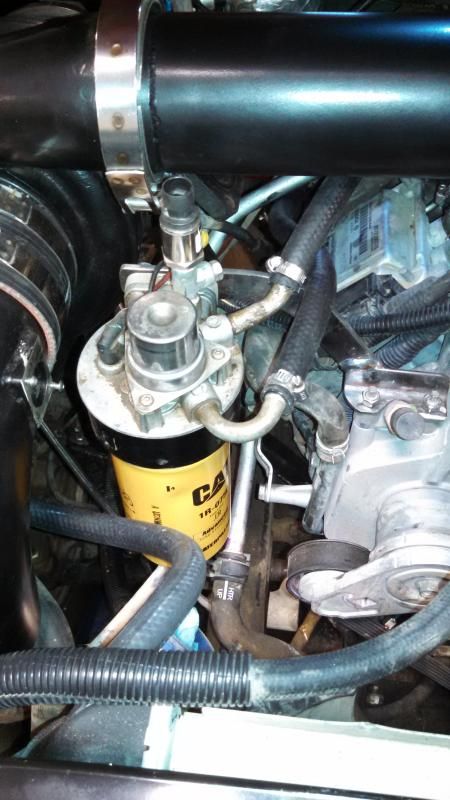
Within the next few days, I'll get some convertor bolts and get those in and torqued down, relocate the battery to the front bed corner, I need to make a bracket to relocate the factory fuel filter head and run some new fuel lines to connect it again, finish the transmission cooler lines, get the turbo down pipe on and routed and hooked up to the new exhaust. Then there will be some small things to button up as well and the shop will fab up a new hot pipe piece coming out of the turbo, and will have them install the Y bridge and hook up one intercooler tube, and I may have them drill and tap a hole for the turbo drain line.
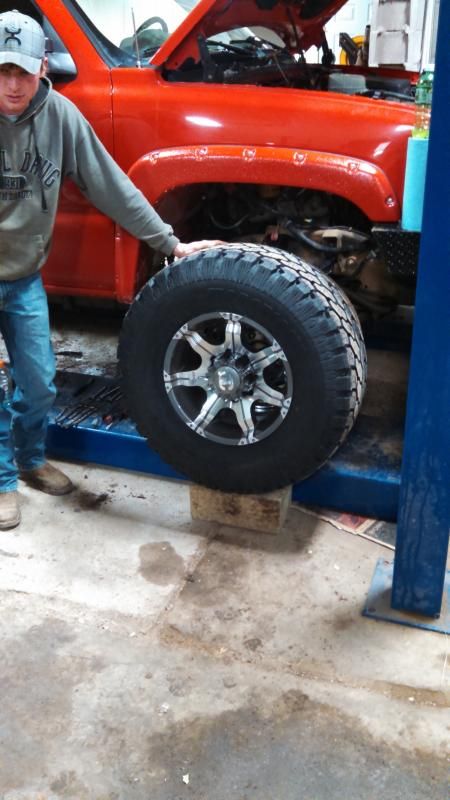
More pictures...

IMG_20141214_214325_496_zpspszz6mhb.jpg


IMG_20141214_212043_547_zps023tcqax.jpg


IMG_20141214_211955_509_zps0fgrxlgo.jpg


- - - - - - - - - -auto merged double post- - - - - - - - - -

Guy on DuramaxDiesels.com forum informed me that Alligator Performance has threaded fittings to replace the push to lock fittings that go into the radiator. Calling them first thing in the morning to see if thats true and if I can get some! I know the brazed fittings look a bit shady.....
 
More bad news....


....my hood won't close shut.

IMG_20141218_192801_zpstnw1kwll.jpg


Got ahold of the guy who built this kit and they never did any cutting on the previous owners hood. Same year. Factory hood.

Mine got hailed on in the past, I pulled the hood insulation off and I am almost positive I have an aftermarket hood on mine.

Solution....hack the bracing up on mine and save up for a 07 hood/clip swap.
 
well that sucks...cut hole in hood #causeracetruck :slorg:

i was looking at a used twin kit that just adds a turbo, but now i know i should stay away from custom made kits.
 
well that sucks...cut hole in hood #causeracetruck :slorg:

i was looking at a used twin kit that just adds a turbo, but now i know i should stay away from custom made kits.

Most twin turbo kits re use your stock one to feed the new bigger one homie g willikens doggy dog


Sent in limp mode.
 
Most twin turbo kits re use your stock one to feed the new bigger one homie g willikens doggy dog


Sent in limp mode.

but some dont home boy

- - - - - - - - - -auto merged double post- - - - - - - - - -

also i heard if you run twins it can help a lot to put a batmo wheel in your stock turbo to get a few more psi...but i really doubt barber is looking for more psi on a stock head and bottom end so nvm
 
I need to mount up the turbo horn and see what clearance issues are there, if any. I'm betting I'll have to take my Dremmel tool and start cutting a section of the bracing out from under the hood. I could loosen the clamp for the compressor housing on the s475 an clock it down some but I don't that will be necessary because I'm sure that was never messed with when the previous owner took it off of his truck.

- - - - - - - - - -auto merged double post- - - - - - - - - -

In other news, I got a bracket made to relocate my filter head. The cooler fittings that go in the radiator, I was able to get those from Deviant Race Parts the other day. $150 plus two day shipping made for $171. Jar of Vaseline included.....those are supposed to show up today.
 
A little more progress tonight. I cut a section out of the hood bracing and the hood shuts all the way now. Something I didn't want to do but had to. I could clock the compressor housing down but without having the Y bridge and turbo horn on I won't know it that will be necessary or not.

Got the filter head re located, lines hooked up and only had to extend the wires for my fuel pressure gauge sender. It will be much nicer changing filters down the road.

Also got the cables ran back and up to the toolbox to re locate the battery back there. Ground was ran down to a bed bolt on the frame. I'll make a battery tray to fit inside the toolbox later on.

IMG_20141219_192910_920_zps5eh9caez.jpg


IMG_20141219_192841_150_zpsza2yoezh.jpg


IMG_20141219_192756_226_zpst6kc90js.jpg
 
Thanks guys. I'll spray the cut area with some high temp paint and put the hood insulation back on and it won't be very noticeable.

Getting the torque convertor bolts in, drill and tap the turbo drain line, starter, downpipe, fan and fan shroud. Build a battery tray in the toolbox. Check fluids. Those are some of the remaining major things to do, then it will go in on the 29th.