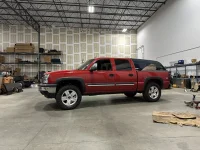
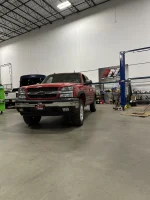
Huck's new daily - Victory Red '05 CCSSB
- Thread starter Huck
- Start date
You are using an out of date browser. It may not display this or other websites correctly.
You should upgrade or use an alternative browser.
You should upgrade or use an alternative browser.
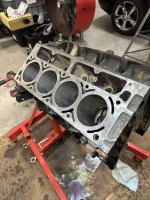
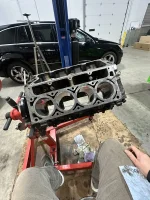
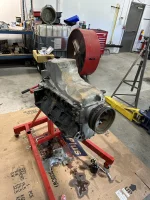
So then Saturday I cleaned the block real good one more time and changed out my floor diaper in prep for assembly
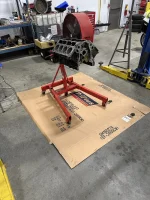
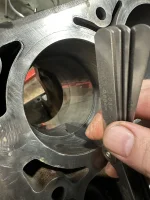
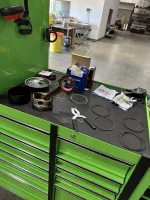
Lubed the main bearings, dropped the crank in, lubed and installed the main caps and torqued everything to spec. The started installing the piston rings and sliding each rod/piston into their hole
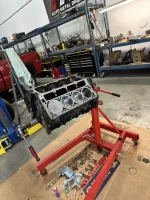
Then picked it back up with the hoist to do the barbell and rear main plate
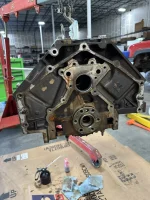
Don't worry, I only stabbed myself 3 times lol
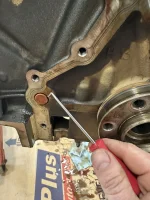

Lubed the main bearings, dropped the crank in, lubed and installed the main caps and torqued everything to spec. The started installing the piston rings and sliding each rod/piston into their hole


Then picked it back up with the hoist to do the barbell and rear main plate

Don't worry, I only stabbed myself 3 times lol

The old o-ring was definitely flat
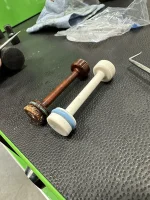
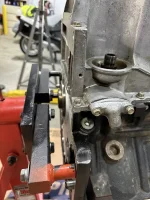
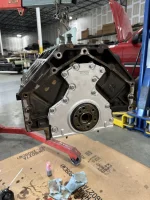
Rear plate on loosely
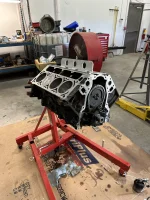
Lubed and slid the cam in. Installed the retainer plate, cam gear and chain, torqued it all down, installed the oil pump and lubed it all real good.
Had a dinner date with some friends and the GF so celebrated a good day with some Mexican and a big XX Lager

Rear plate on loosely

Lubed and slid the cam in. Installed the retainer plate, cam gear and chain, torqued it all down, installed the oil pump and lubed it all real good.

Had a dinner date with some friends and the GF so celebrated a good day with some Mexican and a big XX Lager

So Sunday I turned the motor over to install the windage tray and pickup tube with a fresh o-ring
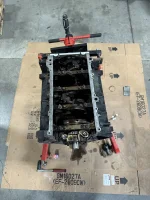
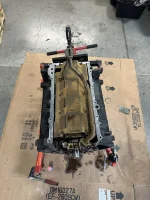
Then slid the front cover on loosely, reinstalled the balancer and then rotated the crank 2 revolutions to help the front and rear covers find their natural alignment. Then made small adjustments to get them within spec with a straight edge, no more than .020" drop from the oil pan rails to the covers
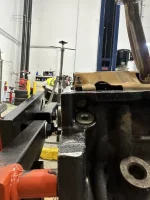
Then did a light coat of black RTV on all the gasket surfaces and laid the gasket down
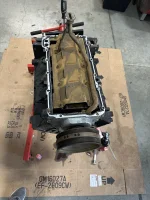
And did the same on the pan
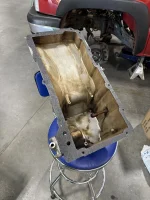


Then slid the front cover on loosely, reinstalled the balancer and then rotated the crank 2 revolutions to help the front and rear covers find their natural alignment. Then made small adjustments to get them within spec with a straight edge, no more than .020" drop from the oil pan rails to the covers

Then did a light coat of black RTV on all the gasket surfaces and laid the gasket down

And did the same on the pan

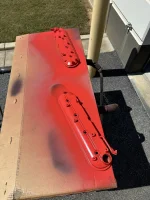
Did the VCs too of course
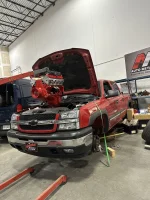
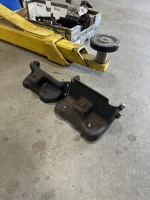
So while those were drying, I pulled the driver's frame side of the engine mount out. 2 of the bolts had broken off when I was trying to get the motor out so my buddy brought me the ones that were attached to his donor 5.3 he picked up to go in his OBS. Wouldn't ya know, an L59 in an SUV has a different mount than an LM7 in a truck. Phooey
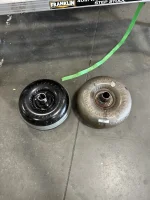
Then got the stock converter out of the trans and brought the Circle D 2800-3000 down to top it up and get it in
So at this point, I had pulled the motor inside, pulled the lifters out of their oil bath, installed them in their trays and slid them all in the motor. As I was finishing that, the guy that was gonna buy my C10's camper shell showed up. That MF'r stayed for 2.5hr fucking hours, he would not leave. Finally, he pays me and gets out of my hair. I'm now 2hrs later being here than I'd planned and I wanted to have the heads on at least. So I grab a head gasket and a head, throw them on the pass side and go through the WHOLE torque sequence with the GM bolts.
Get done, walk over to the driver's side to wipe it down and do it. That's when I see it....THE FUCKING LIFTER TRAY BOLTS AREN'T THERE. I FORGOT THEM. FUCKKKKKKKKKKK. I was so fucking pissed, throwing tools and shit. Had to take a walk. I come back, get my impact and pull the head off and just leave it on the table.
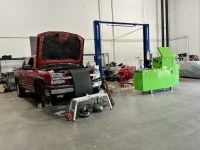
Get in the C10 to go home and the gauges are flashing at me, it's charging at 19V. Fuck me. So shop truck it is

So while those were drying, I pulled the driver's frame side of the engine mount out. 2 of the bolts had broken off when I was trying to get the motor out so my buddy brought me the ones that were attached to his donor 5.3 he picked up to go in his OBS. Wouldn't ya know, an L59 in an SUV has a different mount than an LM7 in a truck. Phooey

Then got the stock converter out of the trans and brought the Circle D 2800-3000 down to top it up and get it in

So at this point, I had pulled the motor inside, pulled the lifters out of their oil bath, installed them in their trays and slid them all in the motor. As I was finishing that, the guy that was gonna buy my C10's camper shell showed up. That MF'r stayed for 2.5hr fucking hours, he would not leave. Finally, he pays me and gets out of my hair. I'm now 2hrs later being here than I'd planned and I wanted to have the heads on at least. So I grab a head gasket and a head, throw them on the pass side and go through the WHOLE torque sequence with the GM bolts.
Get done, walk over to the driver's side to wipe it down and do it. That's when I see it....THE FUCKING LIFTER TRAY BOLTS AREN'T THERE. I FORGOT THEM. FUCKKKKKKKKKKK. I was so fucking pissed, throwing tools and shit. Had to take a walk. I come back, get my impact and pull the head off and just leave it on the table.

Get in the C10 to go home and the gauges are flashing at me, it's charging at 19V. Fuck me. So shop truck it is

So that night, I ordered some ARP head bolts and also the driver's side frame side engine mount cuz I'd broken 2 bolts off getting it out. They showed up 2 days later
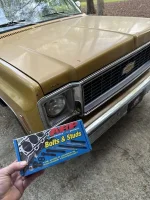
So then I made damn sure I put the bolts in for the trays and torqued them down
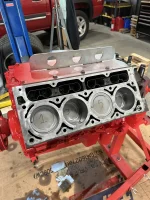
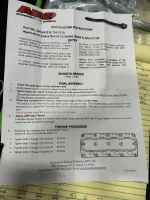
Then followed the instructions to a T. I have these in the C10 as well. Now that I've done both GM head bolts and ARPs, I'll NEVER buy GM's again. The ARPs are so much easier to install.
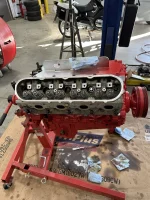
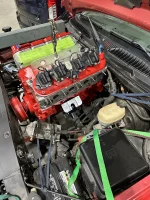
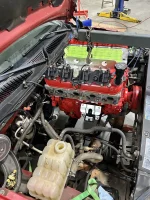
Both on and torqued, just laid the valve covers on to help seal the motor up
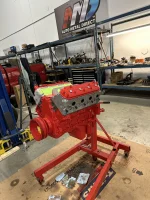

So then I made damn sure I put the bolts in for the trays and torqued them down

Then followed the instructions to a T. I have these in the C10 as well. Now that I've done both GM head bolts and ARPs, I'll NEVER buy GM's again. The ARPs are so much easier to install.


Both on and torqued, just laid the valve covers on to help seal the motor up

So then last Thursday I put the pushrods and lifters in
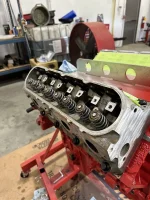
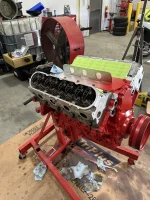
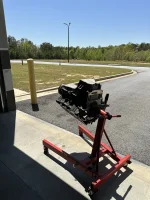
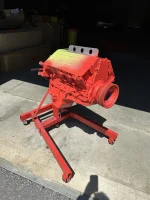
Got all that torqued down properly, installed the GM valve cover gaskets and put them on and torqued. Then went to pull the balancer off to clean the paint off the snout but when I went to reinstall, it started boogering up the threads. I made a chaser out of one of my old crank bolts but no dice, so ordered a tap. It wasn't gonna show up till Saturday so I was dead in the water at that point.
Tap showed up Saturday so I came up to the shop yesterday to work toward getting it in the truck. First thing's first, worked on the crank. Slowly worked the tap in with some oil till it would get hung, work it through that, then back it out and clean the hole out. Rinse and repeat a few times, had to stick a magnet in once to get a couple bigger chunks and then it was good to go.
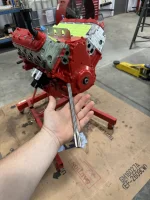
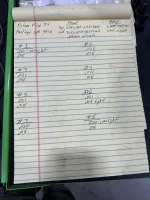
After that, I pulled the front cover back off. On Friday, my buddy asked me about setting #1 to TDC before putting in the cam (he's swapping in an L59 5.3 in his '99 OBS 'Burb) and I couldn't remember if I'd verified that I did that. Looked through my notes and didn't see anything about it so I wanted to verify. Good thing I did, it was set to TDC #6, idk wtf I was thinking not double checking that. NBD, got that fixed and put the cover back in and the balancer (using the install tool this time) back on for the last time.
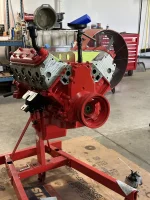
Then pulled it off the stand to install the flexplate and torqued all the bolts, then the coils and exhaust manifold studs


Got all that torqued down properly, installed the GM valve cover gaskets and put them on and torqued. Then went to pull the balancer off to clean the paint off the snout but when I went to reinstall, it started boogering up the threads. I made a chaser out of one of my old crank bolts but no dice, so ordered a tap. It wasn't gonna show up till Saturday so I was dead in the water at that point.
Tap showed up Saturday so I came up to the shop yesterday to work toward getting it in the truck. First thing's first, worked on the crank. Slowly worked the tap in with some oil till it would get hung, work it through that, then back it out and clean the hole out. Rinse and repeat a few times, had to stick a magnet in once to get a couple bigger chunks and then it was good to go.

After that, I pulled the front cover back off. On Friday, my buddy asked me about setting #1 to TDC before putting in the cam (he's swapping in an L59 5.3 in his '99 OBS 'Burb) and I couldn't remember if I'd verified that I did that. Looked through my notes and didn't see anything about it so I wanted to verify. Good thing I did, it was set to TDC #6, idk wtf I was thinking not double checking that. NBD, got that fixed and put the cover back in and the balancer (using the install tool this time) back on for the last time.

Then pulled it off the stand to install the flexplate and torqued all the bolts, then the coils and exhaust manifold studs

Made small but important progress yesterday. Crawled underneath and measured my gap from the converter to the flexplate with a drill bit (per Circle D's tips and tricks). My 3/16" drill bit wouldn't go all the way between the mounting pad of the converter and the flexplate, I could just barely get it started. Circle D specs 1/8"-3/16" being acceptable, so no shims/washers needed. That makes life SO much easier since you gotta do that through the starter hole lol. Got those bolts loctite'd and torqued down.
Then started putting manifolds on. I'll always use stud kits going forward, it's so nice to just hang the gasket on there and then grab the header/manifold rather than wrestling it all while putting bolts in
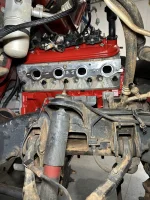
It's just a cheapy Amazon kit but I've got it on the C10 too and it's been fine for ~28k miles now, no leaks. The serrated washers also do their job, I've checked torque on them 3 times on the C10 and they've never budged.
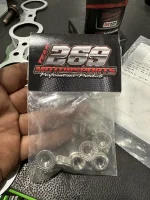
Snaked the dipstick tube in and torqued the manifold bolts to spec
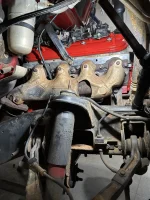
Then installed the Y-pipe with new donut gaskets and anti-seize
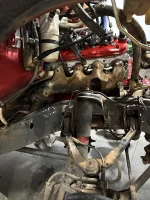
I was gonna put the spark plugs in but remembered I'd sprayed WD40 in the cylinders twice now while I've been rotating it so I'll wait till I have the starter back in and spin it a couple times to make sure I don't hydro it, then put them in. So today's agenda is to run all the wiring, double check the grounds, install the starter, install the intake, hook up the fuel line and dump oil in. Might start it tonight but will probably wait till tomorrow so I can have a second set of ears listening
Then started putting manifolds on. I'll always use stud kits going forward, it's so nice to just hang the gasket on there and then grab the header/manifold rather than wrestling it all while putting bolts in

It's just a cheapy Amazon kit but I've got it on the C10 too and it's been fine for ~28k miles now, no leaks. The serrated washers also do their job, I've checked torque on them 3 times on the C10 and they've never budged.

Snaked the dipstick tube in and torqued the manifold bolts to spec

Then installed the Y-pipe with new donut gaskets and anti-seize

I was gonna put the spark plugs in but remembered I'd sprayed WD40 in the cylinders twice now while I've been rotating it so I'll wait till I have the starter back in and spin it a couple times to make sure I don't hydro it, then put them in. So today's agenda is to run all the wiring, double check the grounds, install the starter, install the intake, hook up the fuel line and dump oil in. Might start it tonight but will probably wait till tomorrow so I can have a second set of ears listening
So Tuesday night after work I started buttoning all the other little details up. Started with the valley plate, got new knock sensor grommets installed, torqued it down, installed the knock sensors and harness, put RTV on the harness plugs and then built the usual dams
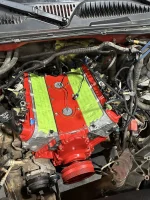
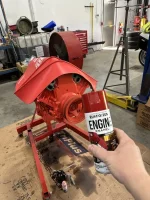
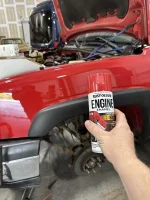
Painted the water pump while I waited for the RTV to set up
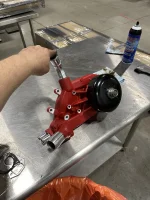
Installed the intake, water pump and started arranging/plugging in the harness

So that's where we left off for the night
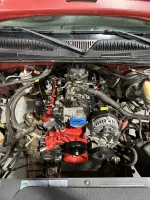

Painted the water pump while I waited for the RTV to set up

Installed the intake, water pump and started arranging/plugging in the harness

So that's where we left off for the night

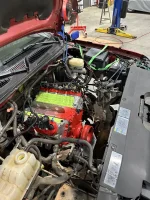
So then yesterday I double and triple checked the harness, put the air box/intake tube back in and plugged in the MAF. Hooked up the battery and listened for arcing, watched for smoke, thankfully no magic escaped. Dumped in some VR1, unplugged the coil packs and spun it, it spun nice!
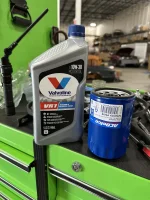
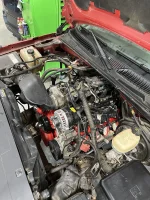
So then I put antiseize on the plugs, put them in and installed the plug wires, re-plugged in the coils and primed the fuel pump. Hit the key and it fired right up, had 50psi oil pressure within 3-4 seconds and other than the lifters rattling cuz they weren't pumped up, it sounded good! Not out of the woods yet but that was a huge relief! I let it run for about 20-30sec total just to check for leaks but that was it.
Now I have to pull the intake back off and swap in my FIC 50lb/hr injectors to get ready for the tune and hook up the coolant hoses and get it filled. Hoping to get it tuned and start seating the rings next week.

So last night I decided I wanted a break from the engine stuff and started on the front suspension. I'd bought all this stuff 6mo ago and it's just been gathering dust waiting on me lol
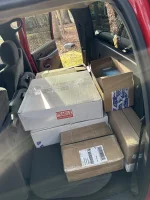
I didn't really wanna drop the coin on Cognito or Kryptonite arms this go-round so I went with Spindle Source. My buddy has had them on his '04 for years now and they've been great. They've got easily replaceable balljoints like the Cognitos
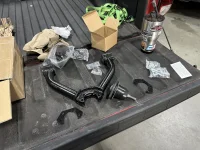
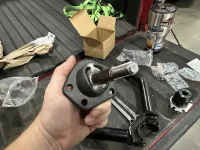
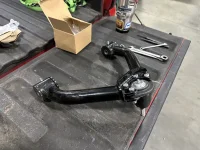

I didn't really wanna drop the coin on Cognito or Kryptonite arms this go-round so I went with Spindle Source. My buddy has had them on his '04 for years now and they've been great. They've got easily replaceable balljoints like the Cognitos


So I started about 5pm yesterday tearing it down. This truck is completely rust free but there's just dirt and mud caked everywhere, it's nasty underneath
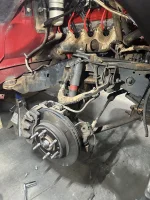
It's been a while since I've done control arms and my dumbass forgot you need to take the nut all the way off and then put it back on a few threads BEFORE knocking the BJ's loose. So of course they started to spin on me. Thankfully my little pass-through GearWrench set and an allen key took care of it
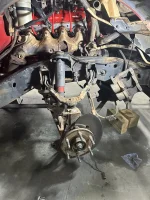
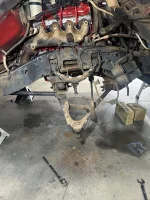
My coworker had borrowed my impact so I was doing all this by hand. Had another blonde moment, I was under the LCA to get better leverage on the bolts and when I got the 2nd one loose, it swung down and got the side of my head. My ear was bleeding like a stuck pig and MAN that hurts getting hit there lol
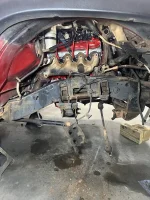

It's been a while since I've done control arms and my dumbass forgot you need to take the nut all the way off and then put it back on a few threads BEFORE knocking the BJ's loose. So of course they started to spin on me. Thankfully my little pass-through GearWrench set and an allen key took care of it


My coworker had borrowed my impact so I was doing all this by hand. Had another blonde moment, I was under the LCA to get better leverage on the bolts and when I got the 2nd one loose, it swung down and got the side of my head. My ear was bleeding like a stuck pig and MAN that hurts getting hit there lol

I've always cleaned and painted the frame on all my trucks, usually takes a weekend or two and I use a combo of wire brushes in a drill and hand brushes to clean every inch I can, then wipe down with laquer thinner or brake clean, tape up anything I don't want paint on, then prime and paint. I didn't care to do that this time. I will go back and do a better job later on but I really just wanted to get black paint around the control arm mounts and shock so I don't risk getting paint on them when I re-do it later. I literally just hand wire brushed as fast as I could, sorta blew everything off and started spraying lol. It's fine for this truck right now.
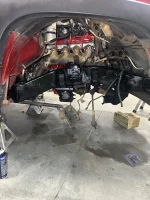
After I painted the passenger side, I went over to the driver's side and got it stripped, wire brushed and painted. Then came back to the passenger side.
Threw on the LCA with some anti-seize in the pocket for the torsion bar and grease on either side of the bushing, installed the leveling key with more anti-seize, then the Spindle Source UCA with grease on it's bushings. Went to put the spindle on, it went on the lower BJ fine but the upper balljoint was too big to go in. Phoeey. So threw on the Bilstein 5100 to hold the LCA up and called it a night cuz it was 11:00 and I had an hour drive home

Talked to Spindle Source this morning and they said yeah, for some reason there's a couple thou variance on the upper BJ hole on these trucks. He said just run a 1/2" drill bit through it from the top and roll on. So that's what I did at lunch and finished assembling both sides.
Not show quality by any means but just fine for right now. I still need to replace the pitman/idler arms, center link and inner/outer tie rods but that'll wait till I put the front diff back in it. I'll also do new wheel bearings and clean up/paint the spindles at that point and paint the calipers and add braided lines
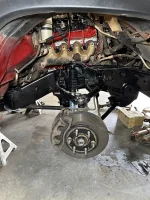
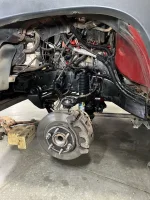

After I painted the passenger side, I went over to the driver's side and got it stripped, wire brushed and painted. Then came back to the passenger side.
Threw on the LCA with some anti-seize in the pocket for the torsion bar and grease on either side of the bushing, installed the leveling key with more anti-seize, then the Spindle Source UCA with grease on it's bushings. Went to put the spindle on, it went on the lower BJ fine but the upper balljoint was too big to go in. Phoeey. So threw on the Bilstein 5100 to hold the LCA up and called it a night cuz it was 11:00 and I had an hour drive home

Talked to Spindle Source this morning and they said yeah, for some reason there's a couple thou variance on the upper BJ hole on these trucks. He said just run a 1/2" drill bit through it from the top and roll on. So that's what I did at lunch and finished assembling both sides.
Not show quality by any means but just fine for right now. I still need to replace the pitman/idler arms, center link and inner/outer tie rods but that'll wait till I put the front diff back in it. I'll also do new wheel bearings and clean up/paint the spindles at that point and paint the calipers and add braided lines


Guess I should update this now that I'm basically finished lol.
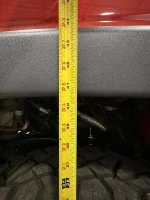
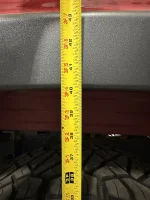
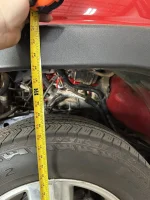
Once I got done with the front suspension, I cranked the bars what I thought was roughly 3/4 of the way up or so. Was shooting for 3/8"-1/2" of clearance at the UCA and droop stop
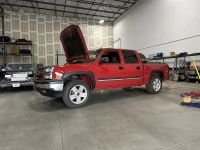
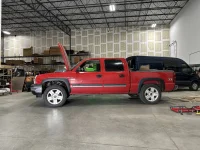
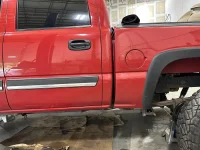
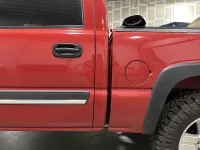
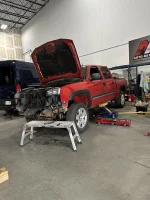
Then a couple days later, I started on the 1.5" bodylift. Once I got one side of the cab lifted, I learned something new. I'd done some horse trading with Tony (B005TED) for this, he'd bought it for his '06 and never used it. Well come to find out, '03-05 use 12mm body bolts and '06/07 use 14mm ('06/07 still uses 2 12mm bolts for the core support). So I used those 2 12mm bolts in the front locations and just left the cab sitting there for the rest. I went to my local hardware store, they only had 120mm long 12mm bolts, I needed 140mm. So I bought those just to have something securing the cab while I worked and special ordered 4 more 12mm x 1.75 x 140mm long bolts online
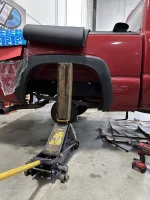
After that debacle, I moved on to the bed. This was a tad bit sketchy lol
Once I got done with the front suspension, I cranked the bars what I thought was roughly 3/4 of the way up or so. Was shooting for 3/8"-1/2" of clearance at the UCA and droop stop


Then a couple days later, I started on the 1.5" bodylift. Once I got one side of the cab lifted, I learned something new. I'd done some horse trading with Tony (B005TED) for this, he'd bought it for his '06 and never used it. Well come to find out, '03-05 use 12mm body bolts and '06/07 use 14mm ('06/07 still uses 2 12mm bolts for the core support). So I used those 2 12mm bolts in the front locations and just left the cab sitting there for the rest. I went to my local hardware store, they only had 120mm long 12mm bolts, I needed 140mm. So I bought those just to have something securing the cab while I worked and special ordered 4 more 12mm x 1.75 x 140mm long bolts online

After that debacle, I moved on to the bed. This was a tad bit sketchy lol

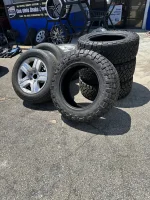
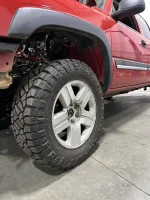
Dropped the wheels and tires off somewhere in there to get the 35s mounted
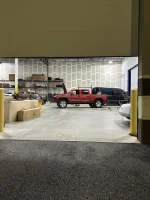
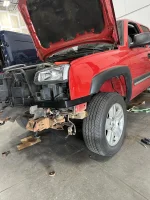
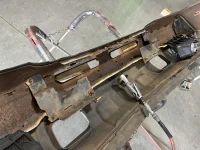
Played with different stacks of washers trying to get the bumper tucked a bit more. I think I ended up with 1 big flat washer and 3 smaller washers on each side. Couldn't go any further without elongating the holes for that Zone lower bracket, may do that sometime down the road
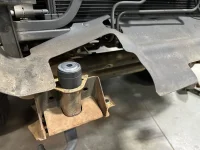
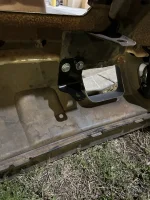
And had to redrill the side support brackets
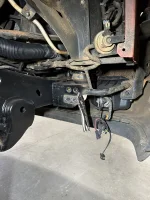


Played with different stacks of washers trying to get the bumper tucked a bit more. I think I ended up with 1 big flat washer and 3 smaller washers on each side. Couldn't go any further without elongating the holes for that Zone lower bracket, may do that sometime down the road

And had to redrill the side support brackets


