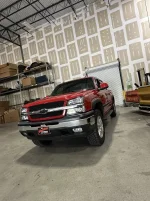
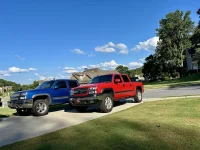
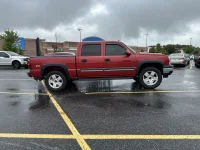
Huck's new daily - Victory Red '05 CCSSB

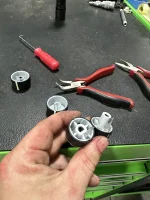
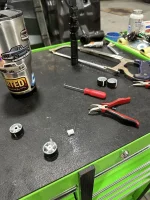
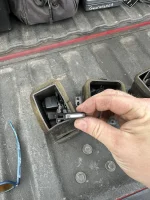
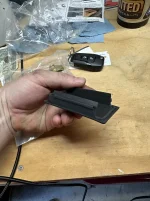
The other Buick knob has a much larger register. So you need to pull the metal insert out and then cut that back to the same length as the shorter one

IMG_8737.webp

IMG_8740.webp

I realized later, this one also has a longer light register/pointer that needs to be cut. I have yet to do that, so one knob sticks out further lol. I'll fix it at some point

IMG_8751.webp

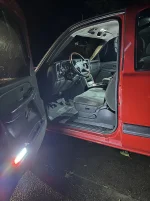
But I think that's a nice little mod to brighten up the interior

IMG_8758.webp
 
Also finally swapped all my interior lights for LED

IMG_8769.webp

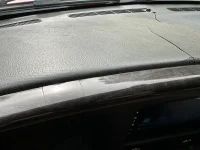
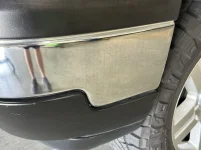
Here you can see my little "humps" where I got the bezel too hot and also the new crack 1" to the left :mad:

IMG_8807.webp

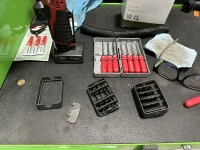
I also scored a bunch of AC vent knobs from various GM SUVs, I think GMC Terrains and Buick Enclaves were the main ones. That way I could make some DIY Esky AC vents

IMG_8525.webp

IMG_8526.webp

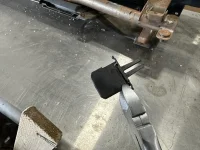
There's 2 different styles, the fatter ones I had to snip the backs off of and then stand them shorter so they wouldn't hang over the back of the flap

thumbnail_IMG_9289.webp
 
So then a couple days later I got started on these. Ya just pop the vents out and pull them apart

IMG_9241.webp

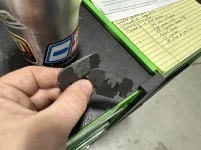
Gotta grind down the little "grabs" on the middle tab. I used a bench grinder and just did a little at a time, test fitting the new grab till it fit nicely

IMG_9248.webp

IMG_9245.webp

Then just put the vents back together, carefully put some 2-part epoxy inside the new grabs and slid them on. Held pressure for ~30sec and then let them sit overnight. Done. I did find that assembling the vent before putting the grab on was the best way, that way I could eye-ball center. The first one I did just with the flap on the bench and got it off center a bit.

I did 2 complete different sets (I'd also grabbed the vents out of a 'burb at the yard for this purpose) since I wasn't sure which I would like better. The smaller ones are black, the larger are the dark pewter that matches better. After test fitting, you really can't tell the difference either way. I decided to go with the larger ones to start with, still rocking them. I just need to do the rear vents now

IMG_9251.webp

IMG_9304.webp
 
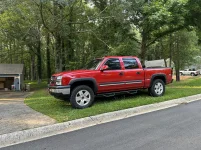
This SOB is tall now too and I'm short so I'd been on the lookout for some steps. AMPs aren't in the cars so I'd decided on N-fabs, I see them everywhere, they look pretty good and people online love them. Found a set for these trucks 2.5hrs away in northern Alabama, so me and the GF roadtripped over there one Saturday to get them.
IMG_9467.webp

Got the driver's side on using the holes in the rockers like you're supposed to and then drilled the additional holes. Tried it out and they seemed too far forward, so I elongated the holes and moved them back about 3/4". Still wasn't sure but there was no more I could do, they were as far back on the cab as they could go and still look right.

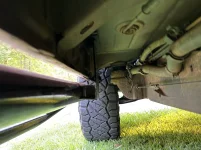
I also wasn't crazy about how they mount. It's just 6 very small carriage bolts through the rockers and then the post that pushes up into the floor pan when you step on them. I didn't really feel like they were solid.
IMG_9472.webp

I also kept stepping on the down bar as I got out, missing the step. So I'd stumble or fall. Still though, figured I'd just have to learn. After a week and a half with no change, I decided I hated them and sold them. Got my money back thankfully.

So I decided I'd be better off with the board style steps. I wanted something that would tuck up tight to the cab so I wouldn't lose any visual height like the N-fabs do. Found these, they had adjustable brackets and were on sale so I grabbed them

IMG_9935.webp

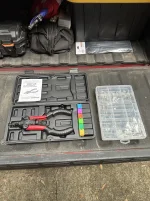
Brackets are pretty nifty. Although come to find out, they're listed as fitting 1500s but the instructions say 2500/3500. The HD trucks have different inner rockers that have provisions for J-clips to be inserted for steps that 1500s don't. Not a huge deal, just had to pick up a nutsert tool and some steel nutserts. Thank god for my bodylift, couldn't have done the install without it cuz the tool was too big to fit between the cab and frame. But I was able to go above it

IMG_9930.webp

IMG_9994.webp
 
About 3hrs later and the were on. These actually turned out great, the boards are extruded aluminum, very light but very strong. And the brackets have tons of adjustment, up and down on the brackets and in/out at the board.

IMG_9986.webp

Was able to get them tucked up pretty well, very pleased with the way they look

IMG_0731.webp

flag.webp

IMG_E0660.webp
 
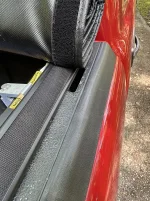
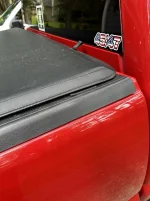
The same day I did the boards, I also added some stake pocket plugs and some additional weather stripping at the headgate to better seal with the tonneau

IMG_9970.webp

They were a little oversized, but nothing a little trim wouldn't fix

IMG_9982.webp

Did all 4 corners, much better

IMG_9984.webp

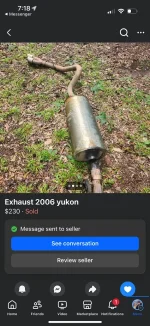
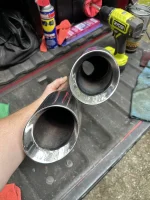
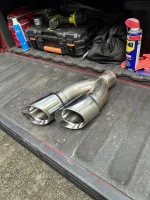
I'd also been on the lookout for exhaust and saw this on FB. First thought was "that looks an awful lot like a Corsa".

IMG_9605.webp

Saw this picture too, cats/o2s and all. He was only 20min away so I figured I'd go take a look.

IMG_9606.webp
 
Showed up, dude is a super nice guy. Big car guy, old bracket racer. He'd bought his buddy's '06 Yukon Denali XL to part out after it'd had a dash fire. He thought this was stock exhaust and it was so dirty you couldn't see the Corsa logo on the tip. But I picked up the muffler to look through and sure enough, it was. I offered him $175 and he countered at $180 so we had a deal. Couldn't believe I scored a $1500 catback for $180 lol. I figured I'd use the muffler and tip but didn't know if I could use anything else.

IMG_9611.webp

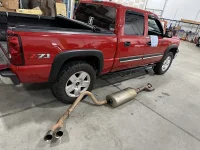
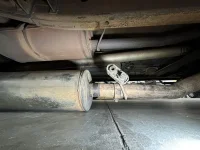
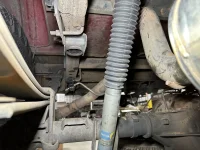
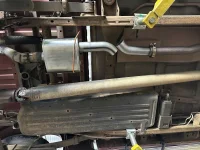
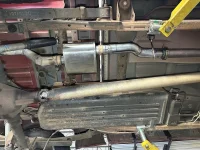
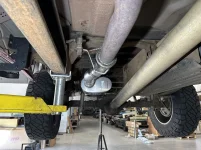
So a couple days later I laid it out under the truck at work and it looked like all the hangers would line up!

IMG_9620.webp

IMG_9630.webp

IMG_9633.webp

Only thing that I couldn't use was the front pipe, it's shorter and also is a dual inlet instead of a single. 6.0 truck things apparently

IMG_9635.webp
 
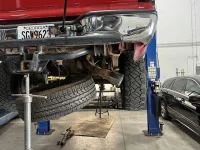
So that next Friday, I put the truck up on the lift thinking I'd throw it on and it would take minimal mods to do so...

IMG_9727.webp

First sign of danger...the tailpipe is quite a bit different...

IMG_9728.webp

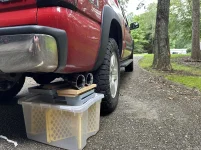
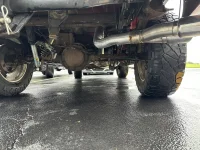
Yep, tailpipe is alot different. It hit my 5th wheel plate, no biggie there, I just heated that section up and bent it in a bit. But look at the tip, that won't do
IMG_9732.webp

Also wouldn't clear the spare on top of it being the completely wrong angle

IMG_9734.webp

IMG_9766.webp
 
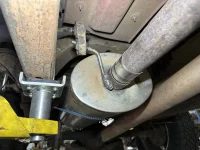
Cut the hanger off my OE forward pipe and welded it to the muffler and it lined up perfect. I re-bent the hanger after this pic so it would hold better. An adapter let it go into the muffler and then I put a wide band clamp over that.

IMG_9765.webp

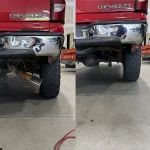
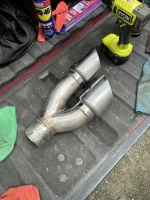
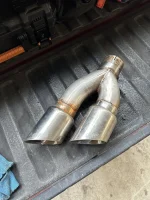
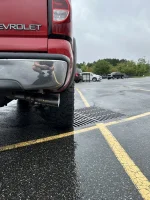
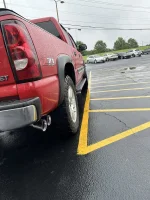
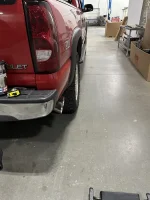
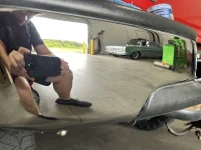
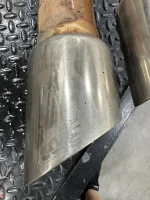
Looks like dooky but sounds great. So I got up under it and just cut the tip off where you couldn't see it and painted it black for now. I've got an appointment at the exhaust shop Monday to have a new tailpipe bent up, the tip put back on and the muffler V-banded front and rear
IMG_9839.webp

WZEB4078.webp

Sounds really good though


Dumping it changed the sound, sounds more like a SpinTech to me. I think the tailpipe and putting the tip back on will get it back where it should be. I'm having them V-band the muffler so at some point down the road I can get a small Corsa to swap in when I feel like being louder lol. Still waiting on my tuner to come by and final tune it as well, hopefully it'll sound less tractor-ish after that lol