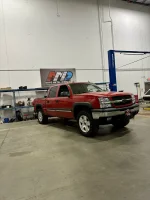
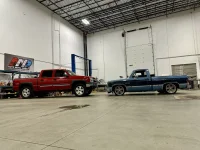
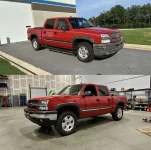
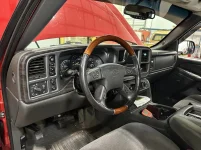
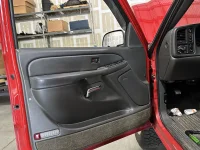
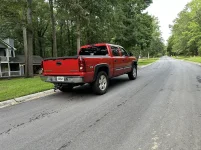
Huck's new daily - Victory Red '05 CCSSB

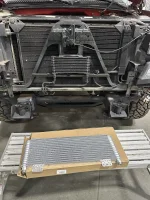
So then I decided to work on the 40k install
IMG_7052.webp


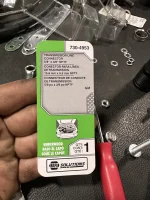
I found a post from years ago on another forum talking about these NAPA fittings, they screw right into the 40k and let your stock lines clip in just like factory. They worked like a charm
IMG_7064.webp

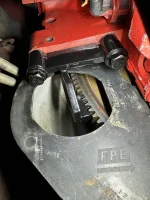
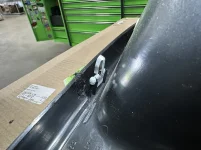
Took the factory cross bar, turned it upside down and cut a window for the driver's side line to go through
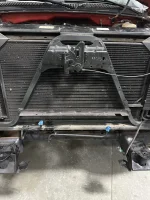
IMG_7055.webp

Got it mounted up. I didn't wanna go through the hassle of spacing it out or moving the lower mount for the PS cooler so I mounted it offset. You won't see it once it's painted black
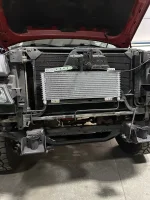
IMG_7061.webp

I carefully re-bent the factory lines to get them where I liked them, wrapped some hose around them where they'd rub and then dusted everything with some black paint
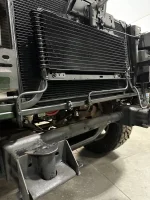
IMG_7067.webp
 
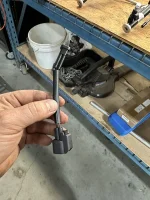
Next I moved on to torqueing the balancer bolt down. Picked up this nifty tool that bolts in the starter location and holds the flywheel

IMG_7199.webp

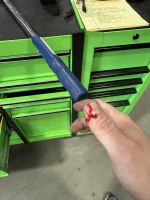
Had to give a blood sacrifice to get it done but it's torqued to spec lol

IMG_7200.webp

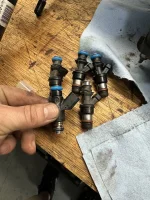
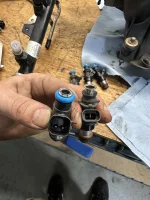
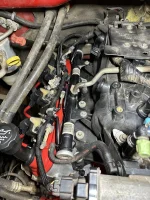
Then I swapped out the stock 24lb/hr injectors for some FIC 50lb/hrs

thumbnail_IMG_6953.webp

thumbnail_IMG_6954.webp

thumbnail_IMG_6955.webp
 
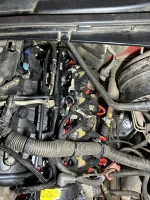
Gotta run adapter harnesses for these

thumbnail_IMG_6956.webp

I hate the way it looks but I didn't wanna cut their loom and risk nicking a wire cuz I was semi-rushing at this point. I'll probably go back and do that later on so I can get them to lay down better

thumbnail_IMG_6973.webp

thumbnail_IMG_6974.webp

thumbnail_IMG_6961.webp
 
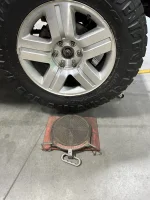
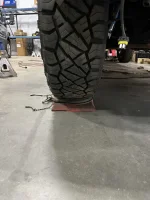
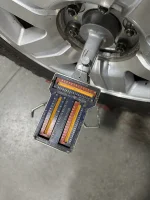
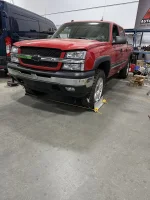
I borrowed my dad's old slider plates and a coworker's old school caster/camber gauge so I could get the alignment good enough. That way I can drive it enough to get the suspension to settle and see how I like the ride and make any adjustments before paying for a real alignment.

IMG_7310.webp

Almost too big for the plates

IMG_7311.webp

Had to adjust the camber a bit, didn't worry about caster for now.

IMG_7315.webp

Toe actually landed right at 1/8" so I left that alone

IMG_7317.webp

My body bolts also showed up so I replaced those and got them torqued to spec

IMG_7465.webp
 
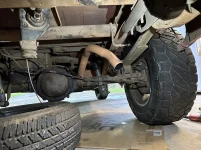
Buttoned up a bunch of small things on my final checklist last Wednesday and now we wait for the tuner! All that's left at this point is raising the rear bumper and putting the spare tire back in. I didn't go ahead and put the spare in cuz I'm at 498mi on the rear axle, so once I do the initial 50mi break in on the motor, I'll change both the engine oil and the rear axle gear oil.

Gonna do an oil change at 50mi, put more VR1 in it, drive it 200mi, change it again with regular conventional oil. Run it 500mi, change again with conventional, then run it 750 before changing it again. That'll be 1500mi and I'll put synthetic in it at that point.

I FK'n love the way this thing came out. Exactly what I'd envisioned

IMG_E7476.webp


IMG_E7479.webp

thumbnail_IMG_6909.webp

thumbnail_IMG_6908.webp
 
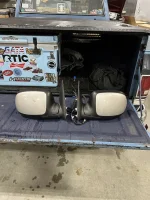
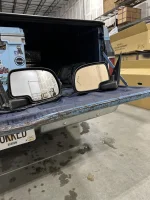
I also bum around junkyards pretty often for work and happened across a loaded up '05 Z71 suburban that had a nice set of DL3s on it. Got them for $100. You can see the driver's side has failed and turned that gold color. Already ordered new mirror glasses for both and some primer/paint/clear for the caps.

DL3s.webp

DL3s2.webp

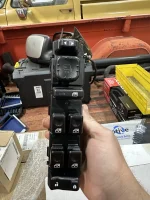
I even already have the window switch for it. Mine's been acting up since I bought the truck so I went ahead and ordered a DL3 capable switch panel months ago

DL3 switch.webp
 
Thanks man. I love how it turned out. Hoping next year to do colormatching, '06/07 hood/grille and a sound system and she'll be good for a good long time
 
Debating that. I've always done that in the past. It doesn't offend me on this truck for some reason. I'll probably end up pulling it off anyway
 
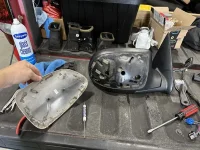
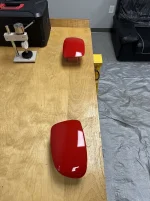
Back in June I finally got around to doing the mirrors. Managed to get the caps off and only busted a couple of the clips

IMG_8678EDIT.webp

IMG_8679EDIT.webp

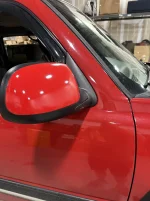
Stuck them on the truck to test

IMG_8682EDIT.webp

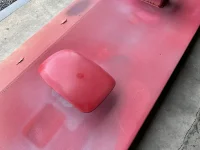
Then primer

IMG_8685EDIT.webp

Then paint. It was so humid, I was having a hell of a time getting the paint to not haze
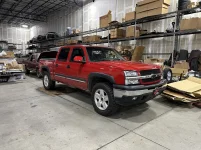
IMG_8705EDIT.webp
 
Ended up doing 5 coats of paint and the last 2, I would spray and immediately run them into the office in the A/C where it was drier. That seemed to work pretty well

IMG_8722EDIT.webp

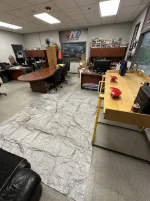
A storm was rolling in so I decided I'd just get a tarp to lay down and spray the clear in the office lol

IMG_8724EDIT.webp

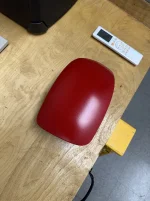
It worked great!

IMG_8739EDIT.webp

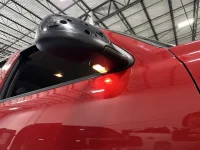
Considering the truck is a single stage repaint, it's not a half bad match

IMG_8851EDIT.webp


IMG_8849EDIT.webp
 
don't feel like scrolling back, any plans for more PTM pieces?
Yeah, planning to PTM most of it. '06/07 hood/grille, upper pad, flares, Esky handles and rear plastics (may just do the top pads and leave the bottom black, like Bgray had on his RCSB). I've already got an OE smooth '07 front pad and full set of smooth flares from the junkyard and Esky's from Amazon. Just need to pick up a new rear bumper and a new front metal piece cuz my chrome is water spotted BAD. I'll probably do all the PTM next summer, gonna have to paint the bottoms of the doors too since they painted around the moldings
 
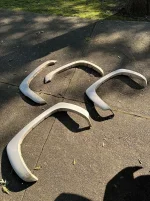
Since we're talking about it, here's some of my junkyard scores. May/June was a heavy junkyarding time, looking for samples for work, I ended up benefitting from it too lol. Full set of smooth flares off a 'burb, the front's are identical, the rears are like 1/8" fatter in the rear corner, need to test fit and see if they look funky or not. These cost me a whopping $24

IMG_8388.webp

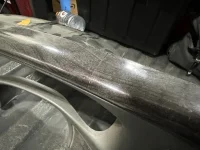
Also scored an OE smooth upper pad off this '06 for $8. The hood was super rusty unfortunately. It's got a couple minor gouges in it but they're not deep at all. I figure just a bit of putty and filler primer will be just fine on this

IMG_8425.webp

Then found a set of Denali interior handles. Not perfect, but not bad for $2/ea

IMG_8390.webp

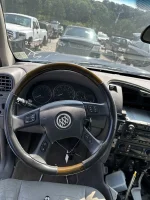
Also found this primo Buick Rendevous wheel for $33. It's dooky brown but could easily be painted or hydro-dipped

IMG_8441.webp

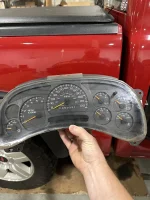
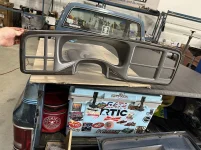
Also grabbed an HD cluster so I'd have a trans temp gauge. I must've been repaired before cuz the mileage is 300k+ but everything works and is accurate lol

IMG_8450.webp
 
Then I stopped by another yard that primarily deals in GM trucks and scored a few more goodies.

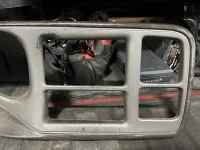
Denali bezel for $50

IMG_8532.webp

Denali door switch bezels for $50

IMG_8535.webp

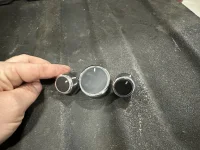
Rendevous A/C knobs fo free

IMG_8540.webp

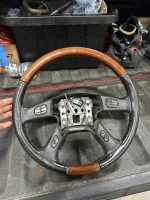
And an "Esky Platinum" wheel. It actually came out of an '06 GMC Envoy Denali, but not all Denali's have this wheel as I've come to find out. Had to pay $75 for this guy

IMG_8538.webp
 
So the PTM pieces just got washed and stuck in the shed for now. I did the interior stuff the same day I painted the mirror caps

The Denali bezel was a bit rough in the silver center section and also had a split on the top (come to find out, they all do this)
IMG_8533.webp

IMG_8534.webp

So first I tried to plastic weld it. That was a major fail, got the top rear edge too hot and have 3 little raised spots now. That area is solid but then the stupid thing just split 1" to the left after I installed it 🤦

IMG_8667.webp

Taped off the woodgrain and scuffed the center section with a scotchbrite. Then used some 600 grit to try to blend those worn areas. The silver is actually a rubbery kinda thing? Not exactly sure but it doesn't sand well at all

IMG_8688.webp

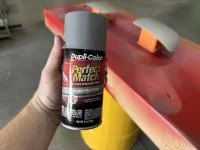
Found some posts on FB talking about this Duplicolor Perfect Match Ford Shadow Gray is a good match for the Denali centers.

IMG_8835.webp
 
IMG_8702.webp

Came out pretty darn good. It's probably ~1 shade darker but looks great in the truck. I did have 1 section of the woodgrain delaminate on me right above the radio though. So I think this bezel will get used to experiment with other ideas and I'll find another cuz I really like the Denali woodgrain. I'll elaborate later

IMG_8708.webp

IMG_8709.webp

So then I threw it in the truck as well as that "Platinum" wheel. The 2 woods definitely clash but I wanted to see if I'd like the wood wheel. So my original plan was to send this wheel off to be hydrodipped in the Denali woodgrain. I also was planning to find a Denali center console to swap in.

However, since this bezel was ruined and Denali consoles ALL have busted lids, I'm rethinking that. Not to mention, to keep the rear air, it's quite the process to get a Denali bezel in one of these trucks. My new thought is to find a better Denali bezel, still have this wheel hydrodipped to match but then also get 2 more regular Silverado console bezels to smooth and get them hydrodipped to match as well.

Then, since I have that other wheel, paint over the woodgrain on this bezel black (maybe jet black, maybe a metallic black like Ford Tuxedo or the Ram metallic black) and do the other wheel and 2 more console bezels to match. Also the switch bezels. Then I can swap them out whenever I feel like changing it up.
IMG_8717.webp
 
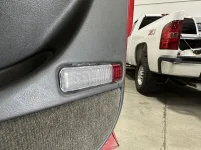
In between all the painting, I swapped in my new LED door lights. The old one on the pass side was siliconed on unfortunately

IMG_8707.webp

And installed the Denali handles

IMG_8698.webp

And worked on the AC knob swap. The Buick knobs have 2 different sized registers. For one of them, you have to pull the Silverado insert out and press it into the Buick one, leaving the Buick metal one in as well.
IMG_8726.webp

IMG_8734.webp

IMG_8735.webp