I did a lot of research on this while swapping in a hyrobooster/master cylinder setup and thought I'd share my experience.
Parts/tools:
1. Large phillips screwdriver
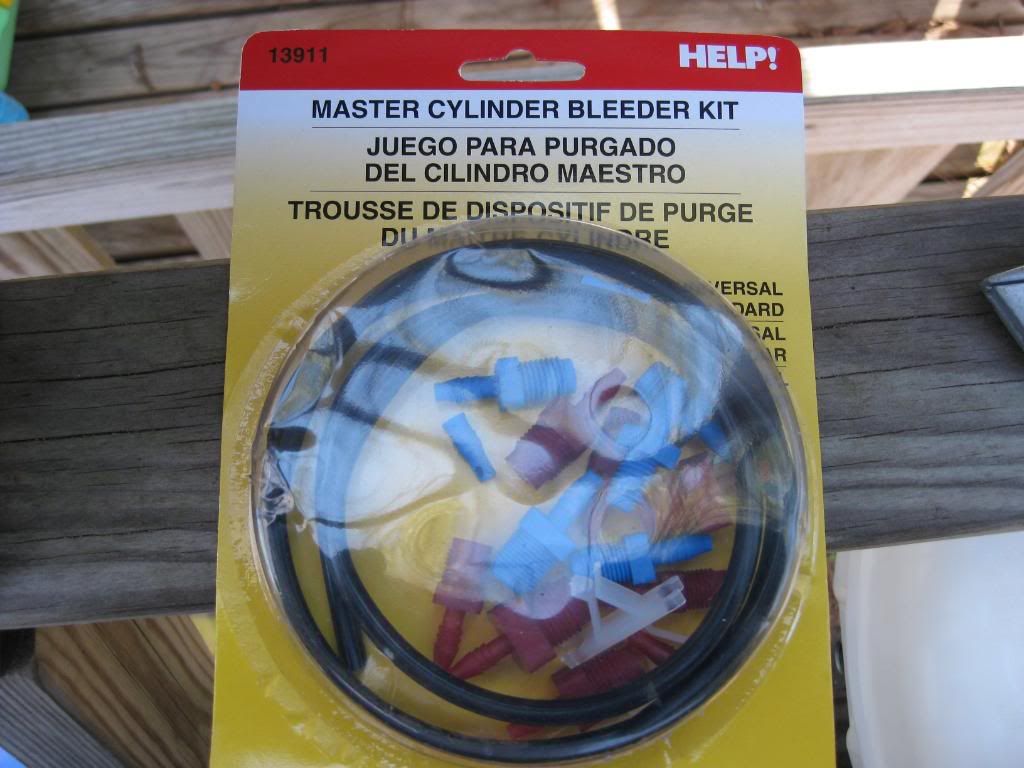
2. M/C bleeder kit
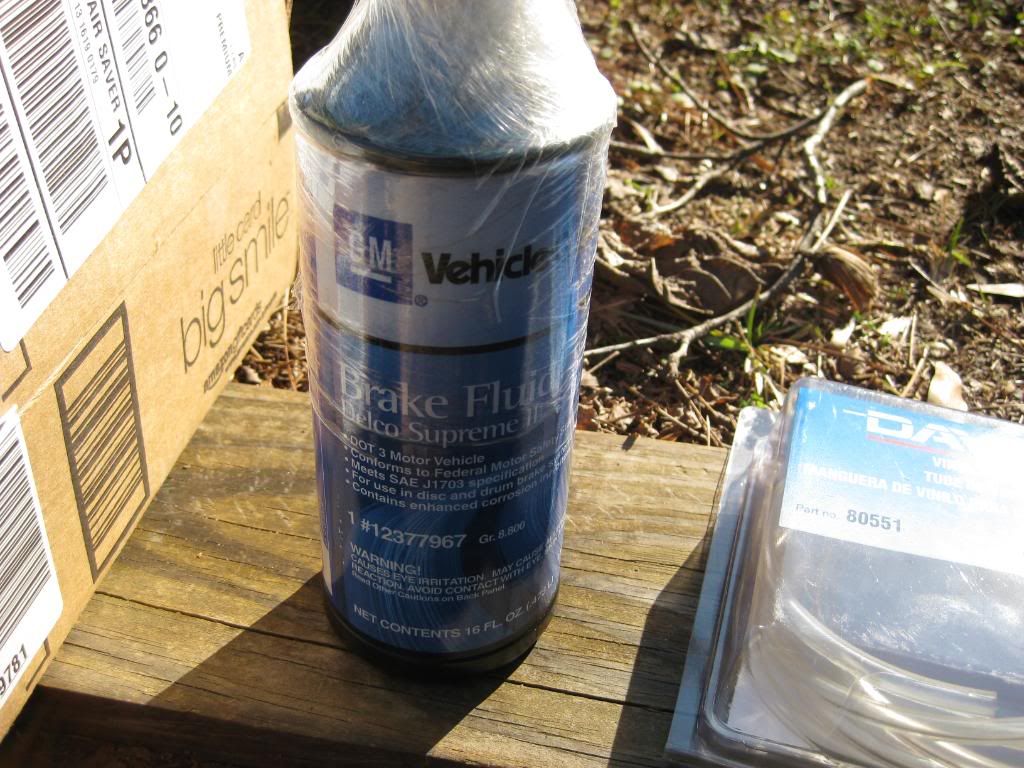
3. DOT 3 brake fluid
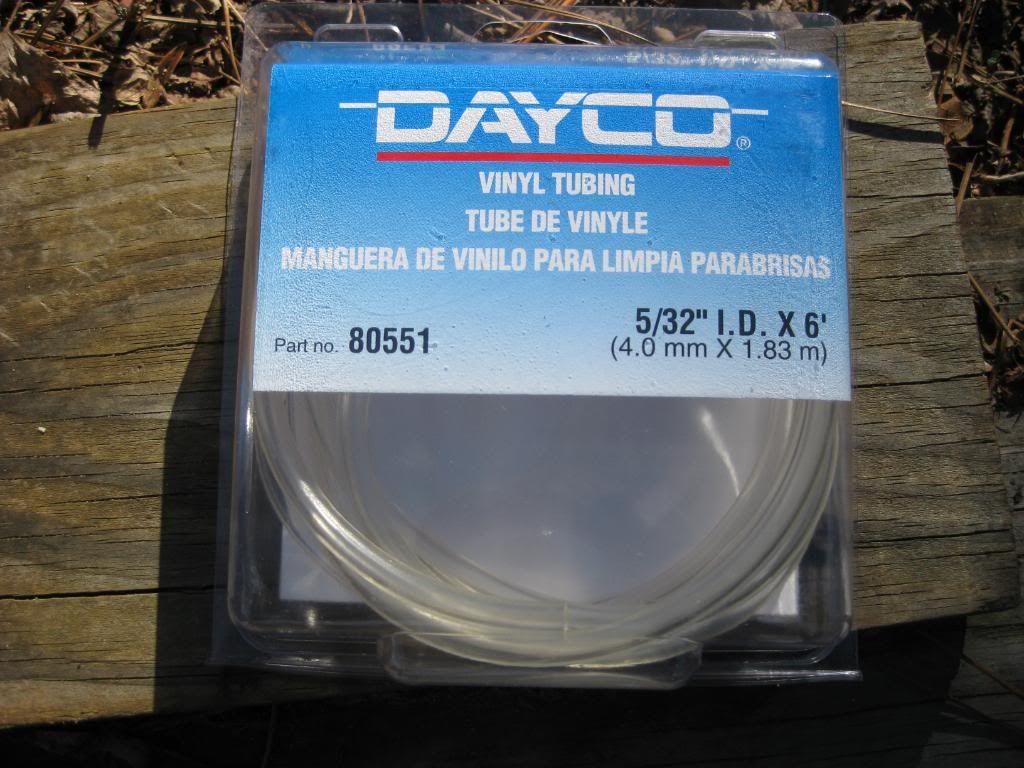
4. I picked up some clear tubing since I wanted to see the bubbles coming from the cylinder itself.
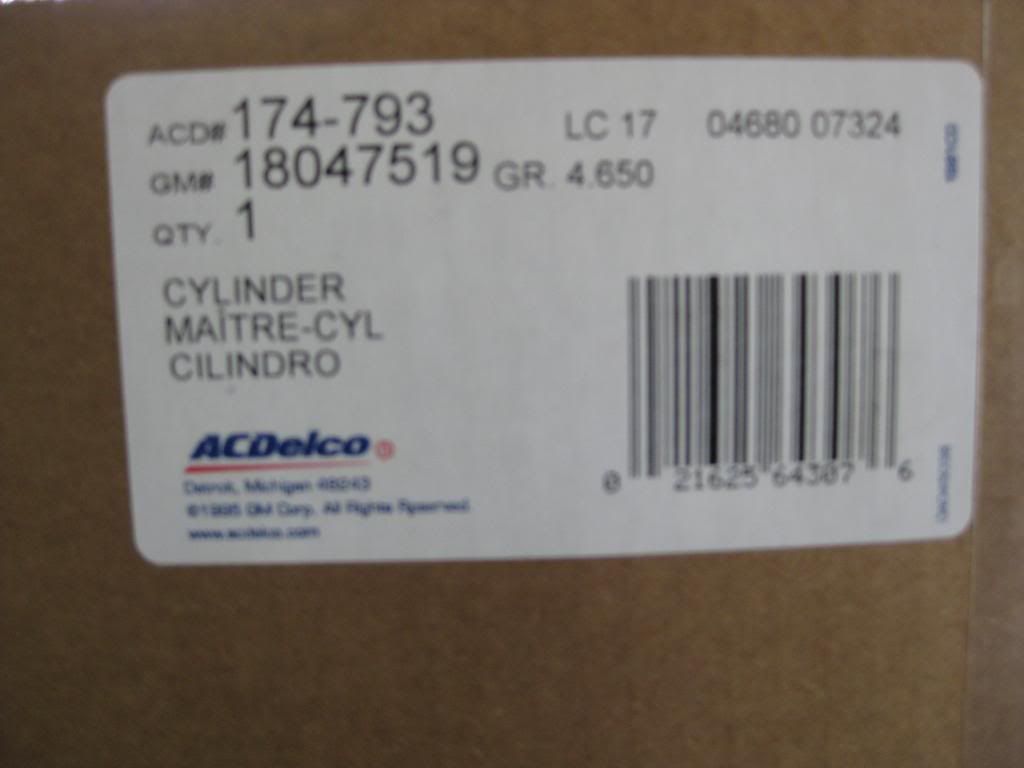
5. Obviously, the master cylinder
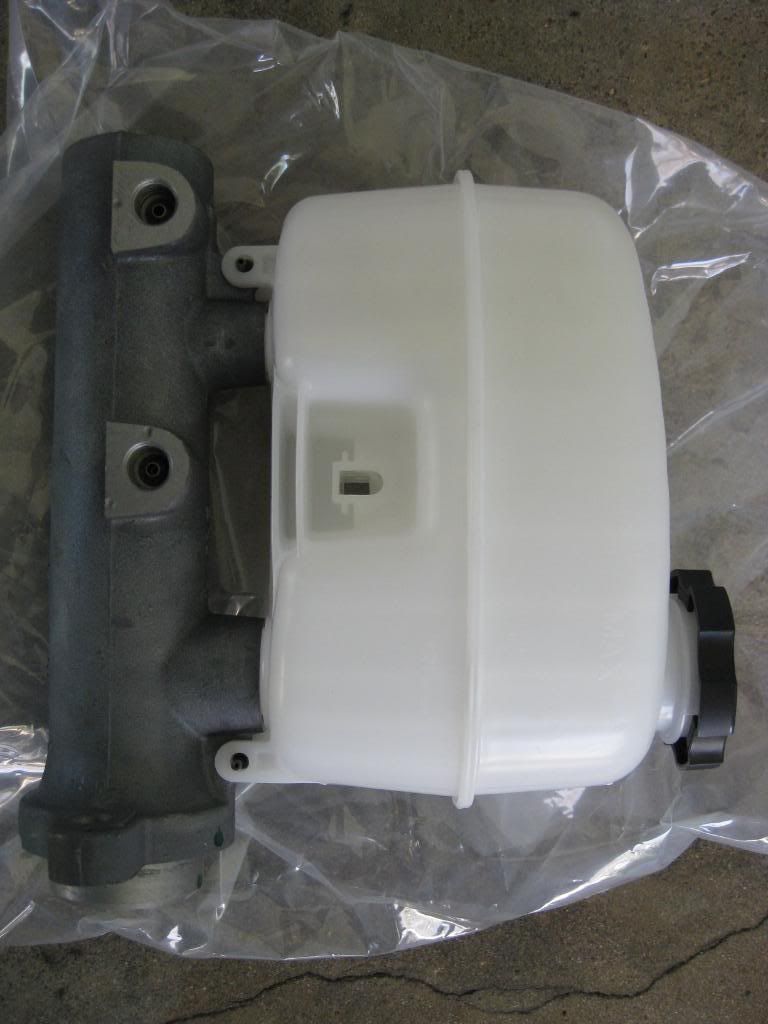
Procedure:
1. Secure the M/C in a vise. It's said you can use a table/wall, but I like to know it's not going anywhere.
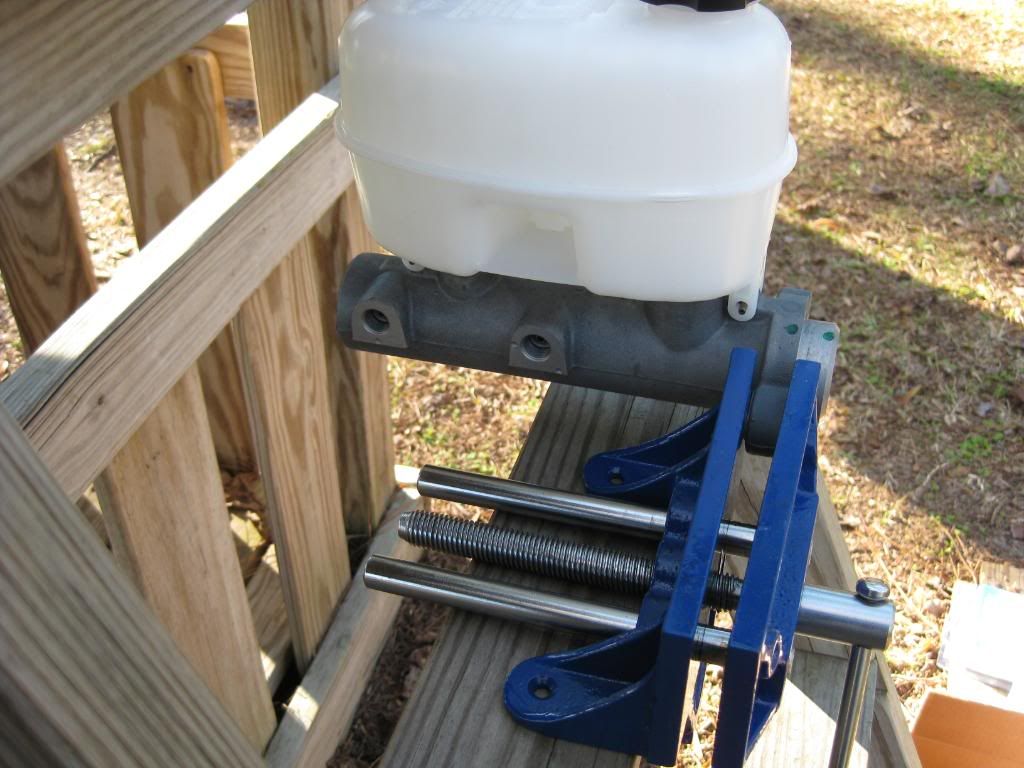
I picked up the vise for $17 at harbor freight. Worked great.
2. Secure the fittings/hoses on the M/C
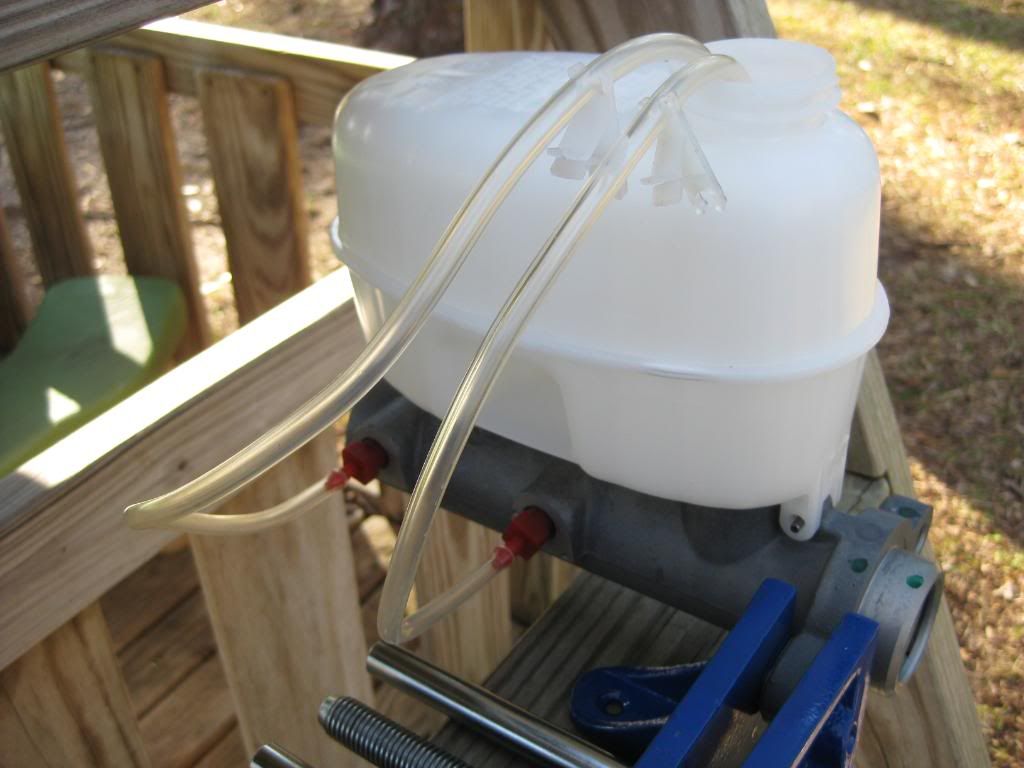
3. Fill 3/4 of the way with brake fluid (you don't want any to splatter due to the bubbles).
4. Take your phillips screwdriver, line it up and begin compressing the piston at a medium pace (I couldn't resist for all you Adam Sandler fans:wave . Seriously, though, not too fast or slow. You'll see the bubbles come from the tubing and the ports in the cylinder (inside the reservoir). Be sure you compress the cylinder all the way. Once you begin to push it, you'll feel it try to stop about half way in. Push beyond that point until it is completely compressed.
You'll do this as long as it takes to get rid of ALL the air. I actually let it rest half way through the process for about five minutes (got distracted by the wife). I think it let the remaining air collect and rise to the highest point inside the cylinder. I continued cycling it until absolutely no air bubbles were present.
At this point, I wasn't quite ready to install it on the truck, so I capped off the reservoir and used the tiny one-way valves that came with the kit to plug the hoses. Surprisingly, when I did go to install the M/C, it didn't really leak fluid from the ports on the side of the M/C (where the vehicle's brake lines attach). None the less, have plenty of shop towels around to protect your vehicle.
That's it. Now you'll have an air-free master cylinder.
Parts/tools:
1. Large phillips screwdriver
2. M/C bleeder kit

3. DOT 3 brake fluid

4. I picked up some clear tubing since I wanted to see the bubbles coming from the cylinder itself.

5. Obviously, the master cylinder


Procedure:
1. Secure the M/C in a vise. It's said you can use a table/wall, but I like to know it's not going anywhere.

I picked up the vise for $17 at harbor freight. Worked great.
2. Secure the fittings/hoses on the M/C

3. Fill 3/4 of the way with brake fluid (you don't want any to splatter due to the bubbles).
4. Take your phillips screwdriver, line it up and begin compressing the piston at a medium pace (I couldn't resist for all you Adam Sandler fans:wave
You'll do this as long as it takes to get rid of ALL the air. I actually let it rest half way through the process for about five minutes (got distracted by the wife). I think it let the remaining air collect and rise to the highest point inside the cylinder. I continued cycling it until absolutely no air bubbles were present.
At this point, I wasn't quite ready to install it on the truck, so I capped off the reservoir and used the tiny one-way valves that came with the kit to plug the hoses. Surprisingly, when I did go to install the M/C, it didn't really leak fluid from the ports on the side of the M/C (where the vehicle's brake lines attach). None the less, have plenty of shop towels around to protect your vehicle.
That's it. Now you'll have an air-free master cylinder.

