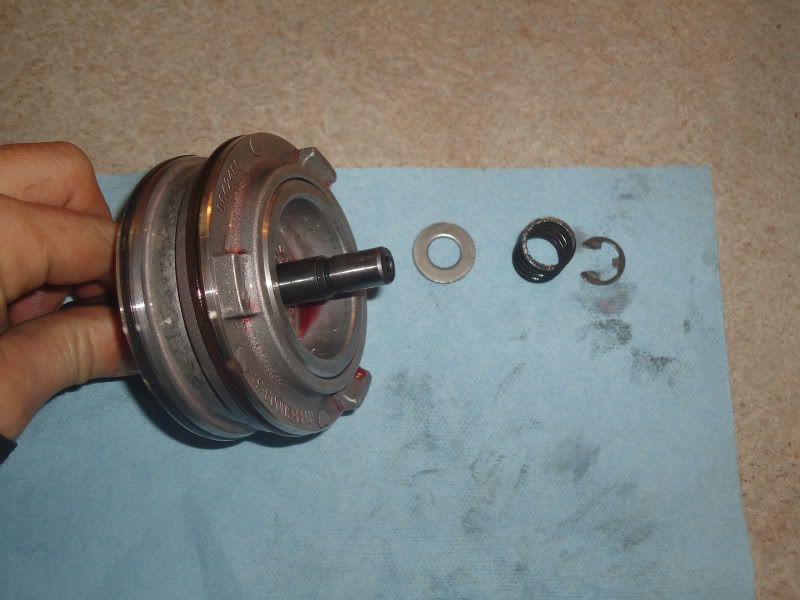
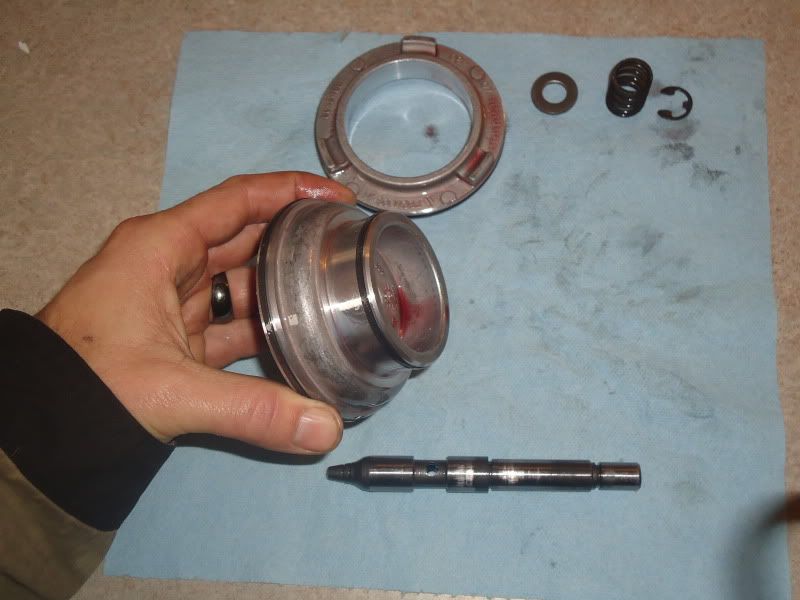
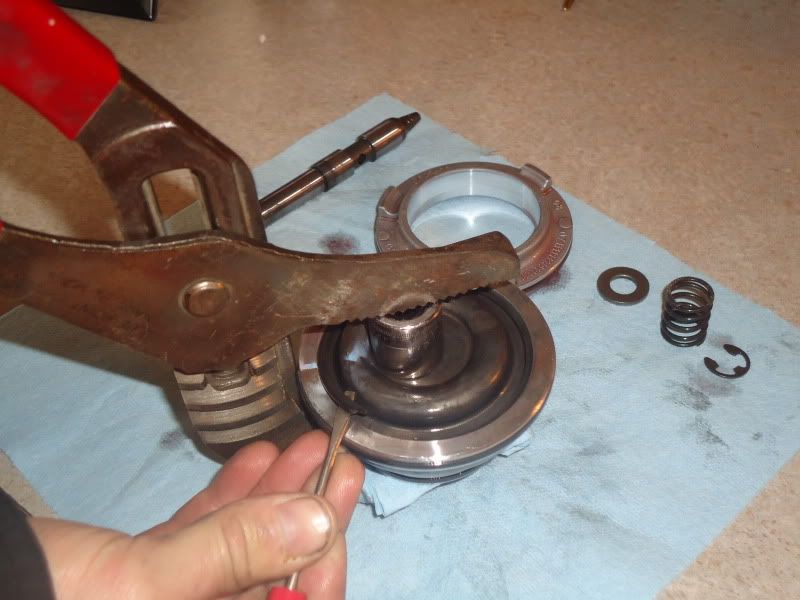
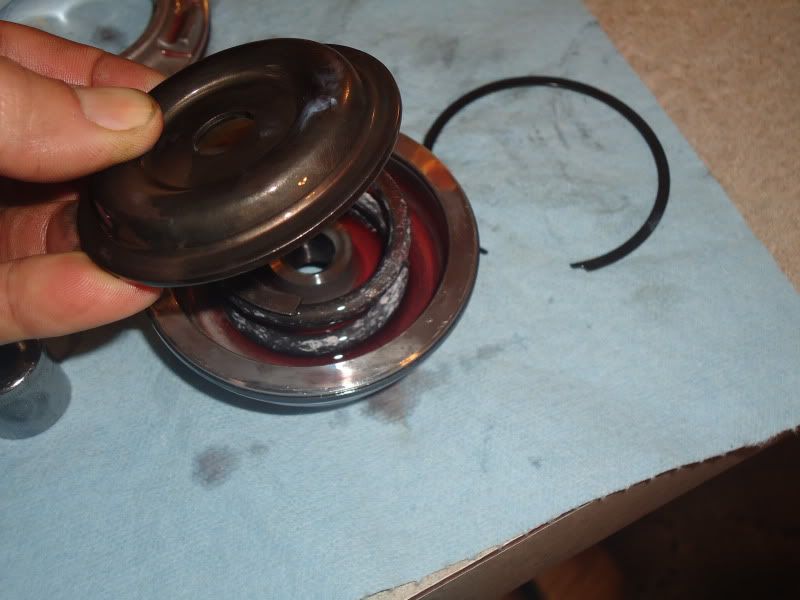
See post #2 for disclaimer and credit.
Intro.
For all you guys wanting or wondering about how and what it takes to upgrade your 4L60E and 4L65E transmissions, this will give you an idea of what you will be getting into. Personally if you are mechanically inclined and have basic hand tools YOU CAN DO THIS. Transmissions can be intimidating due to all the small parts and the amount of parts internally. But if you do your research, read carefully, take your time, keep things organized, clean, and double check your work it can be accomplished.
What is the point of a shift kit/servo upgrade?
The best way to describe this (at least that I can describe) is to use the word "overlap". On a bone stock transmission, overlap is referring to the softness between upshifts (1-2, 2-3, 3-4) and also downshifts. For example, when you ride your brakes while driving the pads will fail and wear a lot sooner and generate heat right? Take that and convert it over to what happens in a transmission. When your transmission is shifting into a higher gear, the lower gear has not fully released all the way. So for the short time the transmission is in two gears at once they are essentially "slipping" as one or the other has not fully engaged. Hence the saying "overlap". This is also happens on a downshift as well. This generates heat and removes clutch and band lining at a greater rate. As well as glazing/polishing the clutches, steels, drums, band, etc. When you install a "shift kit" and servo upgrade you are positively modifying the valve bodies ability to apply and/or direct fluid to the clutch or band apply circuit. This firms or quickens shifts by releasing and applying circuits more efficiently and reducing "overlap". Now for those who ask "will my transmission hold up by doing this for so and so mods / horsepower?" There is not answer to that. Again this is a process to help the longevity of the stock 60E due to the issues above. This will not correct breaking of input/output shafts, pinion failure, reaction sun shell breaking, etc. With all that happens inside a transmission it’s hard to tell what’s going to break first with all the variables for a failure.
What parts to use.
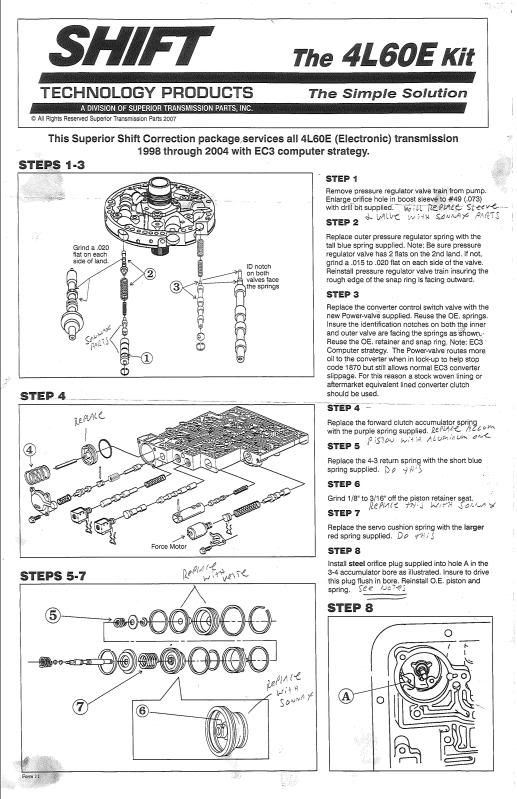
There are a good handful of parts and pieces out there to choose from when it comes to this upgrade. The parts listed below are parts that I have used and have had good experience with. So I will suggest these to you. I am not at all saying the other parts on the market are inferior such as Trans-Go as many run their product with good luck, but I have not heard anything as far as negative feedback with these. First off, you can easily find 90% of these parts on this website http://www.transmissioncenter.net/4l60e.htm You might have to hunt around a little on the site for the parts but you will find them. They should be in descending order through the web page. I will have the part number first, part name, and a little description as to what it is and why to use it.
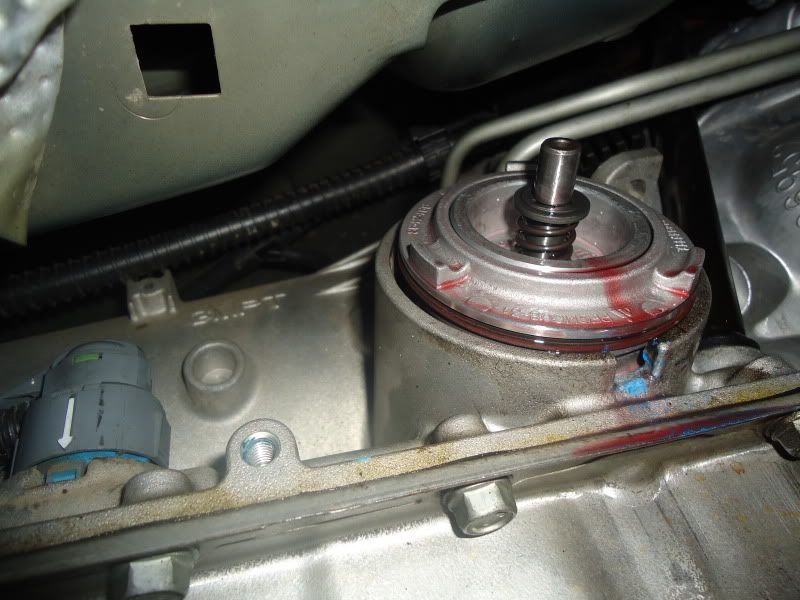
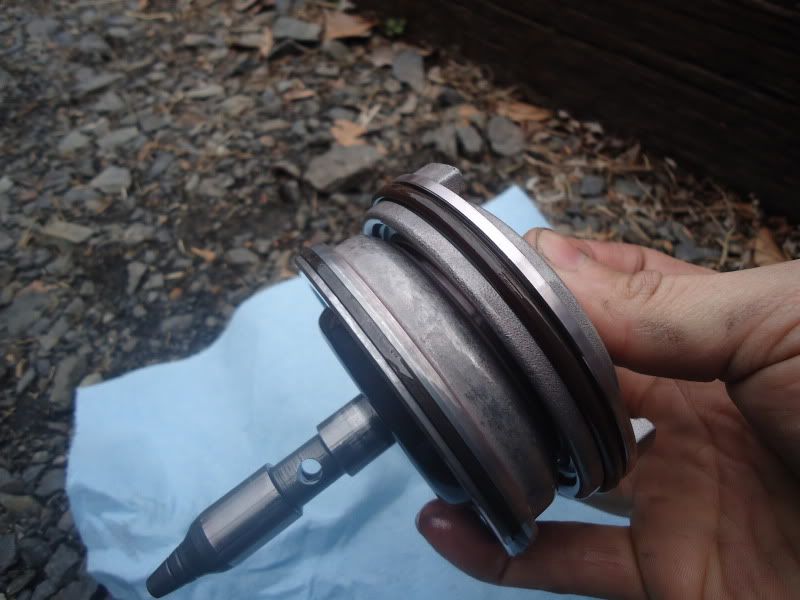
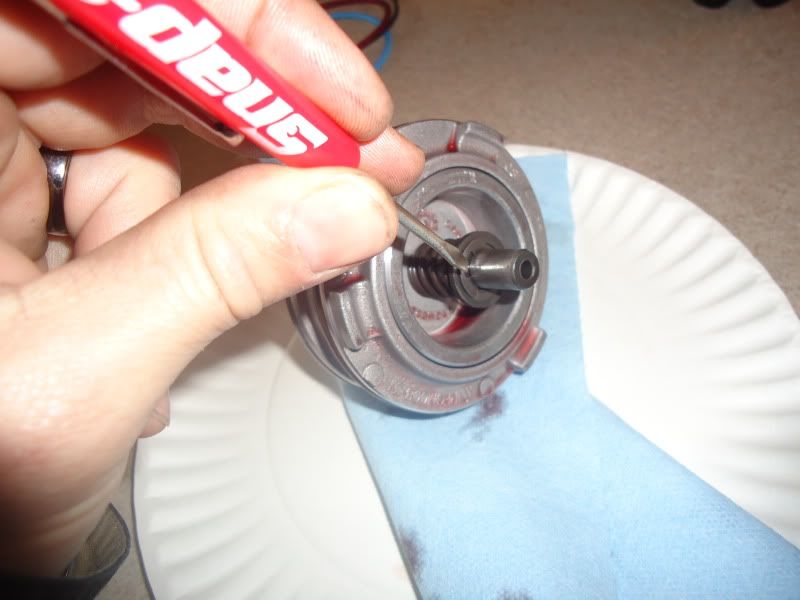
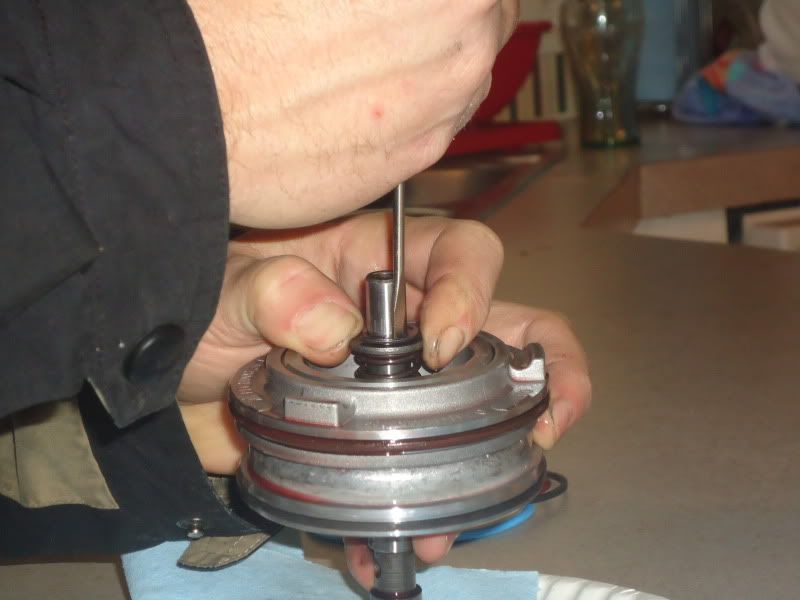
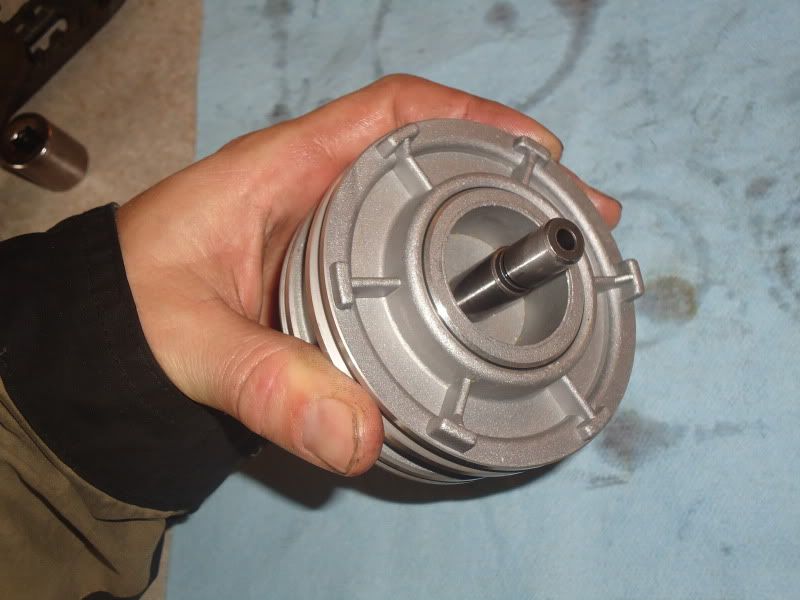
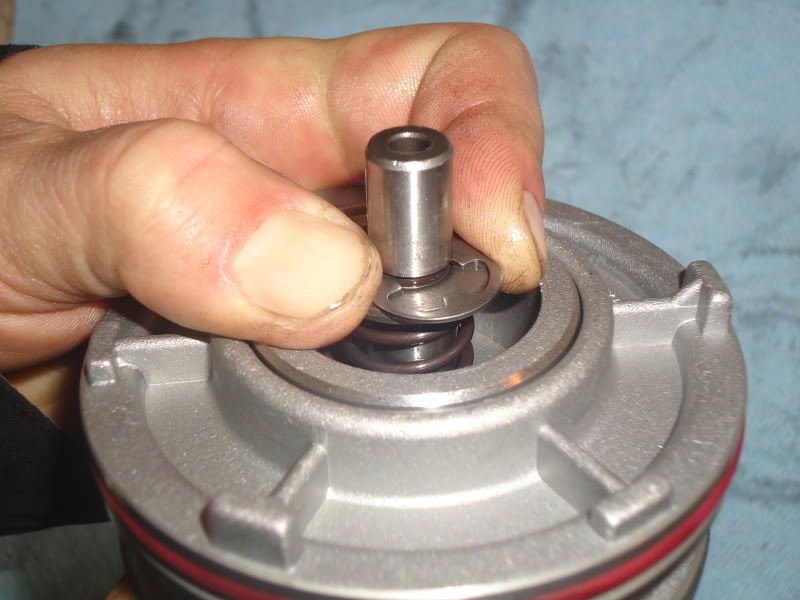
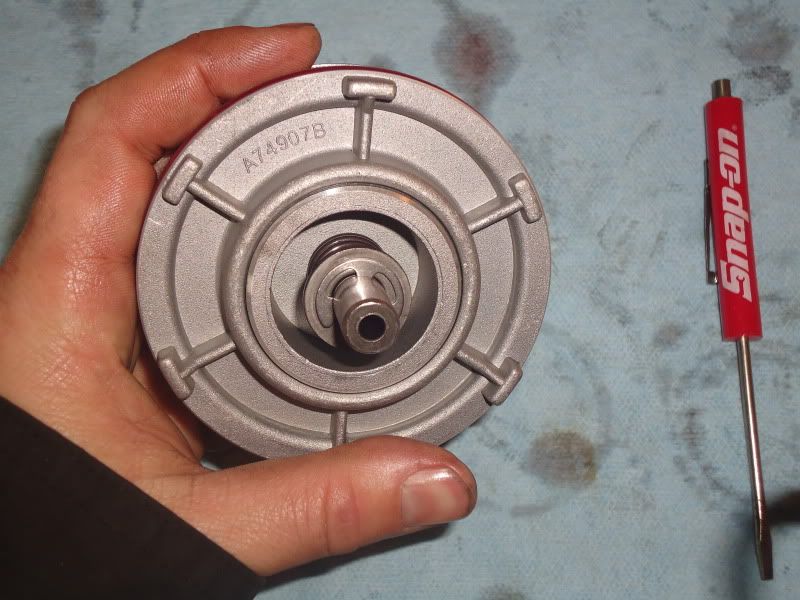
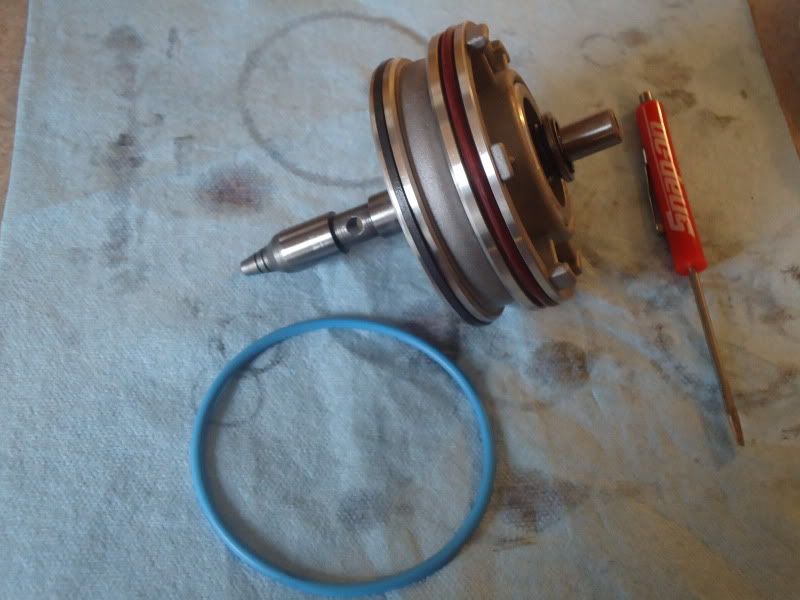
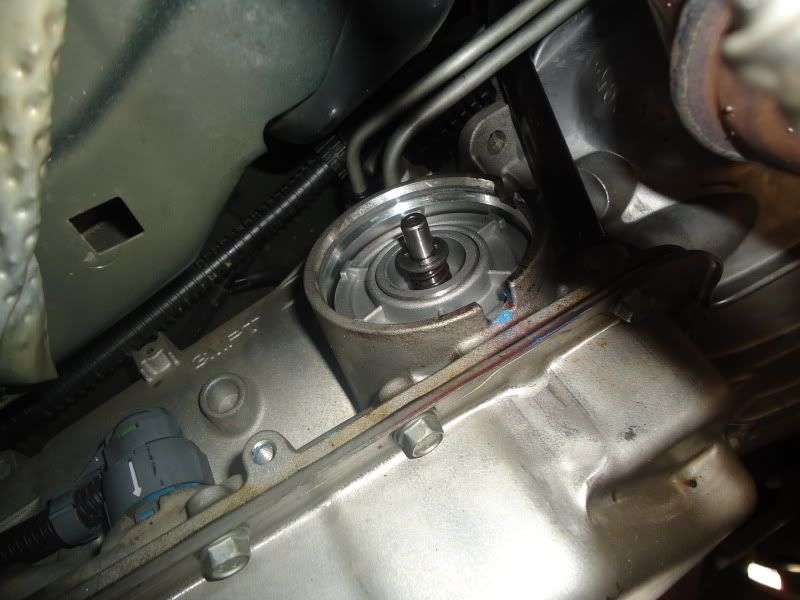
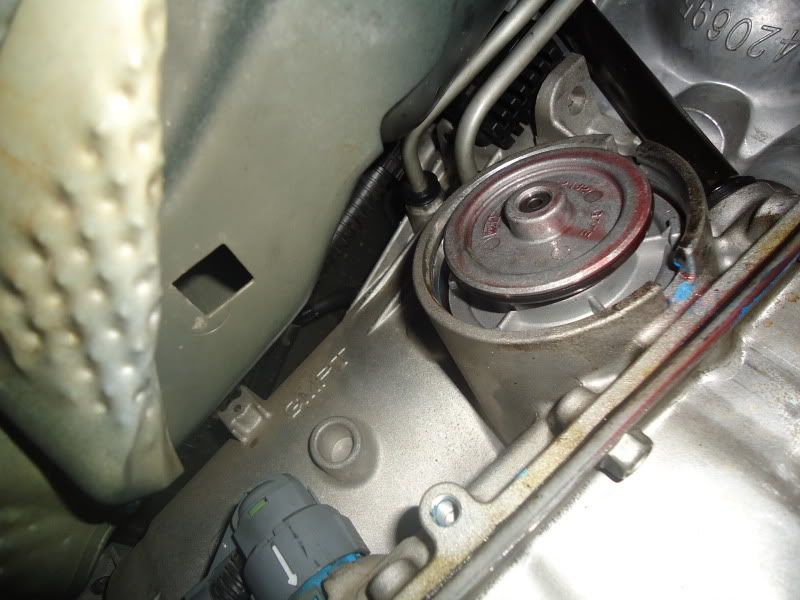
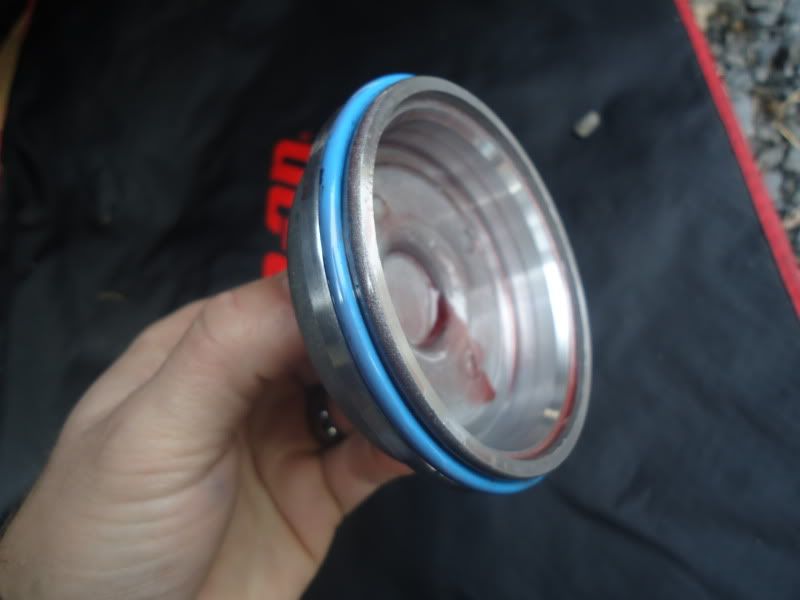
#2 – 4L60E Corvette 2nd Intermediate Servo : This is the servo that comes in high performance Corvettes and Camaros. It has a greater fluid apply surface area which in turn will apply or "grab" the 2-4 band more efficiently. Other options are the Superior and Sonnax 2nds. I have ran both the Corvette and Superior 2nd in different transmissions and in my opinion one isn’t any better than the other as far as applying. They both felt the same. There is thought you will get a better 2-3 shift from the Superior and Sonnax, but for the money the Corvette is by far the best bang for the buck.
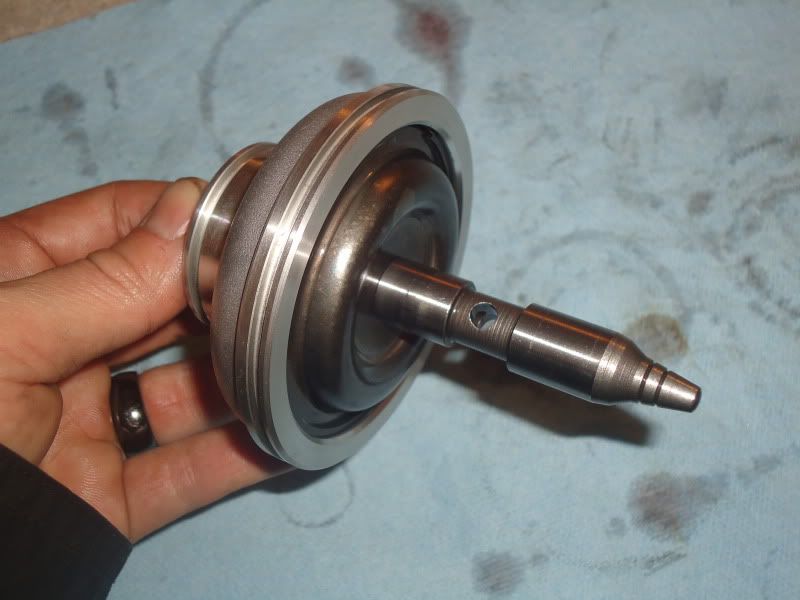
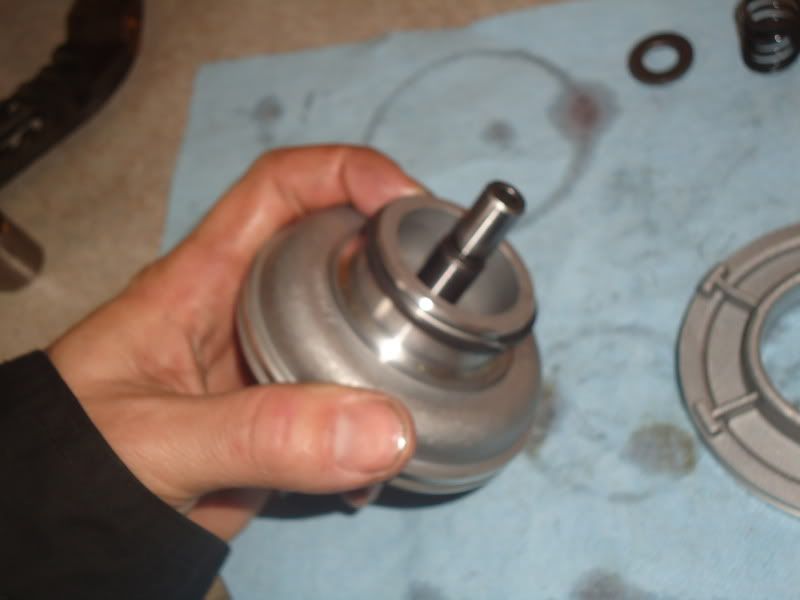
#3 – 4L60E high performance overdrive 4th servo : Made by Sonnax and has a 40% more holding power (fluid apply area) than the factory 4th. This will not remedy the weak 3-4 clutch pack 60E's are known to have but will obviously help (which is the point of this whole write-up)
#27 – 4L60E / 4L65E oversize .490" pressure boost valve and sleeve. The stock size is .470" and the larger diameter valve will yield a 10% to 15% higher line pressure. Instead of drilling the factory sleeve with the drill bit supplied in the shift kit, you will just replace factory ones with these.
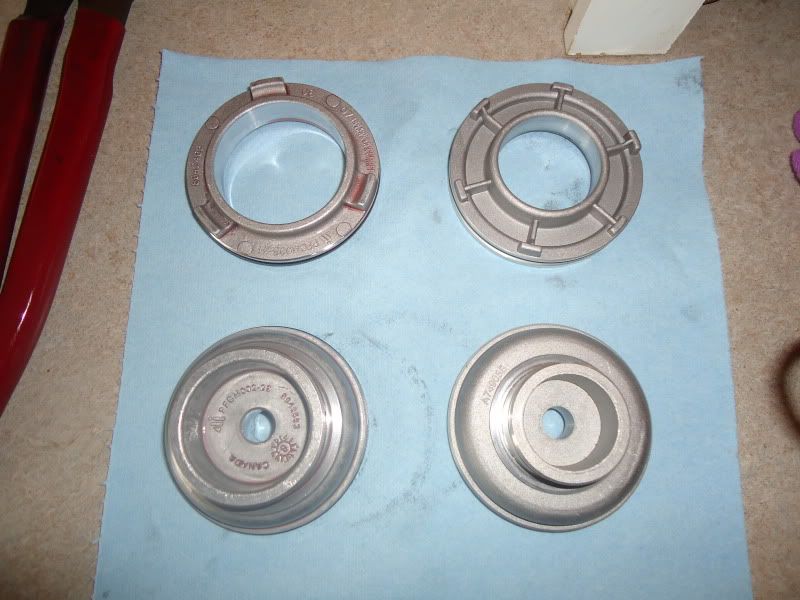
#37AP2 – 4L60E Billet Forward Accumulator. This piston goes in the valve body and cushions the shock when shifting from reverse to drive. Very common for the factory plastic piston to wear or crack. This will result in fluid loss, delayed engagement, slipping, burned clutches and/or band. This is a very cheap part and should most defiantly be replaced. You will replace a spring or springs in this bore so replace this!
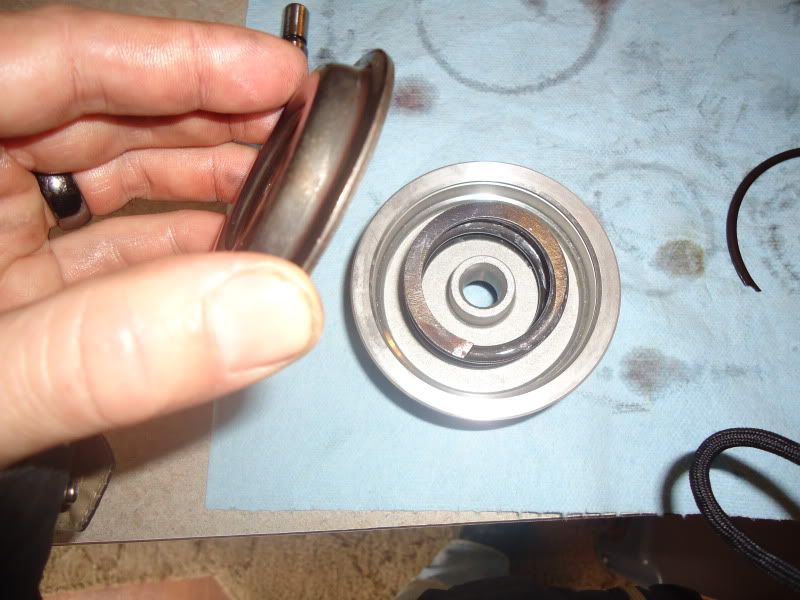
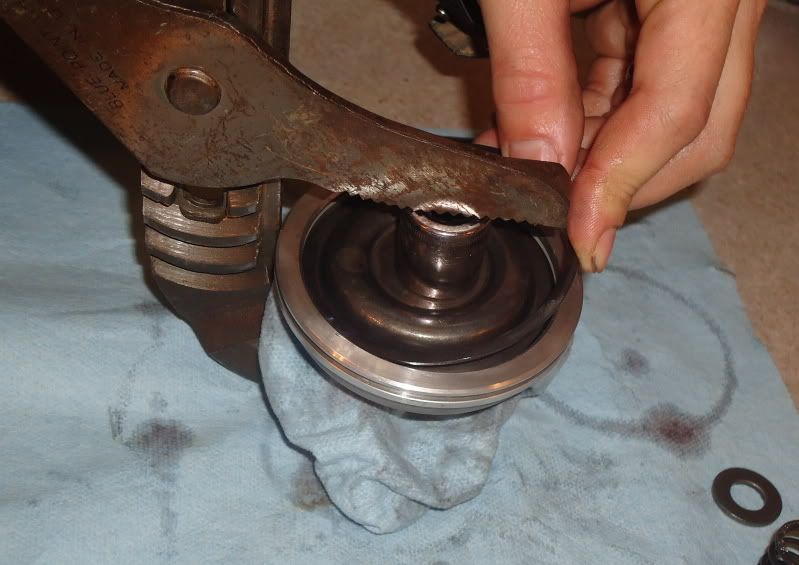
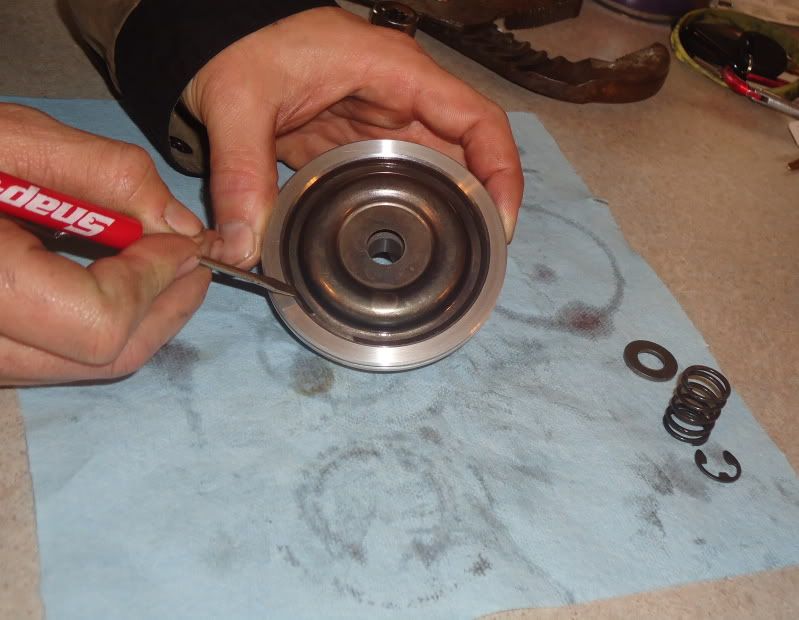
#37AP – 4L60E 3-4 factory accumulator piston. These are aluminum from the factory but have a tendency for the center hole to wear resulting in loss of pressure. Again, you will have this out so replace this!
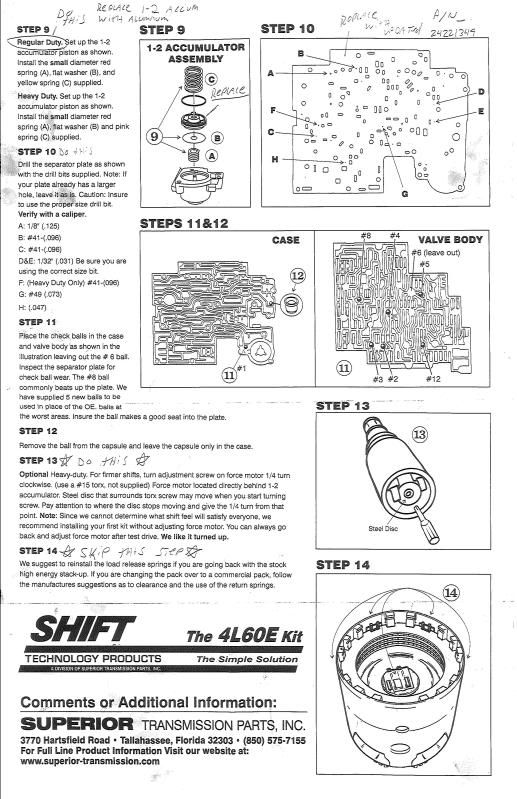
#37AP3 – 4L60E 1-2 factory accumulator piston. Same issue as above. Replace due to having out.
#K4L60E-L – Superior Shift Kit fits 1998 and up. Self explanatory. As stated above, I am suggesting this kit due to the fact of the positive feedback I have had from it, and others as well.
You will need to get this from your local GM Dealer.
P/N 24221349 - GM Updated Valve Body Spacer Plate and Gasket set. Reason behind replacing this is the factory separator plates had an issue with the checkballs deeply wearing into the plate and sometimes all the way through. My factory transmission had shy over 30k miles on it, and one of the checkballs by the 1-2 accumulator housing had worn a pretty good groove in the plate already. Don’t remember the cost, but it wasn’t bad.
Fluid Filter and Pan Gasket Kit
You will need a fluid filter and pan gasket kit. You can either get this from your GM dealer while you are there or your local O'Reilly, Napa, ect.
Fluid
For fluid brand, that is up to you. To be honest, O'Reilly ATF is perfectly fine and is what I use and many others as well. If you feel you need to have a brand name such as Valvoline go for it. Pick up a case, you will have extra but you can take the extra back or keep it for future instances. Always good to have ATF on the shelf.
Fluid Friction Modifier
While you are at your local O'Reillys, pick up a bottle of Platinum Lube Guard transmission fluid friction modifier. What is this you say? In a nut shell, all ATF has some sort of friction modifier in them. They are chemical additives in the fluid that effect how the transmission feels when it shifts gears. Specs vary to one make or model to the other, hence the variety of ATF's out there. As miles add up, or "abuse" is given to the trans heat and consistent shearing of the internal parts break down ATF. When this happens one of the first things that goes is the friction modifiers in the fluid. When this happens shifts may become rough and jerky. Ever heard of someone saying when they changed transmission fluid and filter it shifts so much better? Wala. When filling your transmission up with new fluid, pour a bottle of this in with it.
Misc
A few other odds and ends you should have when doing this. If you have access to Vaseline you will need a tiny bit to keep the checkballs in place during re installation. Also 3-4 cans of brake clean.
Tools
1/4 ratchet
3/8 ratchet
Various metric sockets and wrenches
Flat blade screwdriver
1/4 or 3 /8 torque wrench
Various picks if applicable
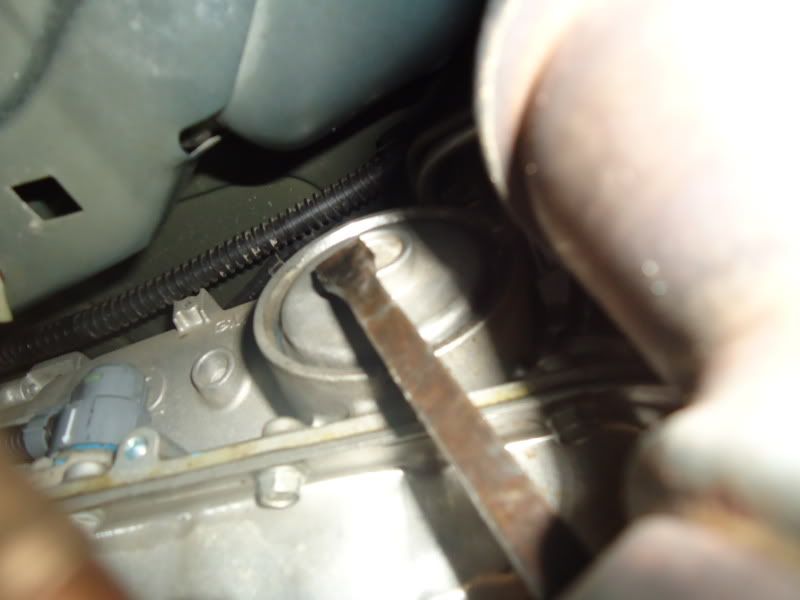
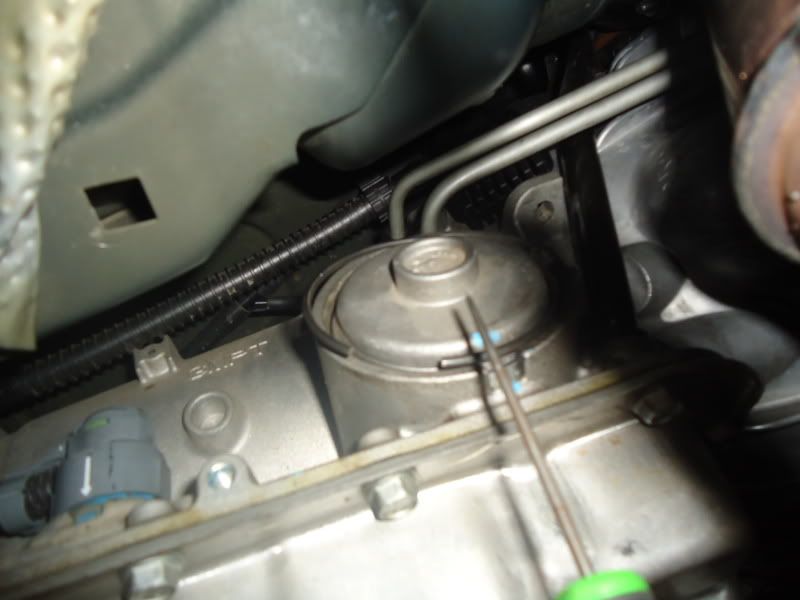
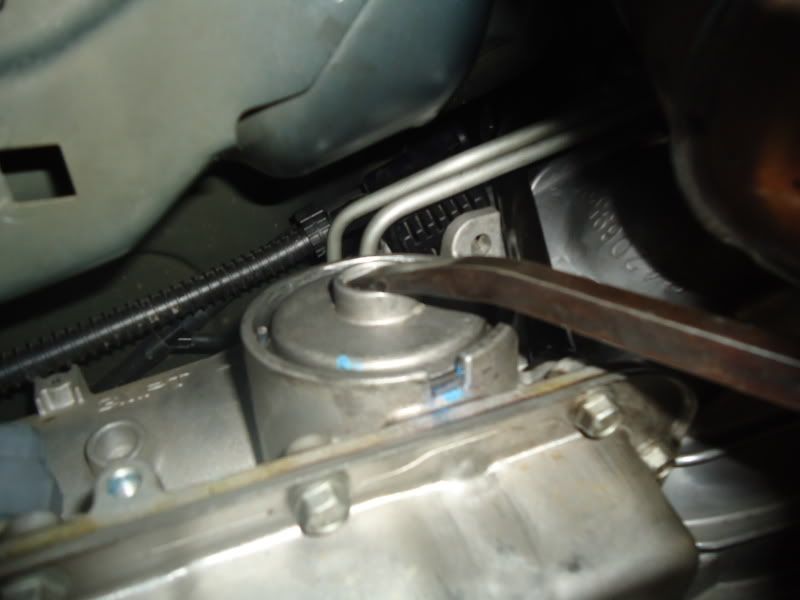
Handle to pry servo cover with
Drill


