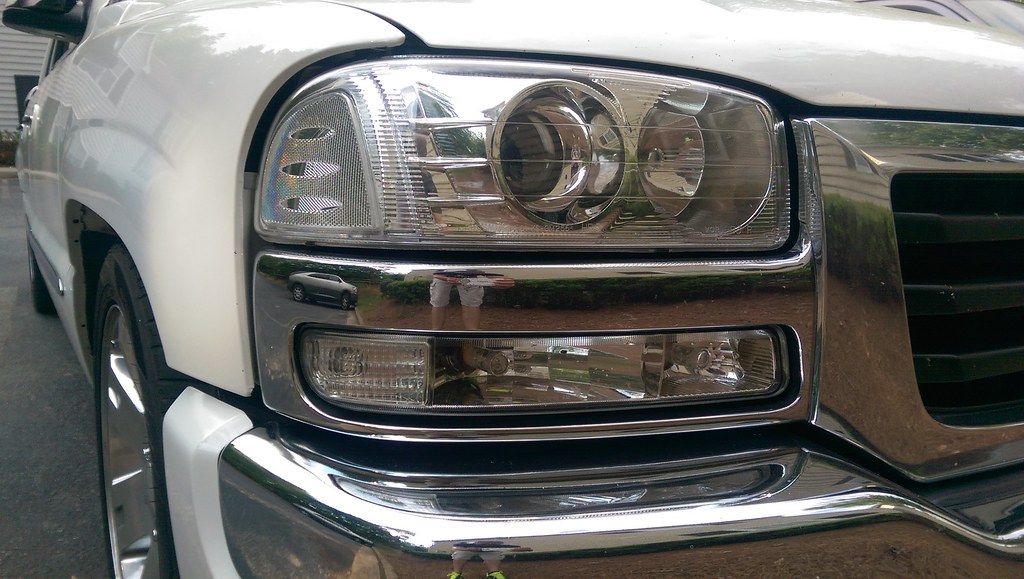
Here is my How to on retrofitting the factory Denalis.
My write up is a little different as i was re-retrofitting, so removing the projector from the housing is similar but a little different.
the parts you will need are
(2) Aftermarket Morimoto 6.0 Projectors
(8) 8-32 bolts that are 3/4" long
(8) 8-32 Nuts, (doesn't have to be a lock nut since silicone will cover the end of the bolt anyway)
(1) 7/32" Drill bit
(1) Tube of Silicone (most people use black or clear, i only had red in stock, and its not like your really going to see it anyway)
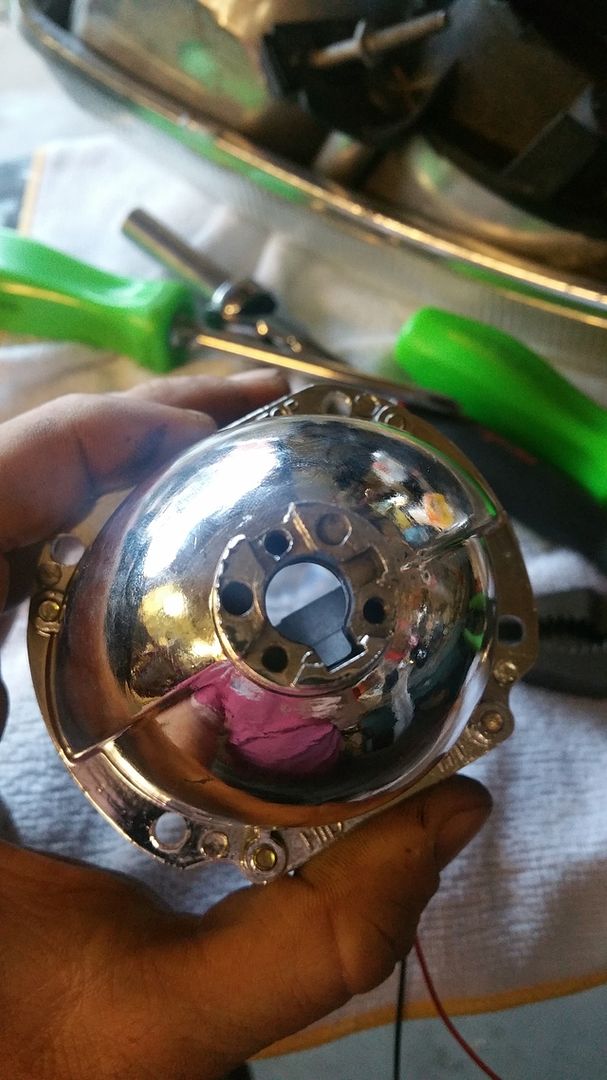
The first thing you need to do is remove the Mounting Bracket, It should be 4 screws and 1 nut (10mm socket on mine)
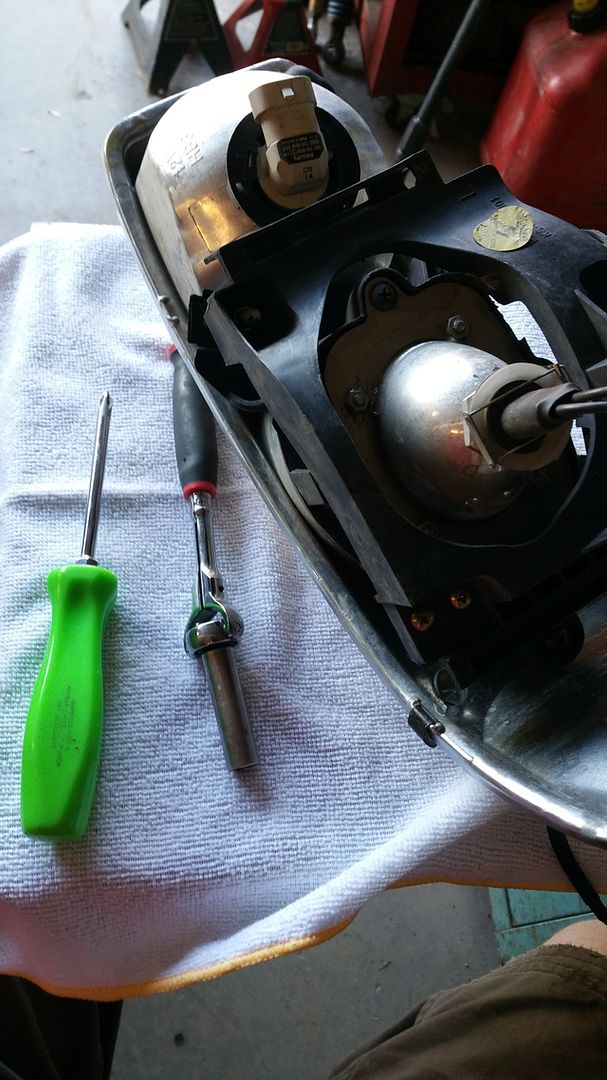
Now you have the 2 screws that hold the projector into the housing. You can see last time i used a clear silicone.
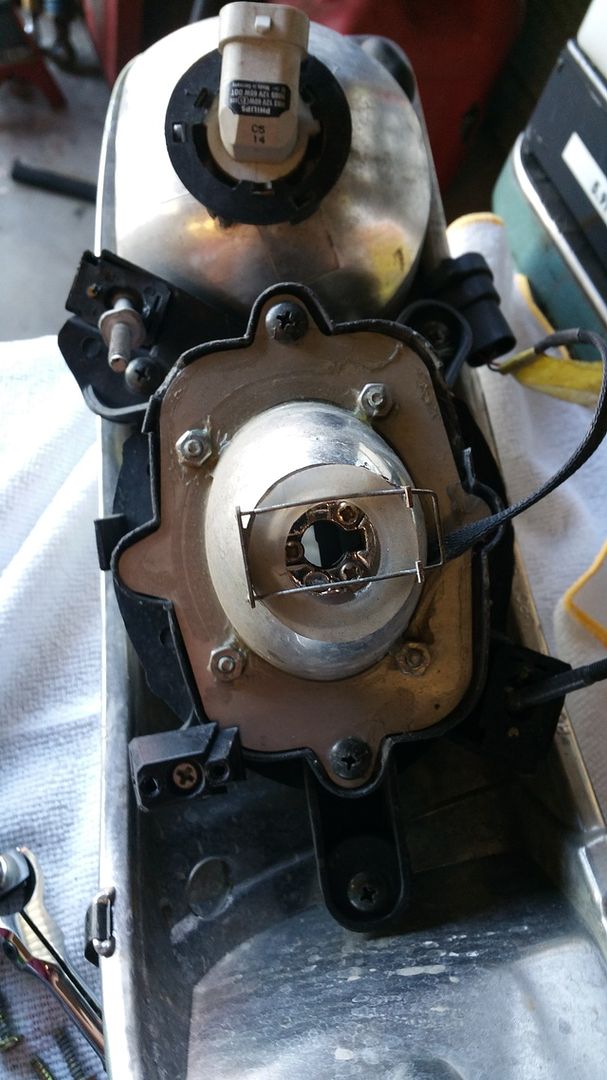
I drilled out the projector's holes to 7/32 as they reall are microscopic from TRS
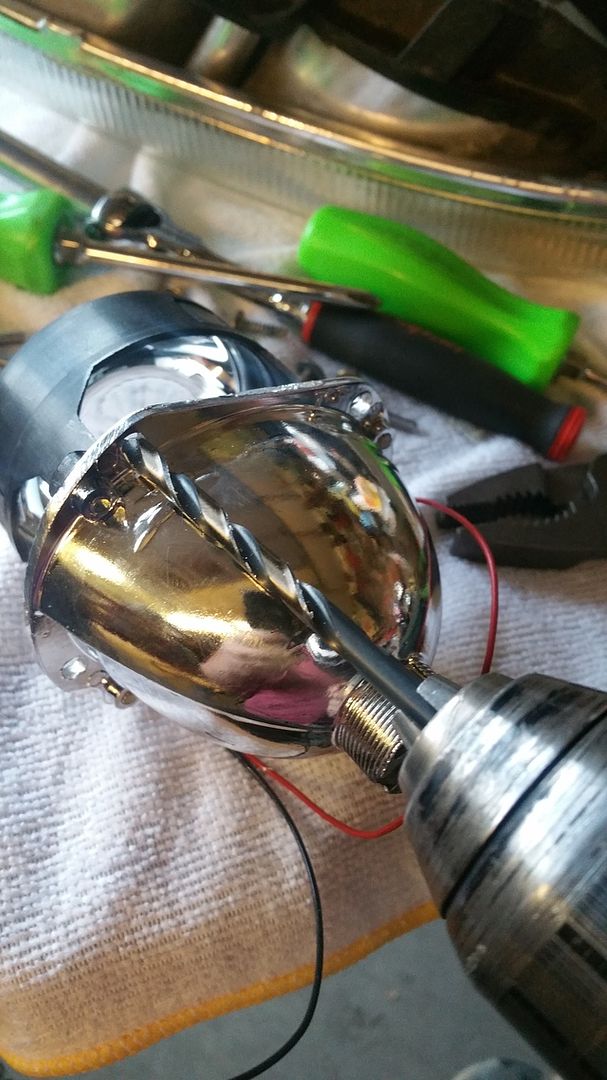
Still leaving plenty of meet left on the projector.
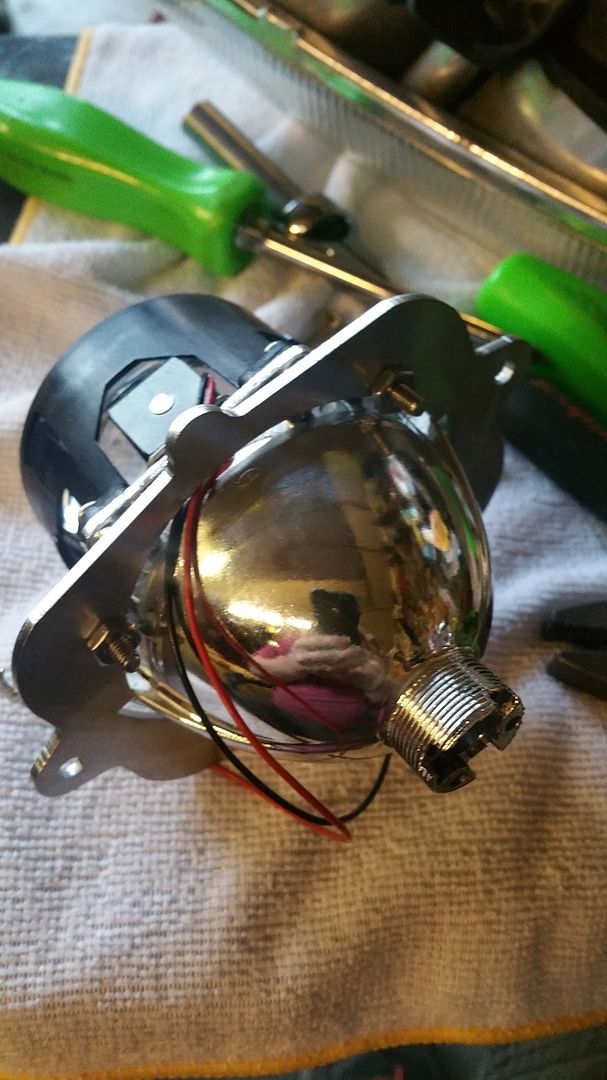
**NOTE** Make sure you run the wires for your cutoff plate through the opening before putting the plate all the way onto the projector.
Next is to start putting your bolts and nuts through the plate and projector to pair the 2 together.
** NOTE** Start each nut and get them evenly on before you go snugging stuff up, because the way the projector is, it can tighten one part to much, making the plate sit way crooked making the other bolts impossible to put in.
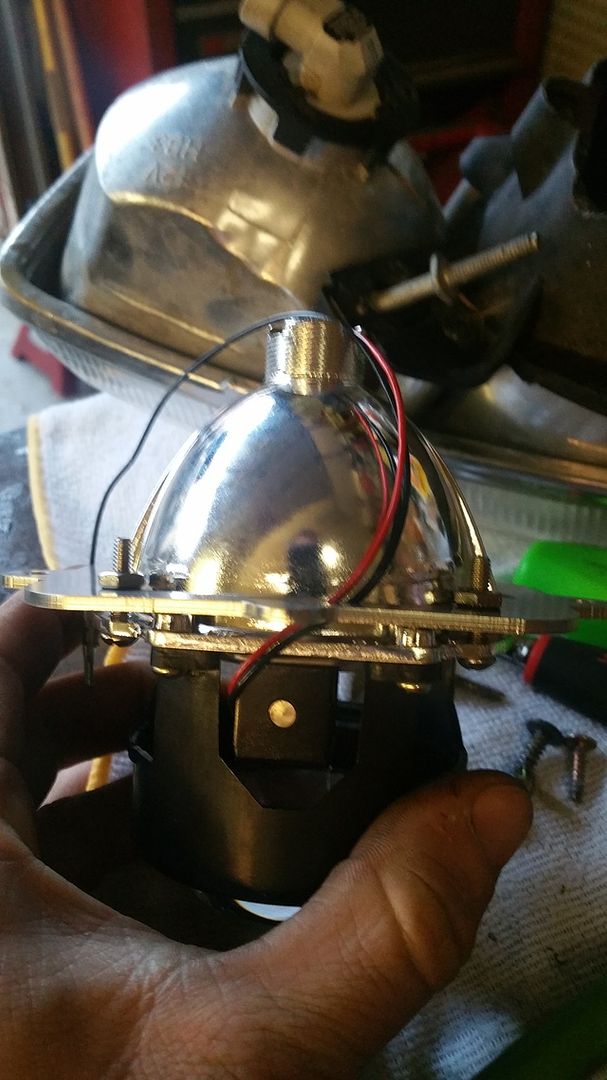
It should appear like this.
make sure you have it centered and start snugging up the bolts (it should basically be center, but after tightening, make sure it doesn't get pulled a certain direction by the bolt.
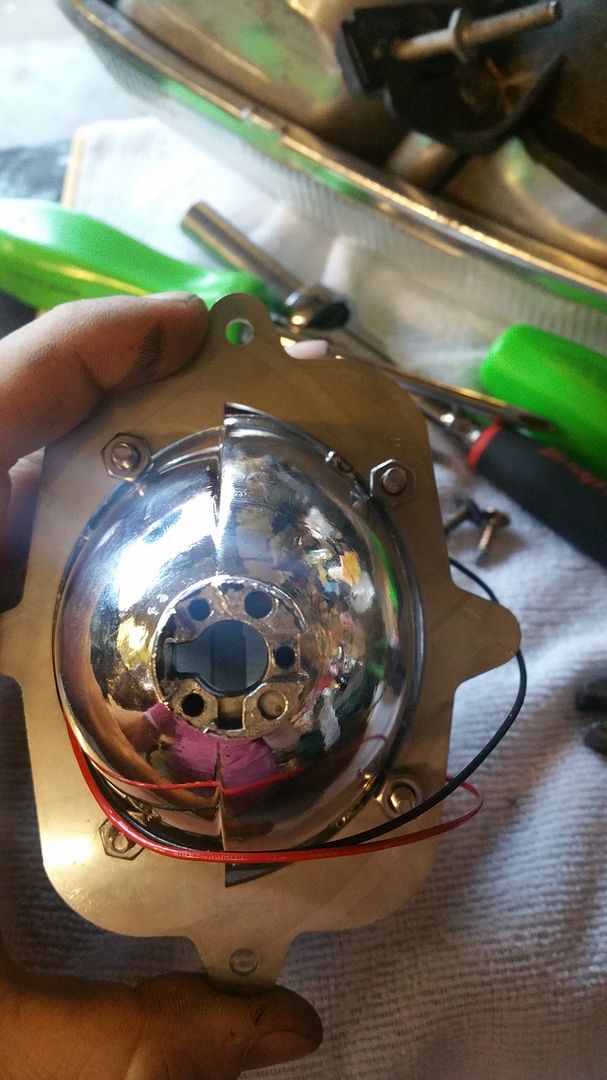
The one bolt hole is off in the plate, not by much, and not nearly enough to make a difference. Remember we are holding a 1lb retrofit projector in place not a wheel and tire.
**Note: I saved the crooked one for last to tighten since it would be the most likely to pull the plate a direction.
The other sides bolts are perfectly flat.
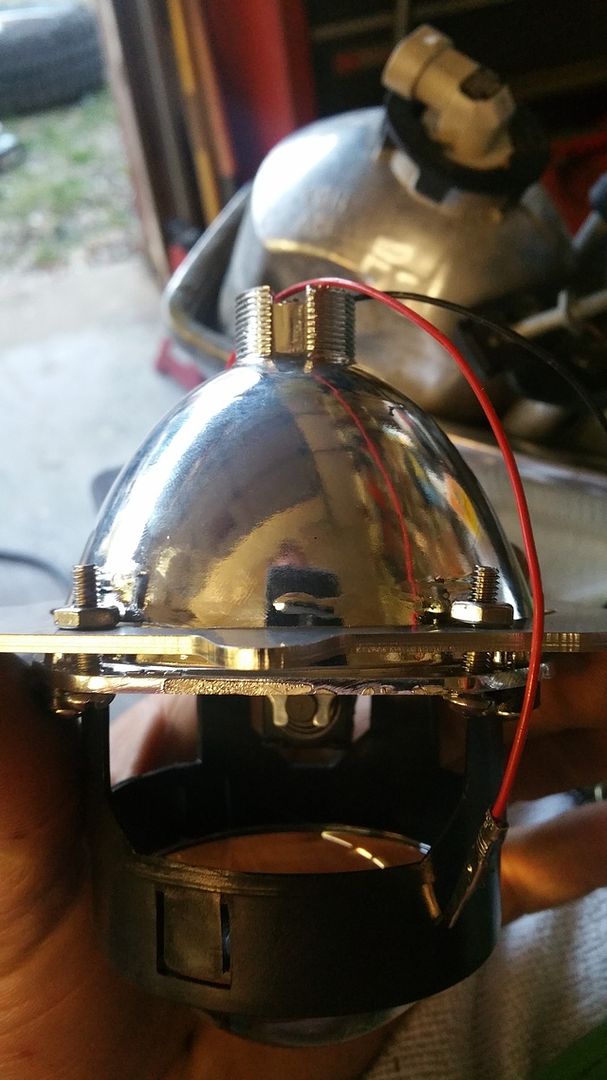
The next step is to put the silicone on where the plate attached to the housing. The red also lets me show the silicone a lot more
**NOTE** do not use a ton of silicone on this part, it can get into the housing making it look like shit and get everywhere.
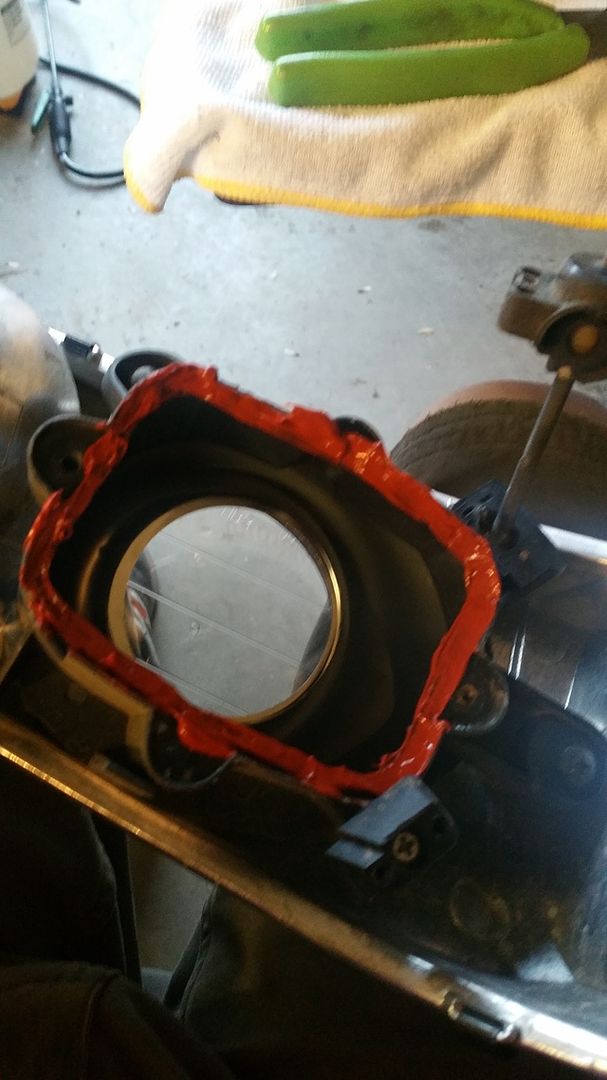
Then put your plate in and bolt it down, the projector is large, i had to get mine to kind of pop over the housings lip to where it will sit flush, It may take a little bit of wiggling.
Then you seal up the projector to the plate. Mine was messy because i lost the tip to the silicone tube,
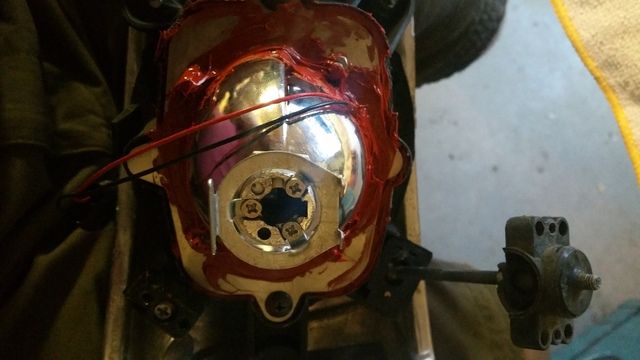
You can also see the little plate that TRS sends with the projector, it is held on by 3 tiny screws, that's what holds the HID into the housing.
THen just put the mounting bracket back on the way you took it off and you are pretty much done.
My write up is a little different as i was re-retrofitting, so removing the projector from the housing is similar but a little different.
the parts you will need are
(2) Aftermarket Morimoto 6.0 Projectors
(8) 8-32 bolts that are 3/4" long
(8) 8-32 Nuts, (doesn't have to be a lock nut since silicone will cover the end of the bolt anyway)
(1) 7/32" Drill bit
(1) Tube of Silicone (most people use black or clear, i only had red in stock, and its not like your really going to see it anyway)
The first thing you need to do is remove the Mounting Bracket, It should be 4 screws and 1 nut (10mm socket on mine)
Now you have the 2 screws that hold the projector into the housing. You can see last time i used a clear silicone.
I drilled out the projector's holes to 7/32 as they reall are microscopic from TRS
Still leaving plenty of meet left on the projector.
**NOTE** Make sure you run the wires for your cutoff plate through the opening before putting the plate all the way onto the projector.
Next is to start putting your bolts and nuts through the plate and projector to pair the 2 together.
** NOTE** Start each nut and get them evenly on before you go snugging stuff up, because the way the projector is, it can tighten one part to much, making the plate sit way crooked making the other bolts impossible to put in.
It should appear like this.
make sure you have it centered and start snugging up the bolts (it should basically be center, but after tightening, make sure it doesn't get pulled a certain direction by the bolt.
The one bolt hole is off in the plate, not by much, and not nearly enough to make a difference. Remember we are holding a 1lb retrofit projector in place not a wheel and tire.
**Note: I saved the crooked one for last to tighten since it would be the most likely to pull the plate a direction.
The other sides bolts are perfectly flat.
The next step is to put the silicone on where the plate attached to the housing. The red also lets me show the silicone a lot more
**NOTE** do not use a ton of silicone on this part, it can get into the housing making it look like shit and get everywhere.
Then put your plate in and bolt it down, the projector is large, i had to get mine to kind of pop over the housings lip to where it will sit flush, It may take a little bit of wiggling.
Then you seal up the projector to the plate. Mine was messy because i lost the tip to the silicone tube,
You can also see the little plate that TRS sends with the projector, it is held on by 3 tiny screws, that's what holds the HID into the housing.
THen just put the mounting bracket back on the way you took it off and you are pretty much done.