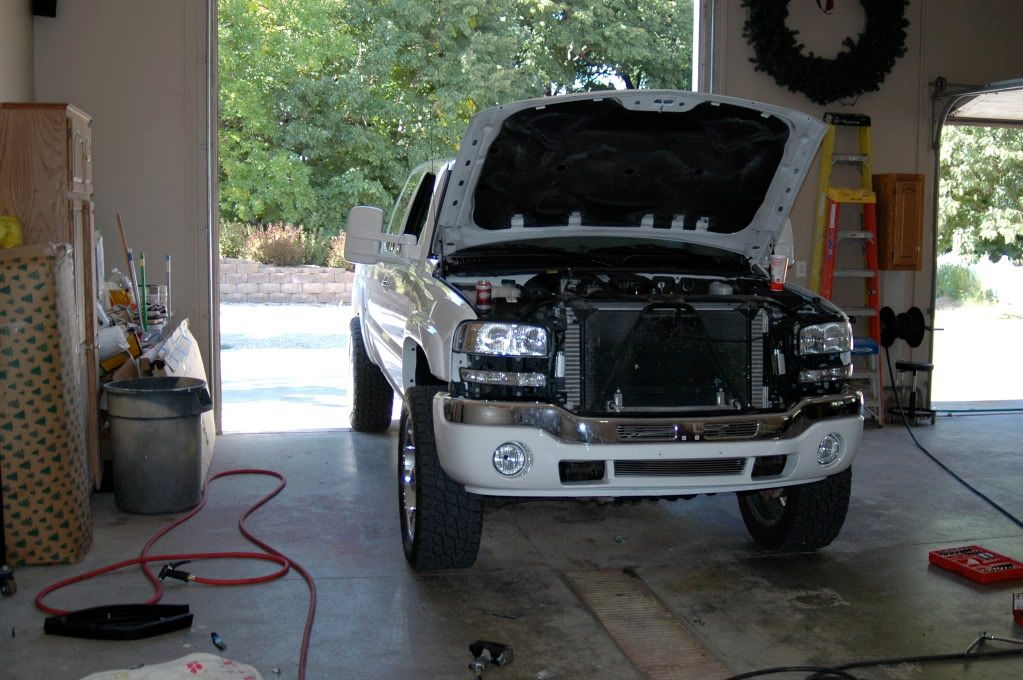
Redoing this because I still get questions almost daily on my instagram. My first write-up wasn't the best for those that have no mechanical skills and can't figure small things out for themselves. With that said I took better pictures the last time I had my bumper off my regular cab doing something, can't remember what it was.
You can use washers to raise the bumper, that's how I did it the first few times, that way is nice because you can tweak the bumper about 1/16th of an inch at a time to get the gaps nice and even by adding or removing spacers. People always criticize using spacers/washers and comment that it won't be strong in case of a collision. Well I was hit directly on the drivers front last February... bumper held up fine and it took quite a hit to the point that the crash tweaked my frame slightly and had to be straightened.
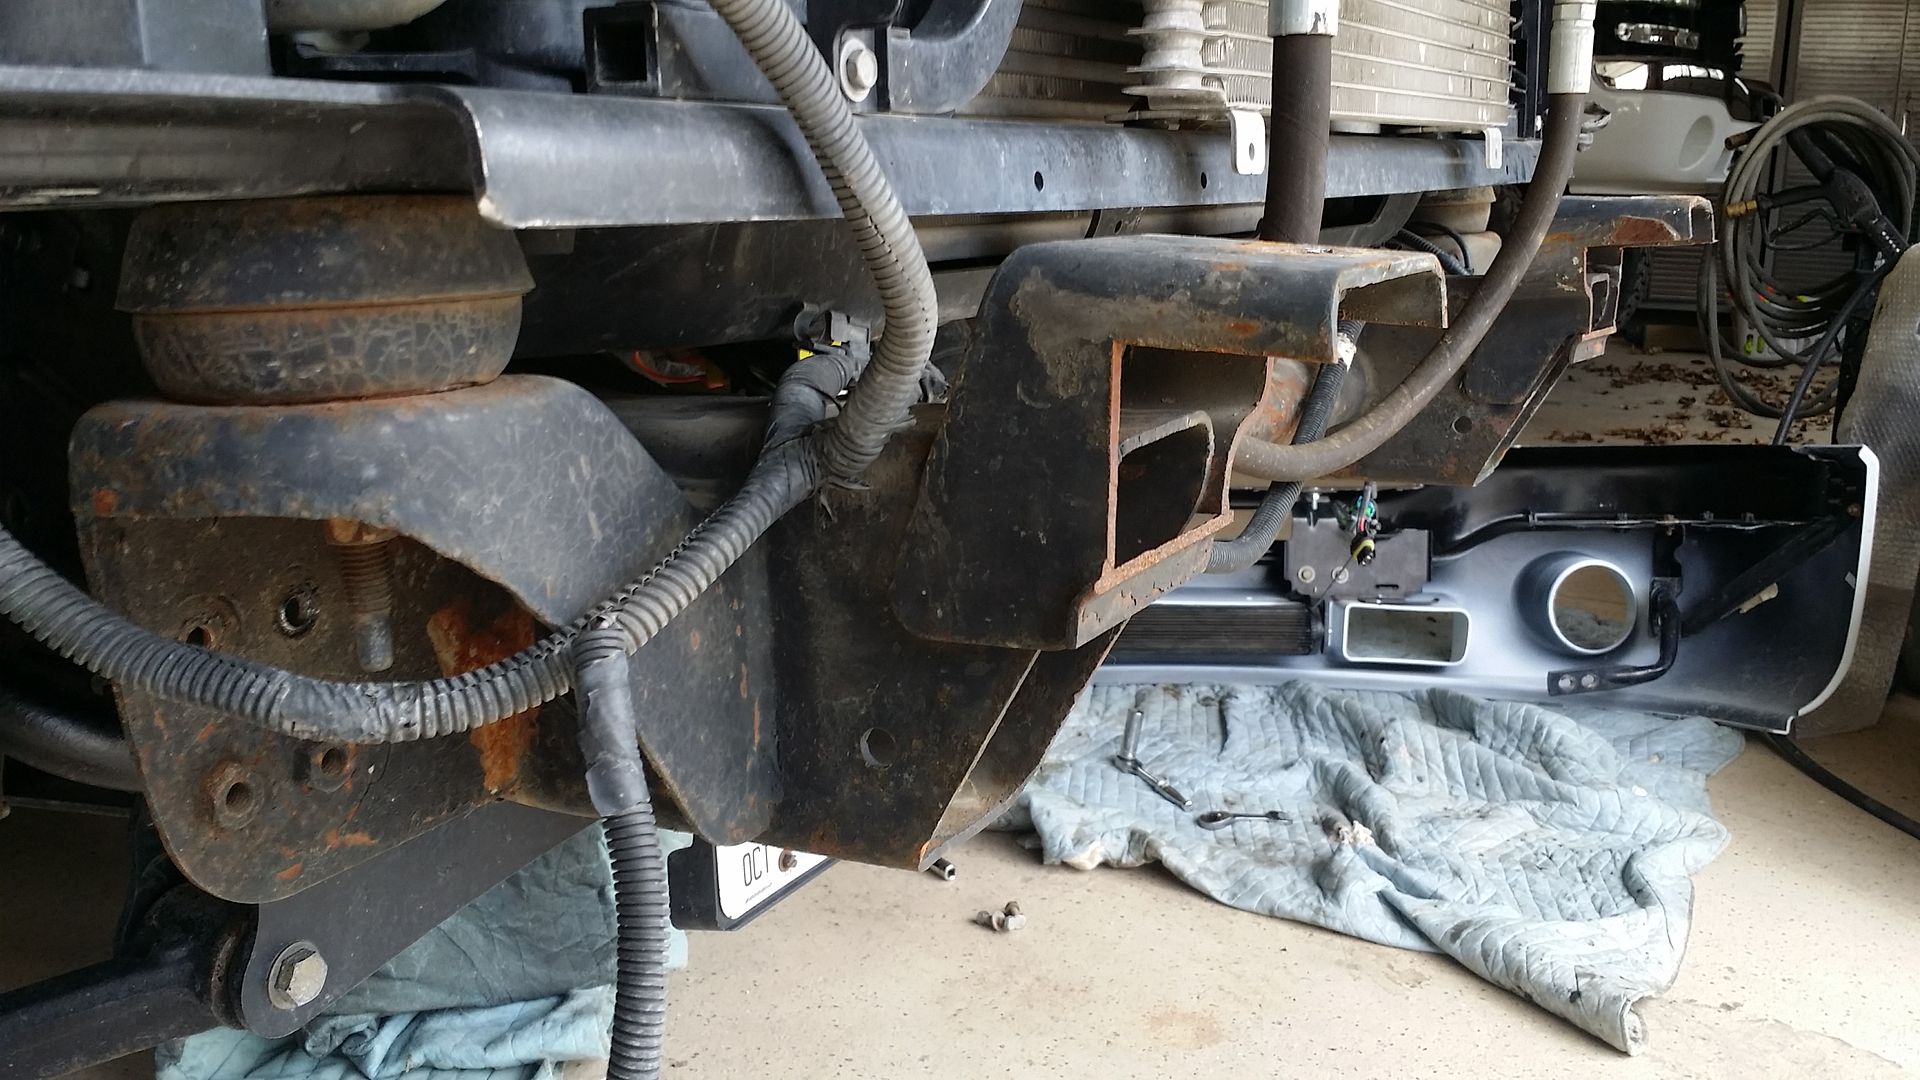
Start out by taking off the grille shell, shroud that goes over the core support with the 8 push pins so you can reach four of the bolts that hold the bumper on. After you get those four there are brackets on each side of the bumper with two additional bolts on each bracket.
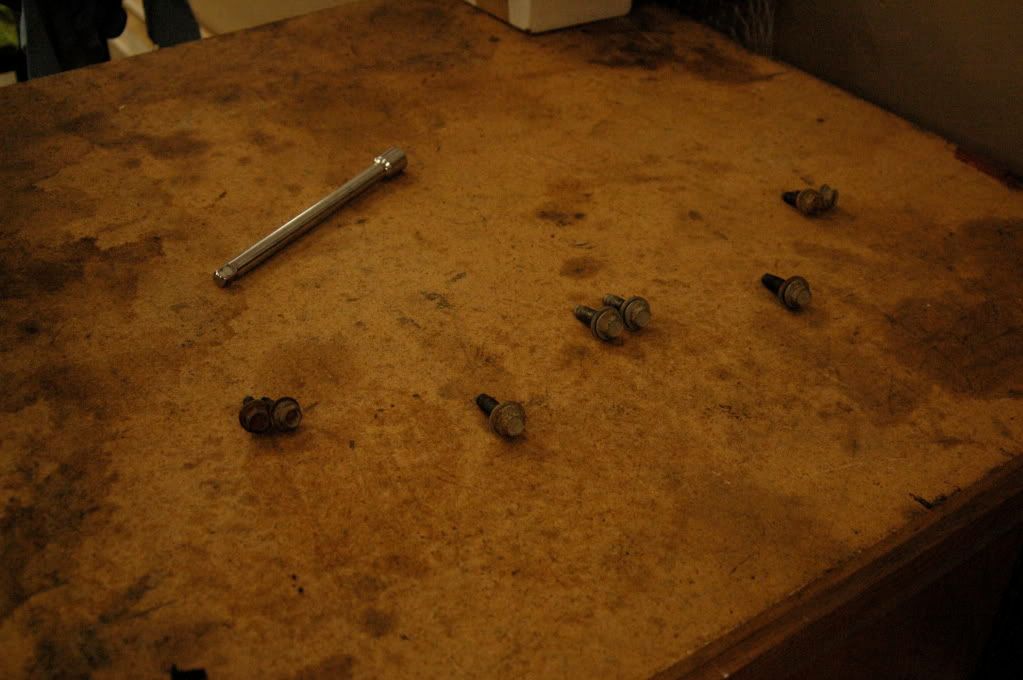
Bolts removed:
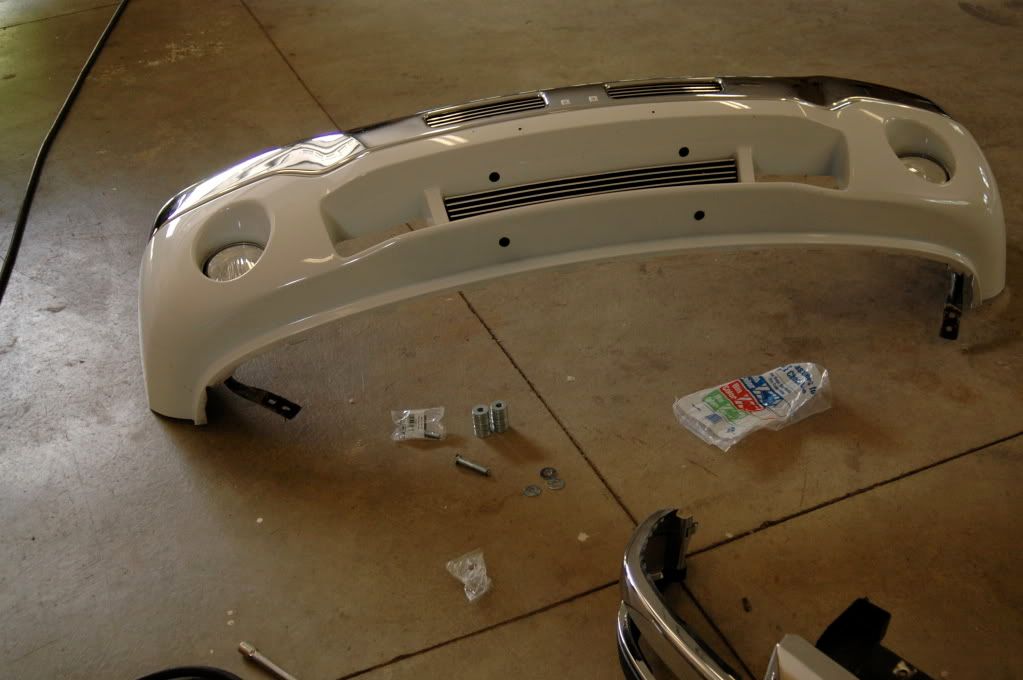
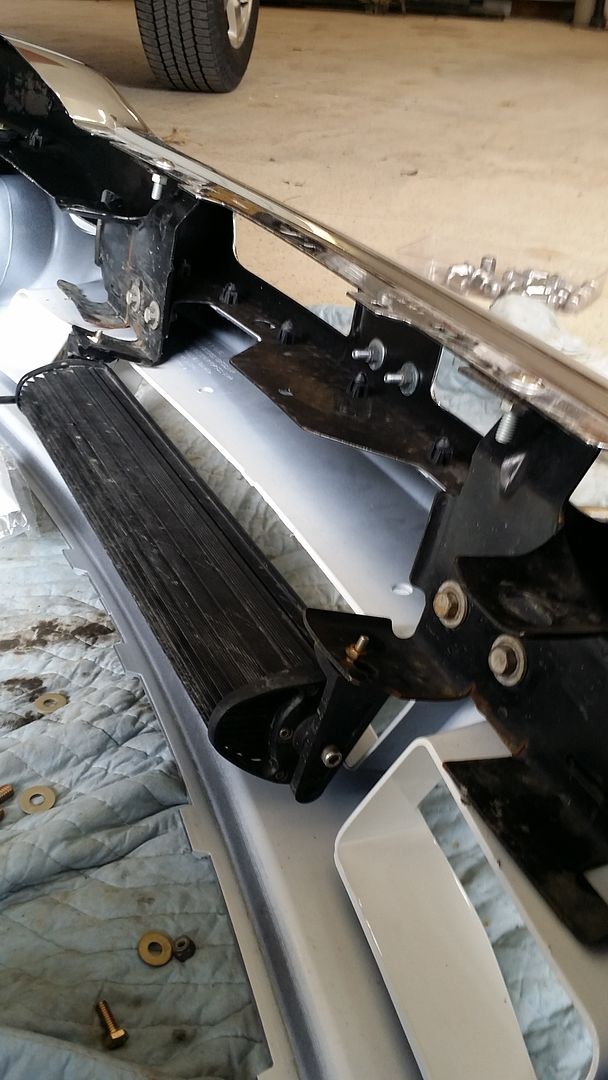
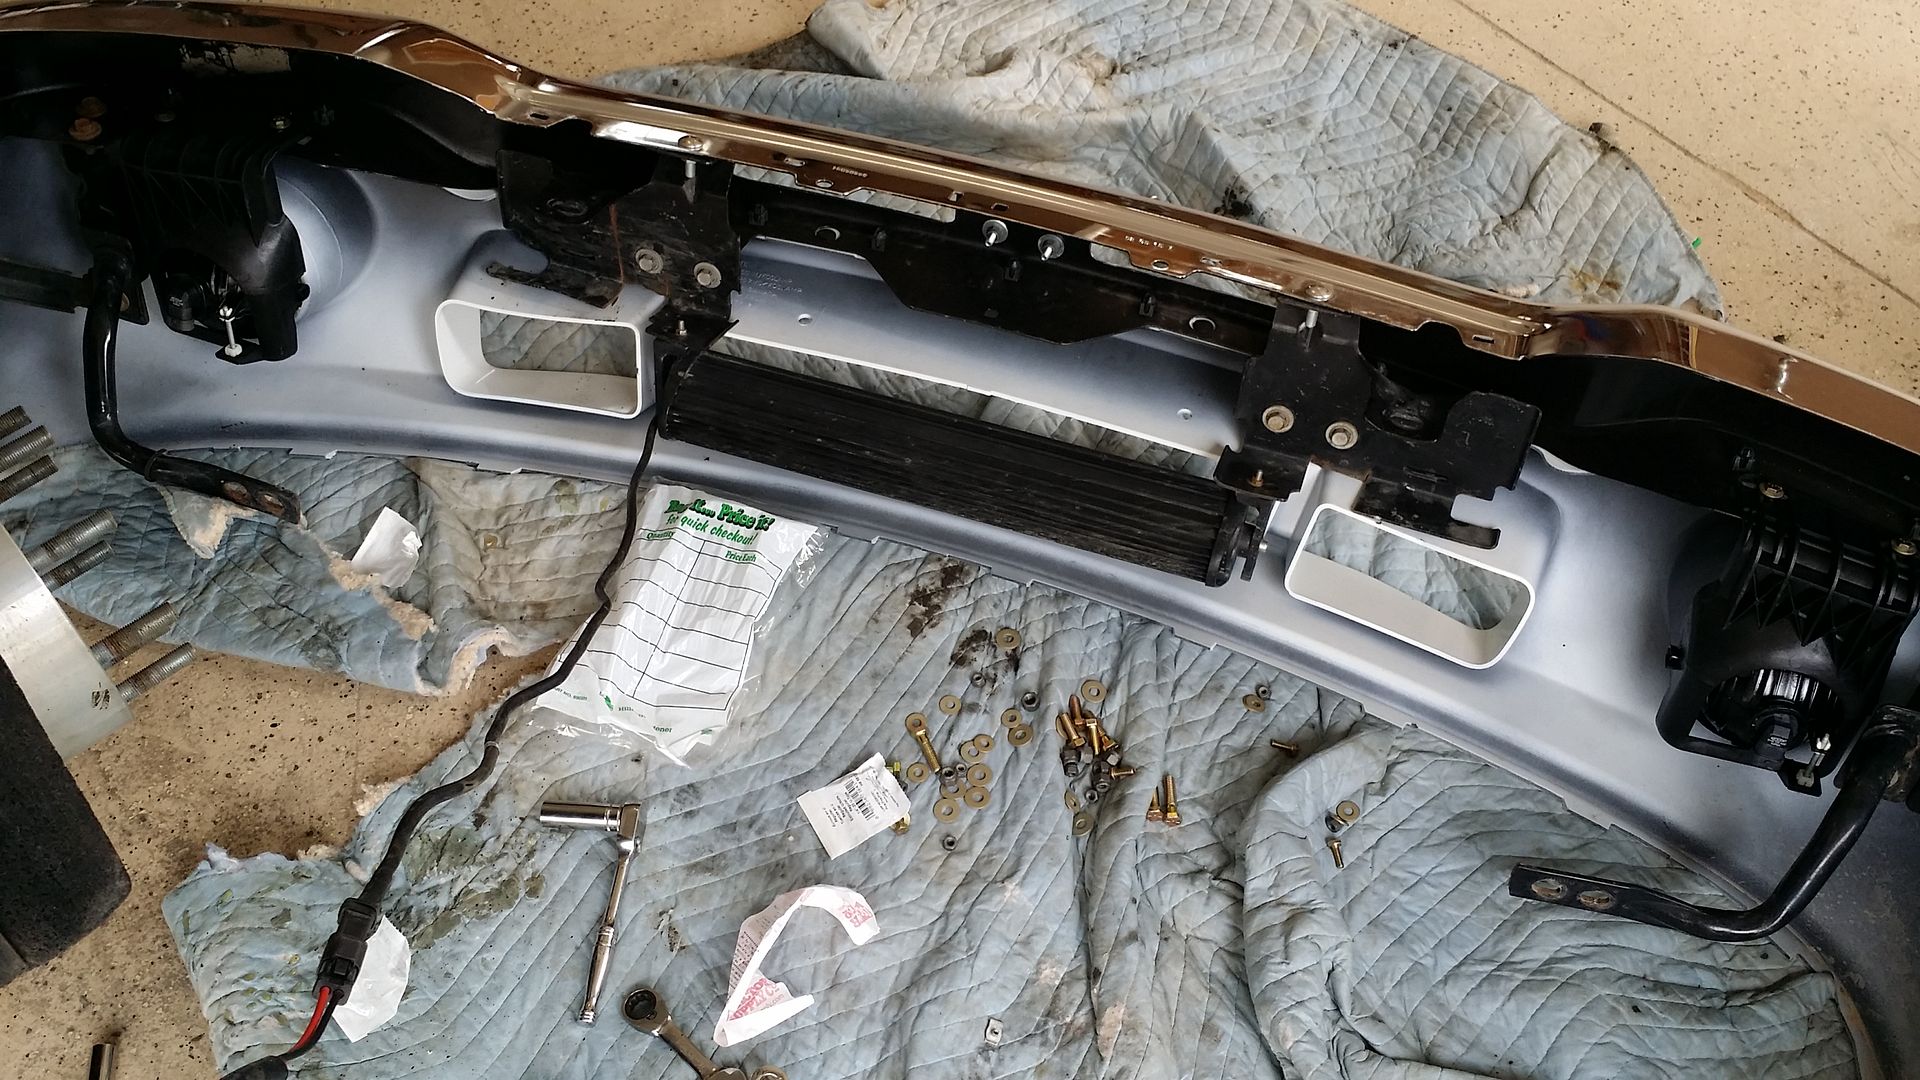
Bumper Removed with brackets attached but loose:
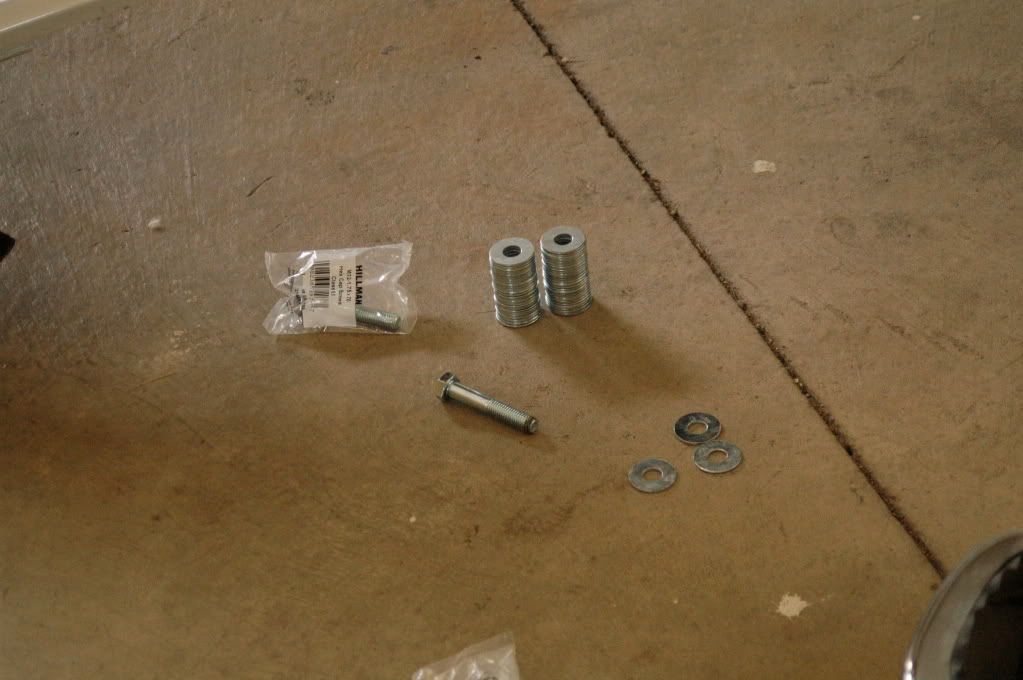
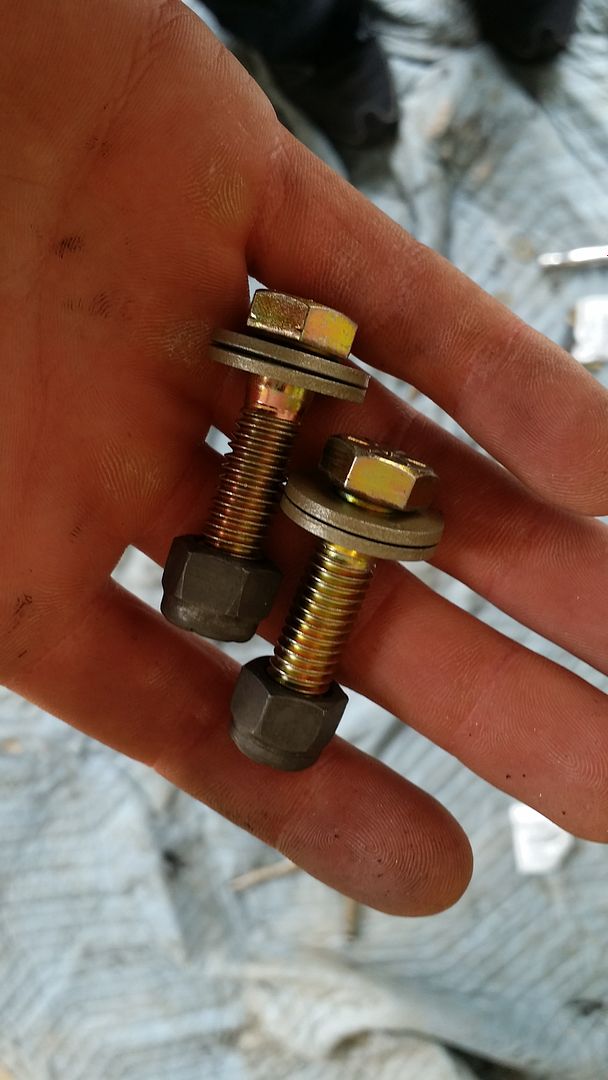
Washers and longer bolts I used:
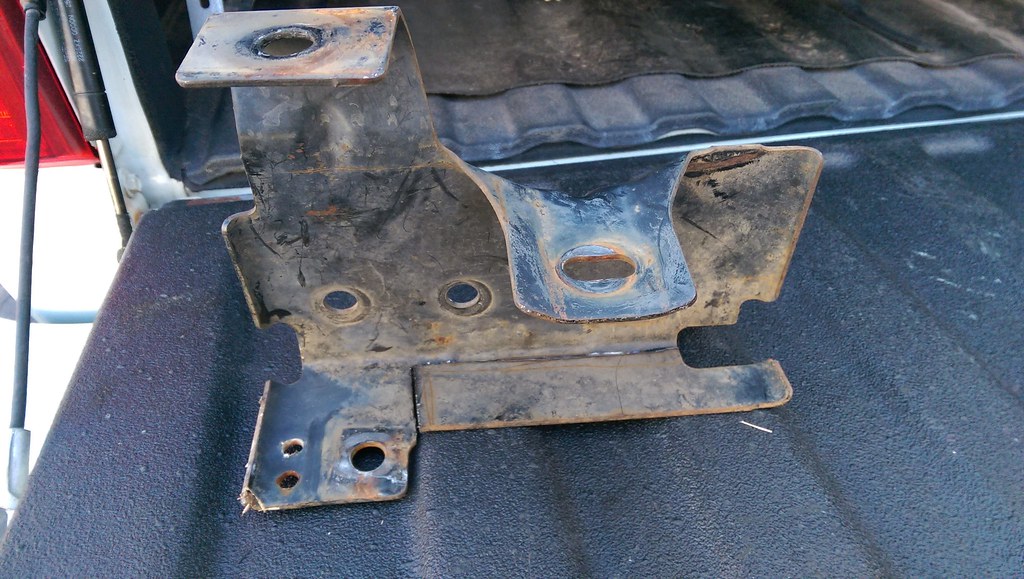
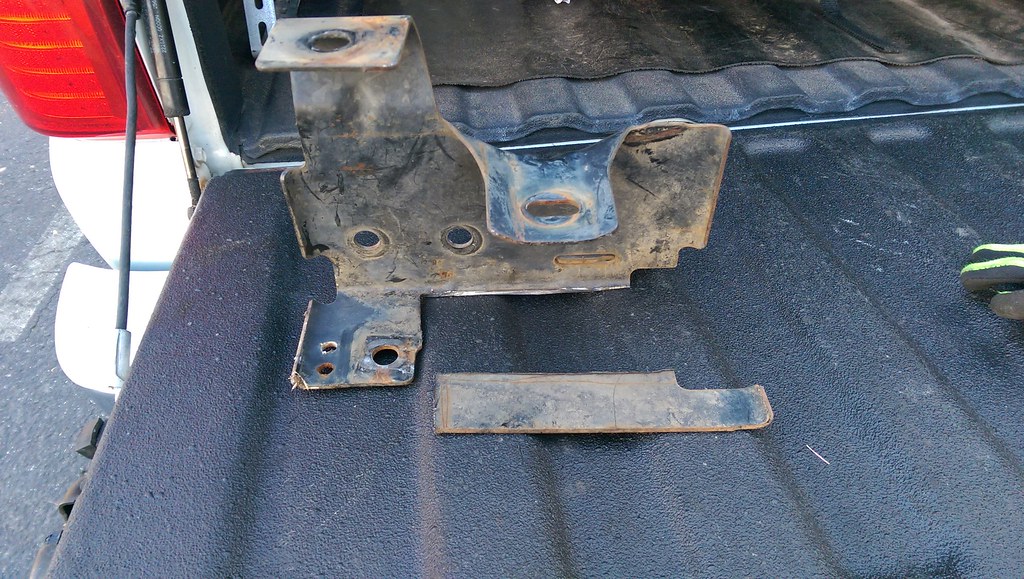
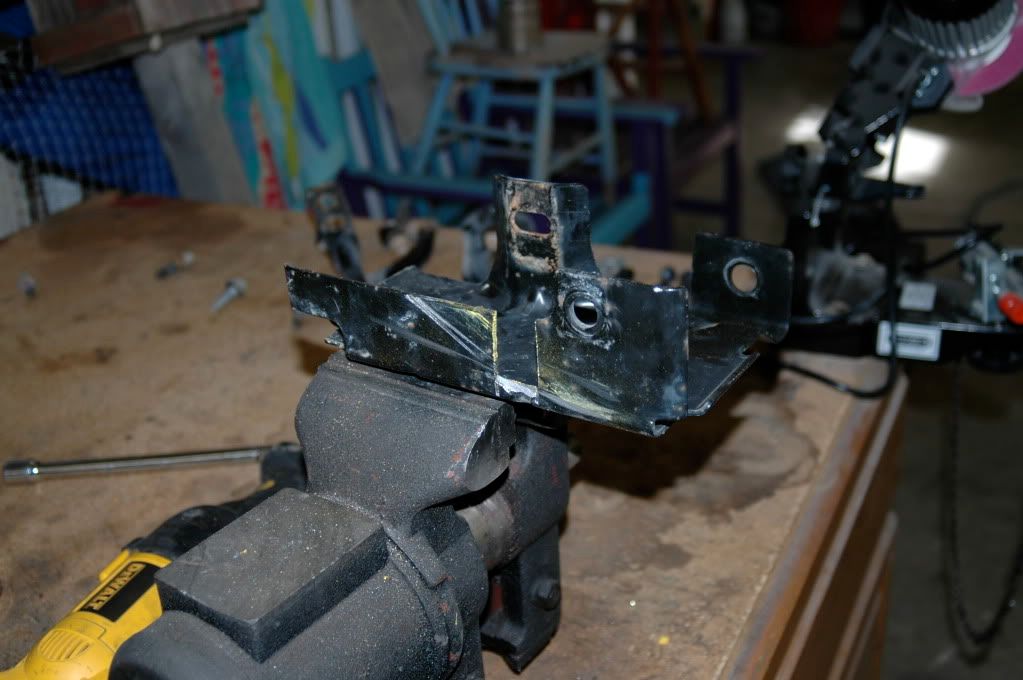
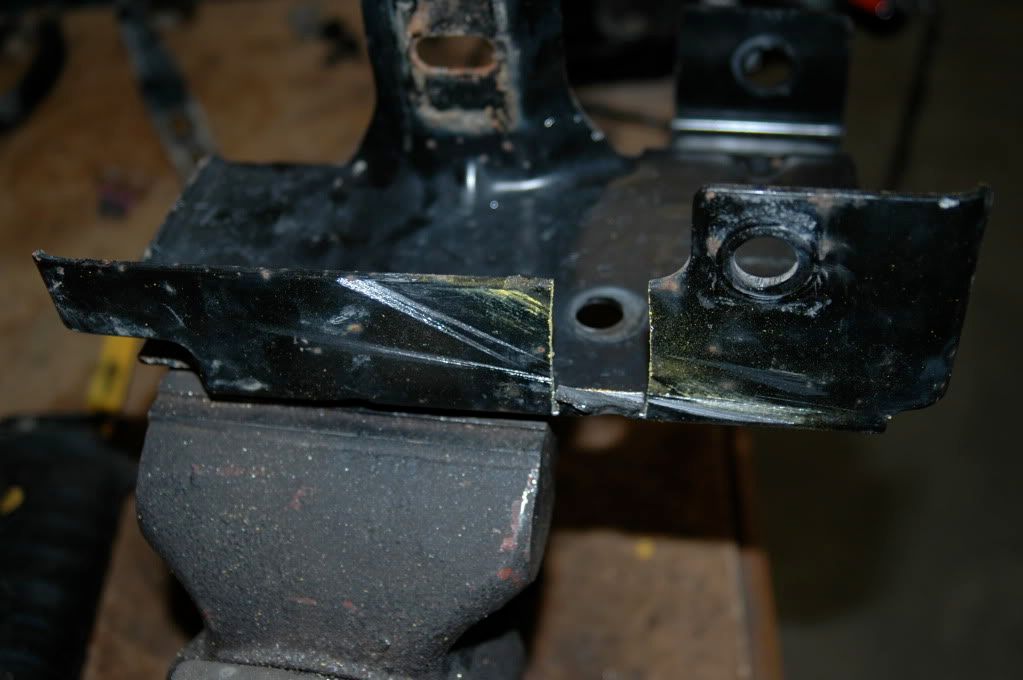
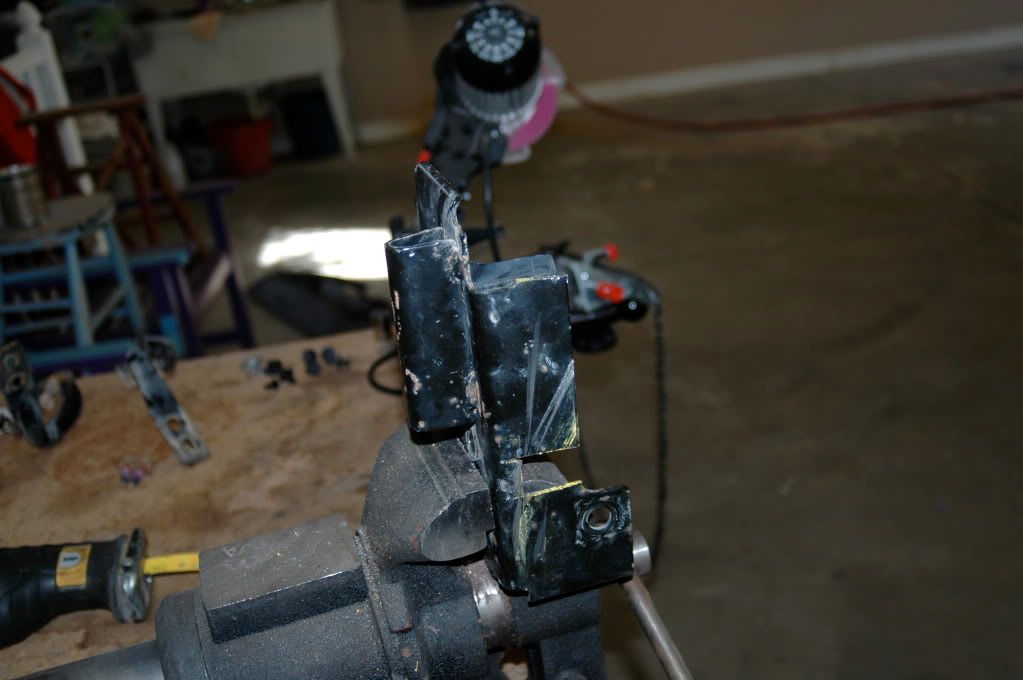
Next you have to modify the bracket that bolts to the frame and to the bumper. You have to do this so it clears.
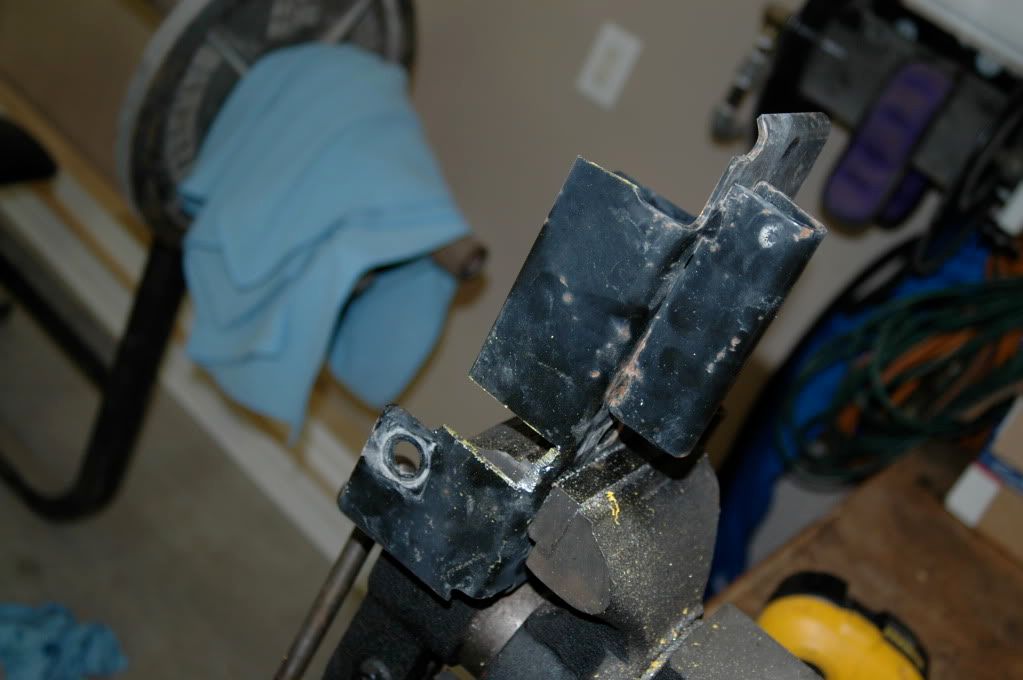
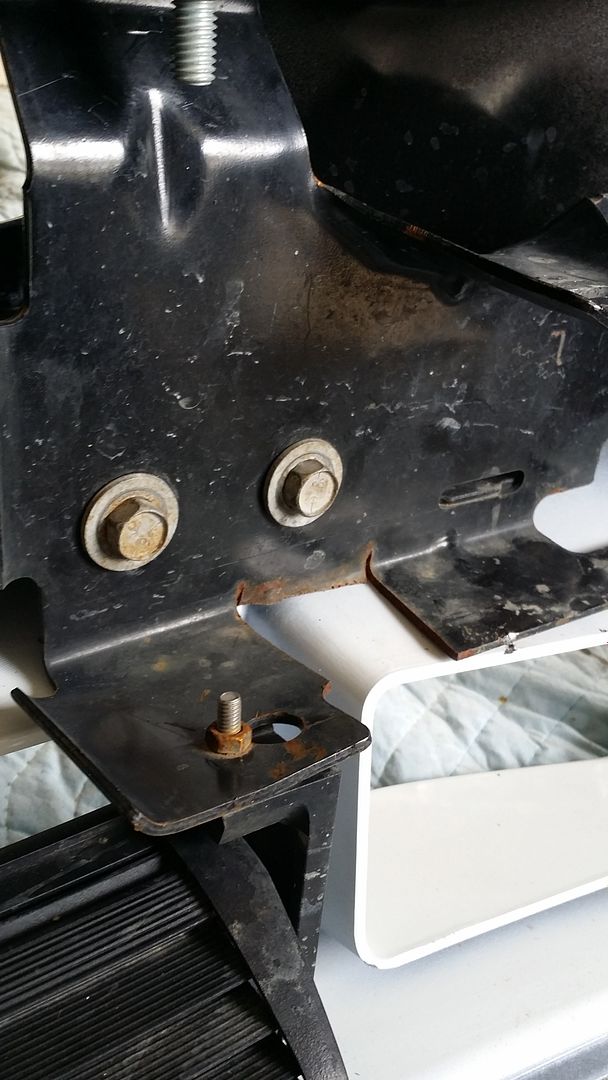
The Bracket and how I cut it:

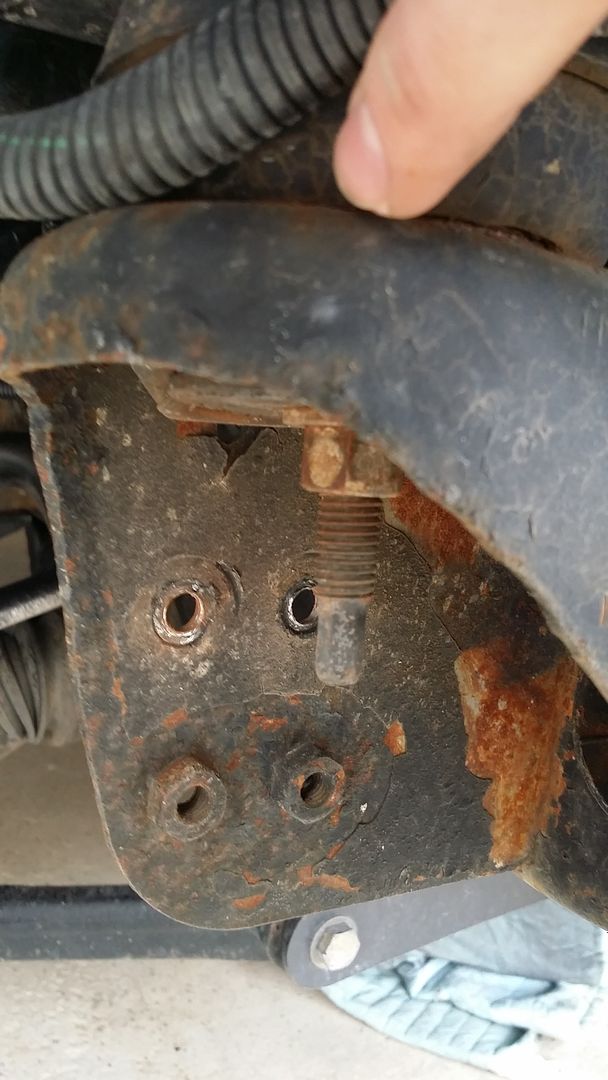
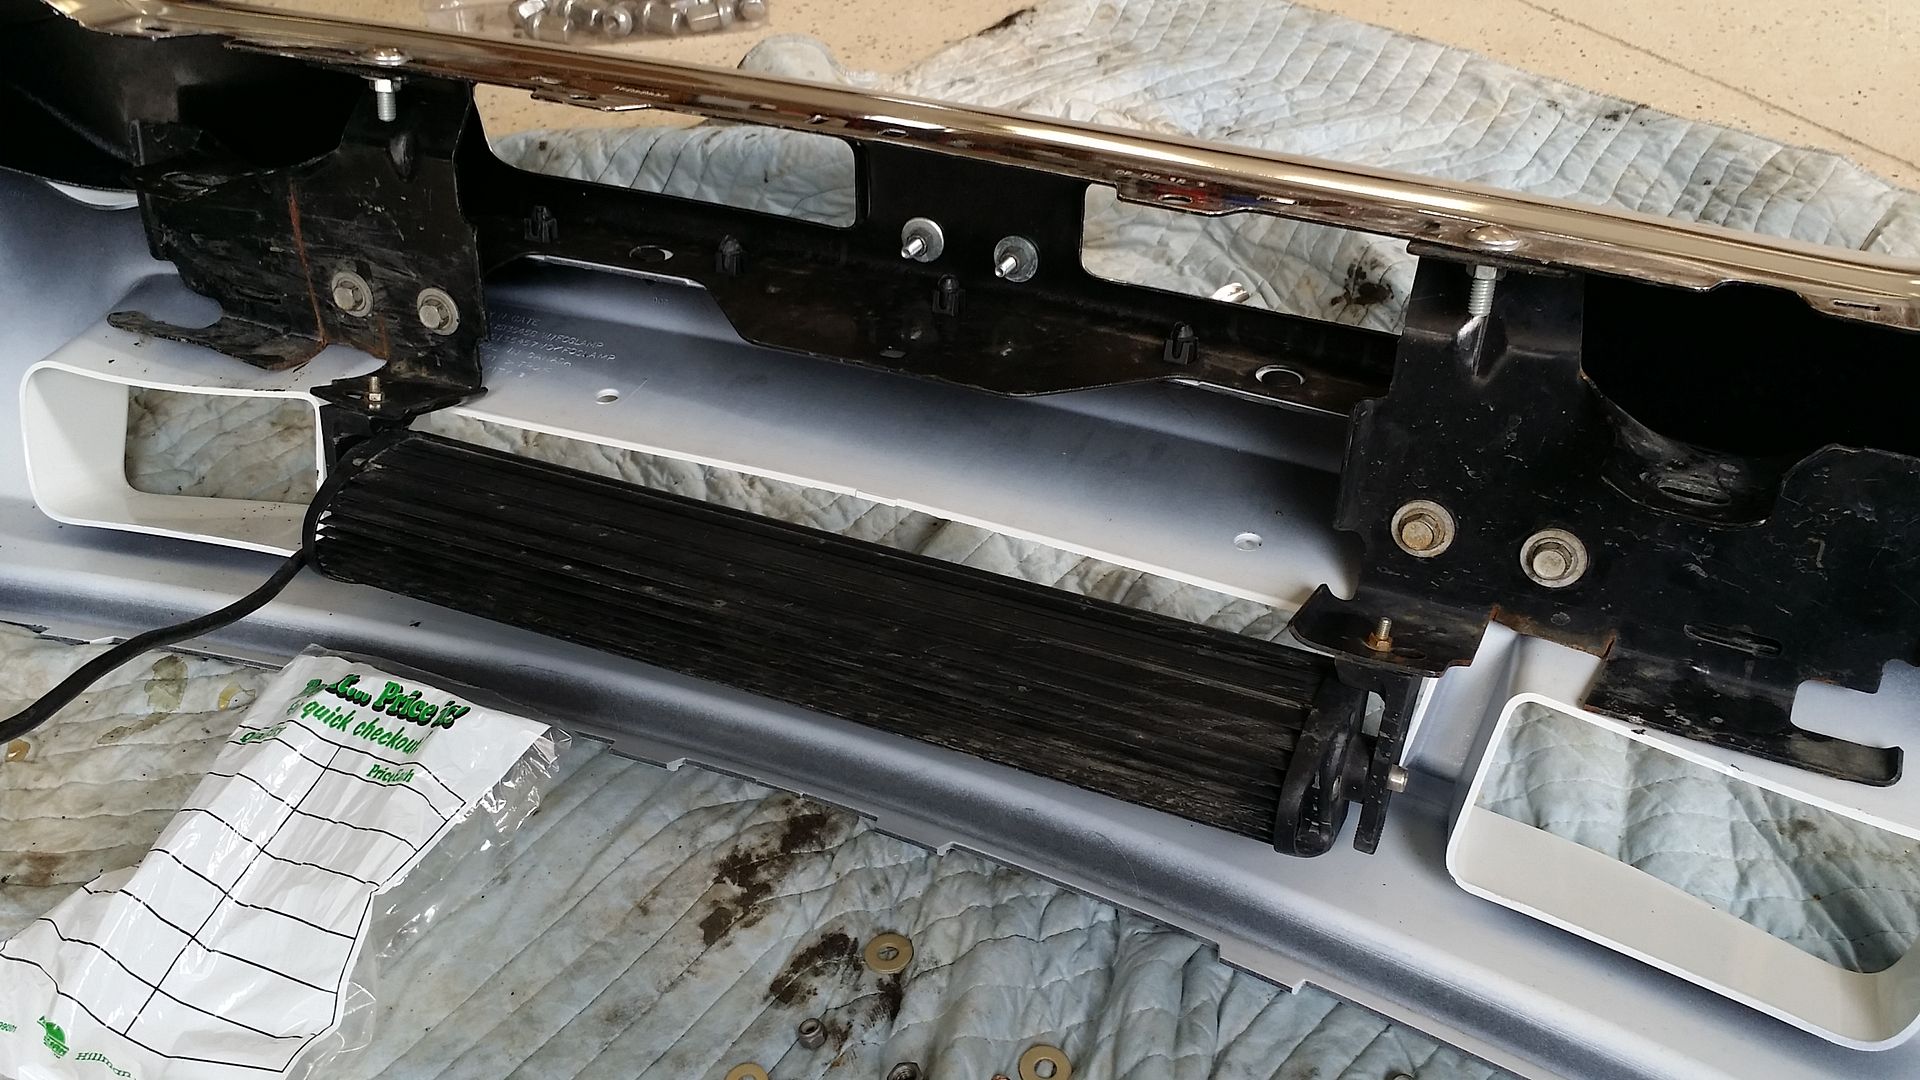
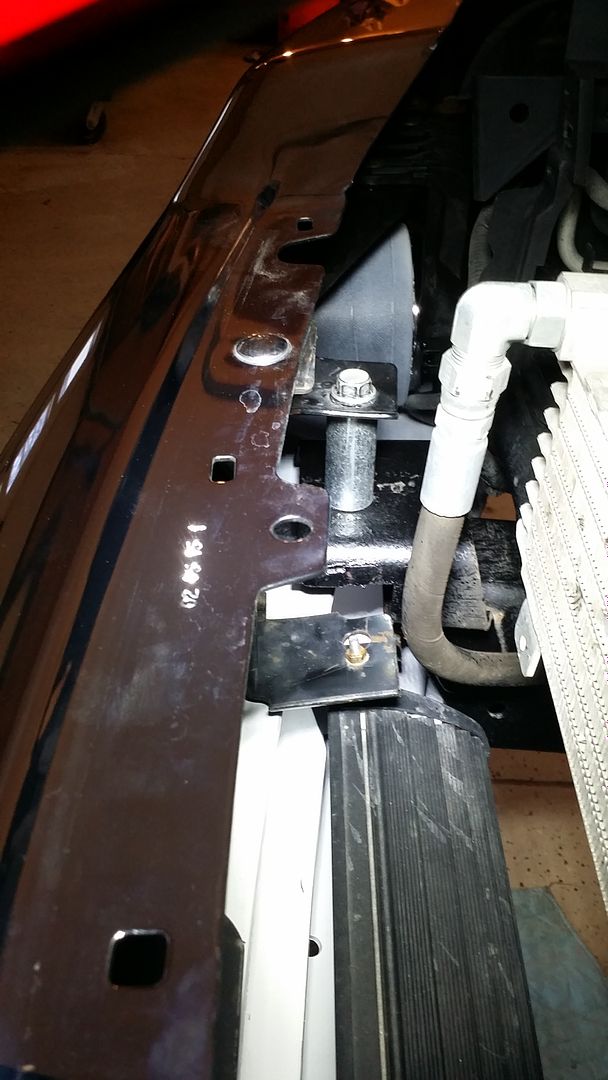
With the bolts in and fitted up with the raised bracket. This was before I re-drilled the side brackets and that is why the bumper is sagging so bad.
Adding to this:
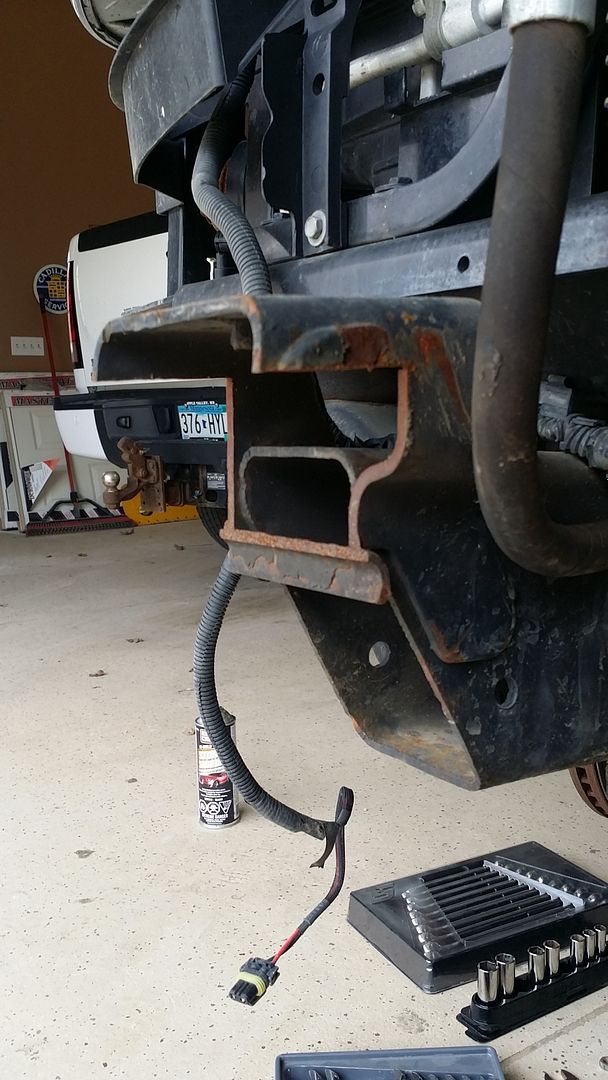
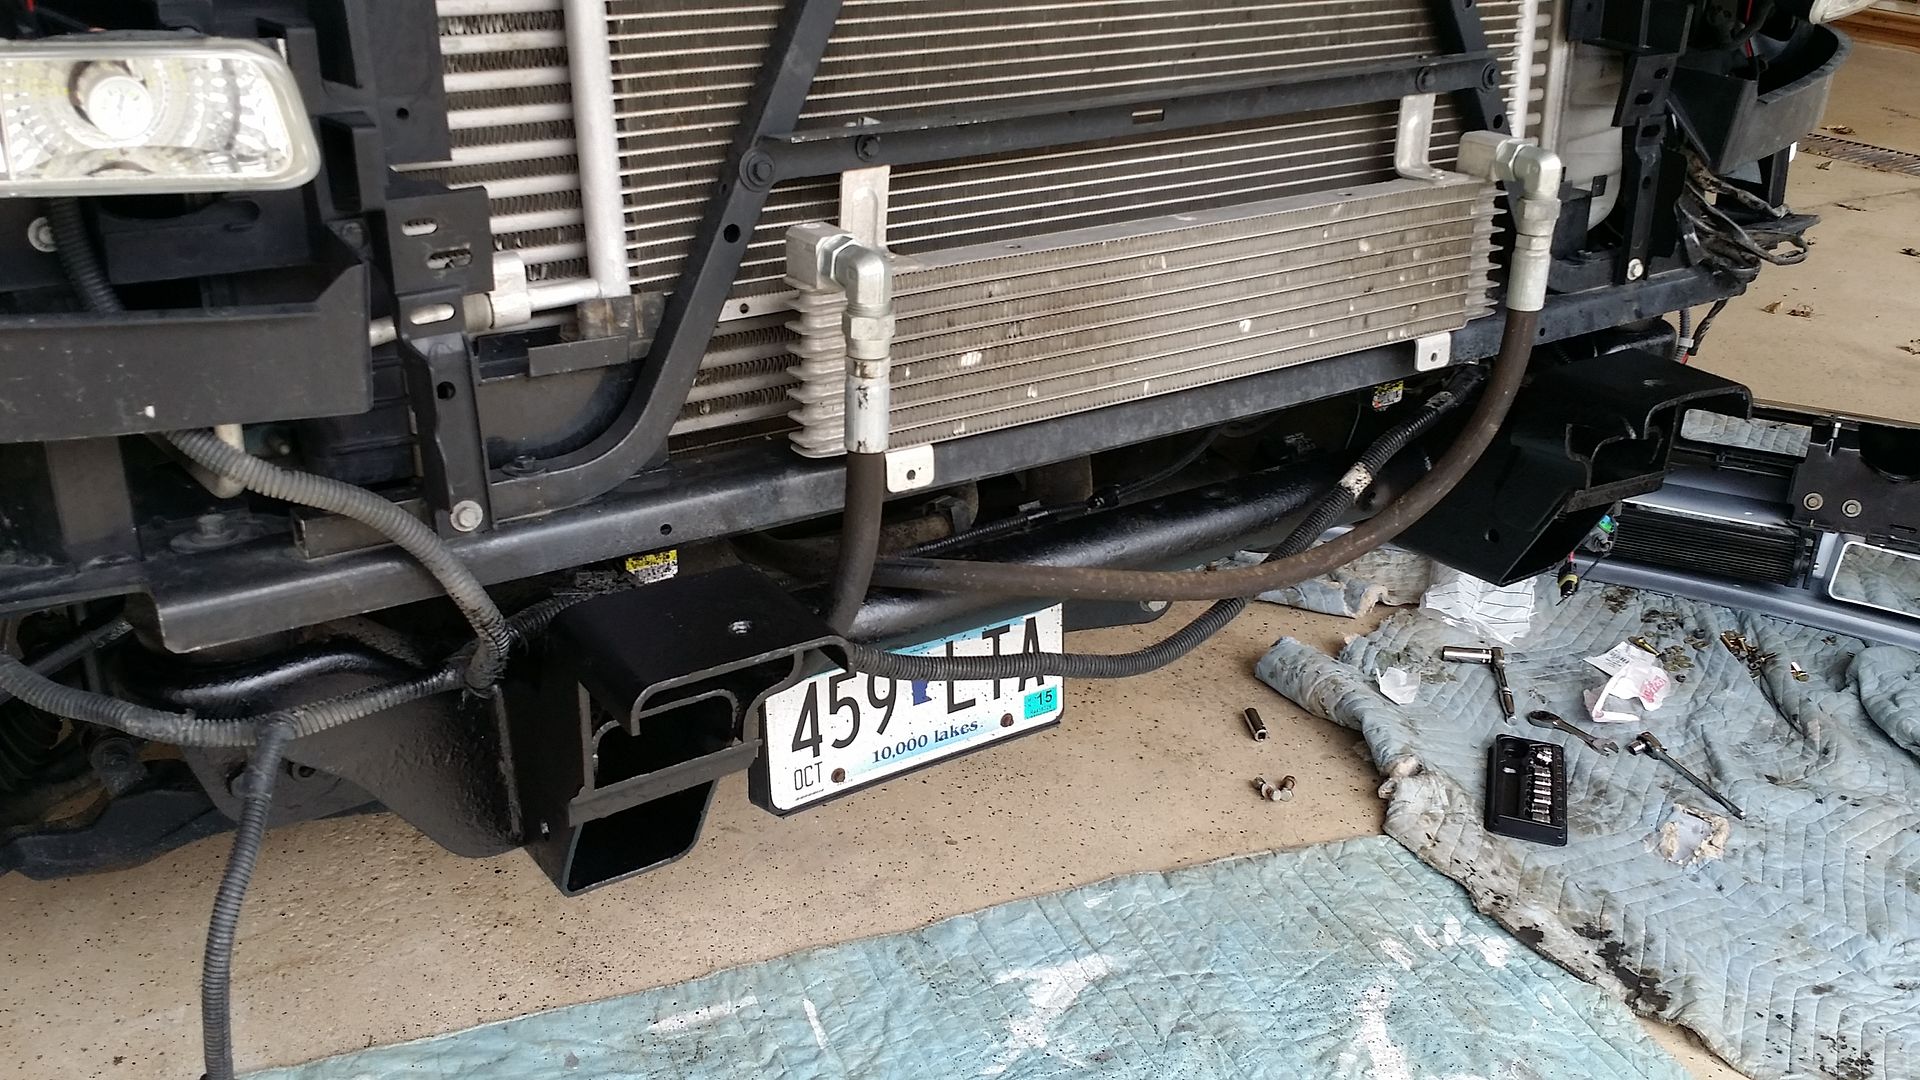
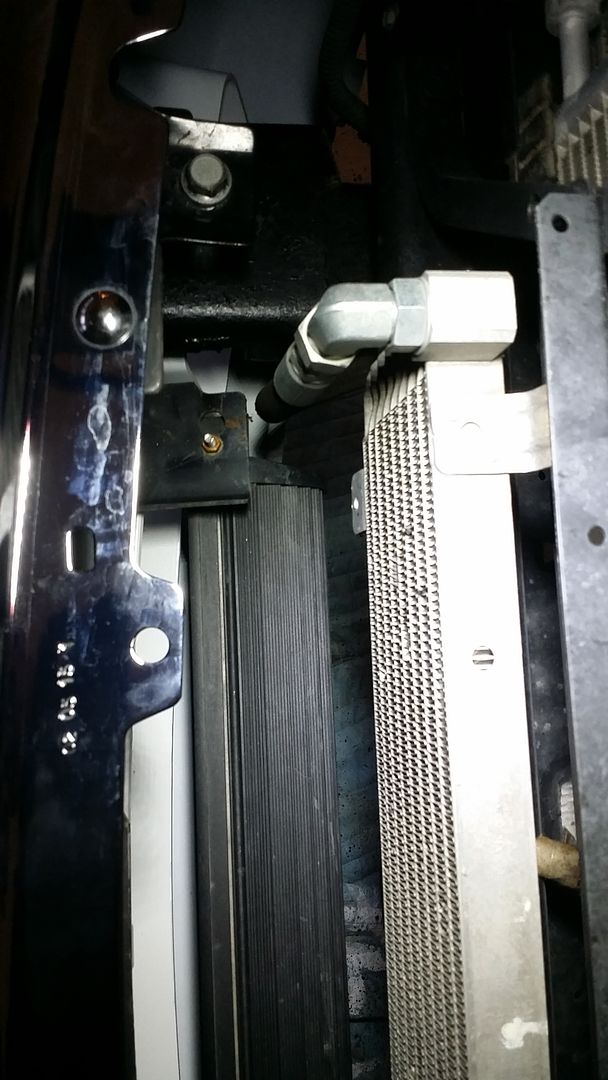
This is what my frame looks like in front to clear the raised bumper.

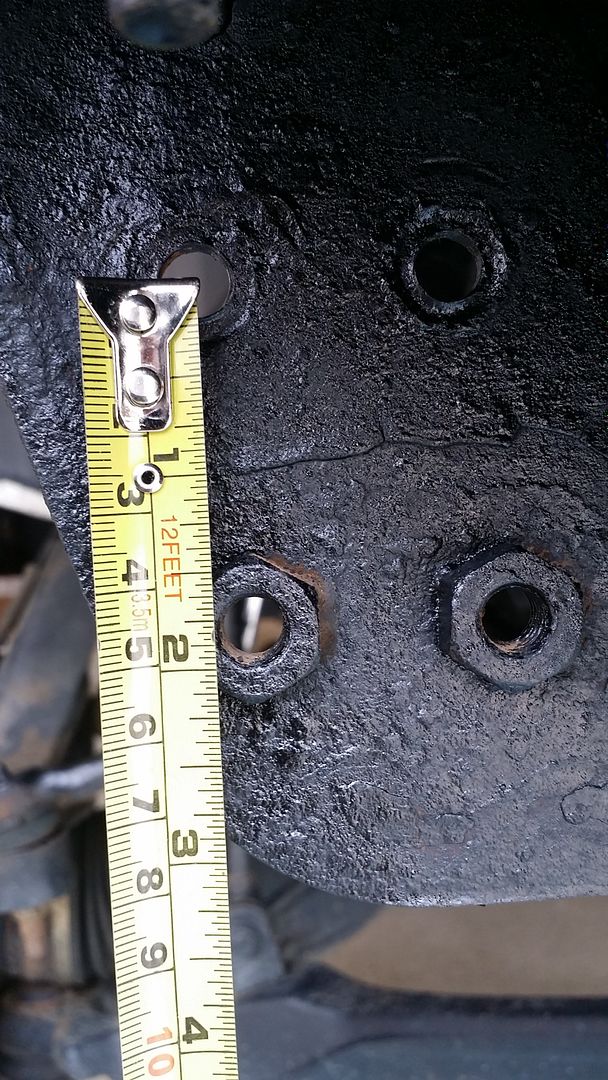
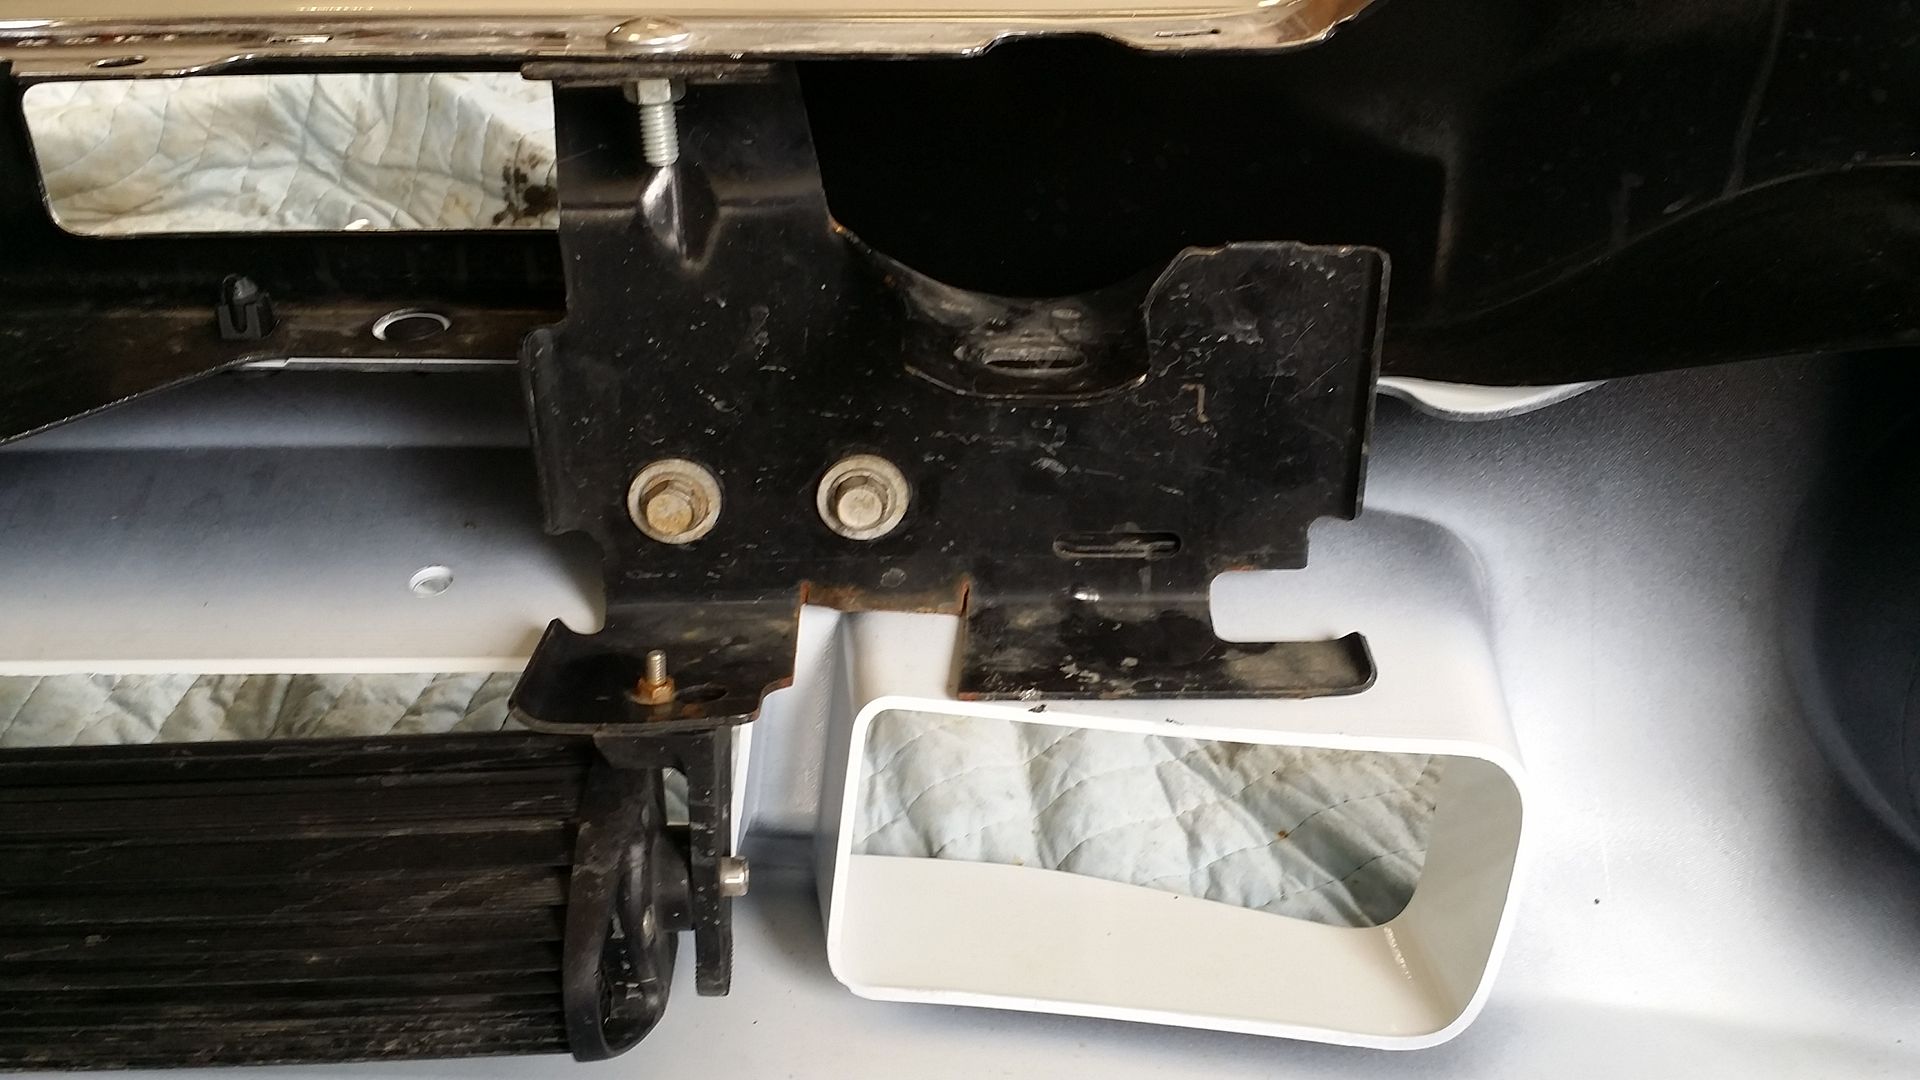
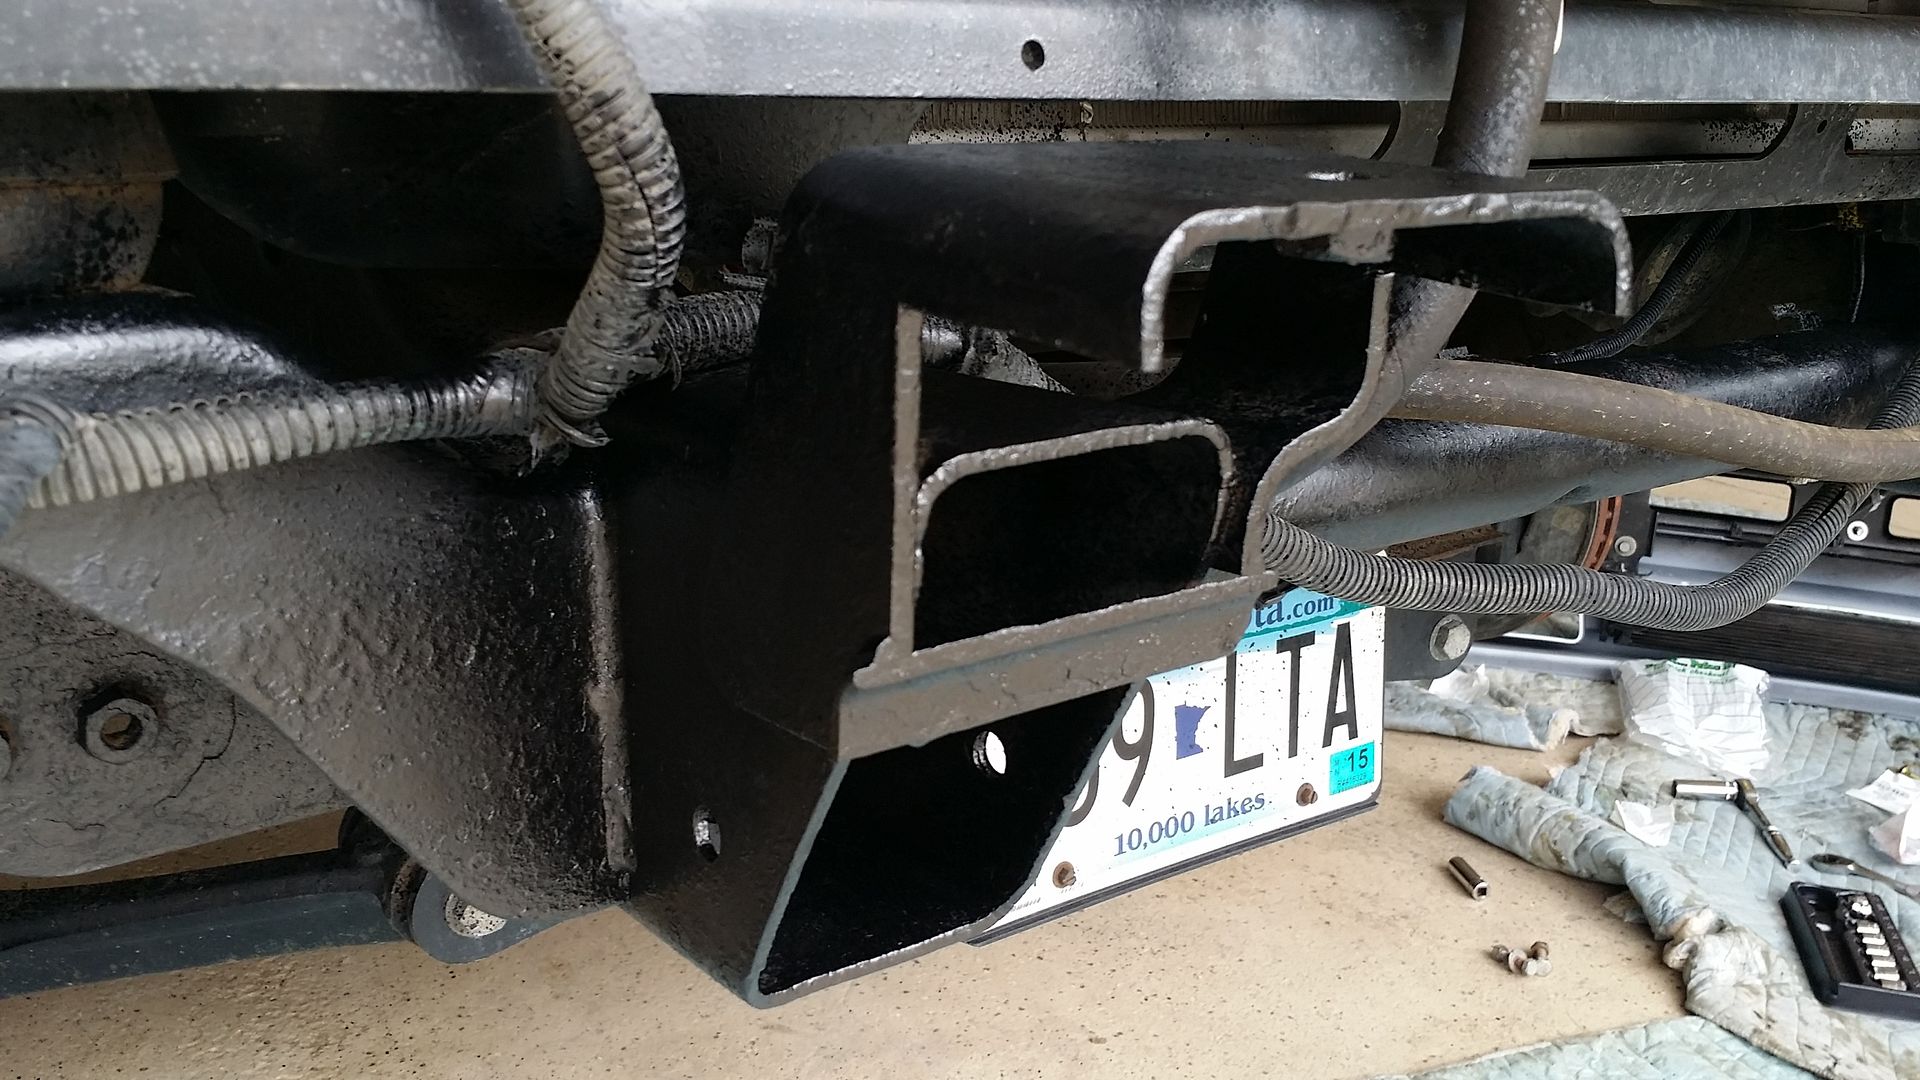
Here are the holes re-drilled on each side
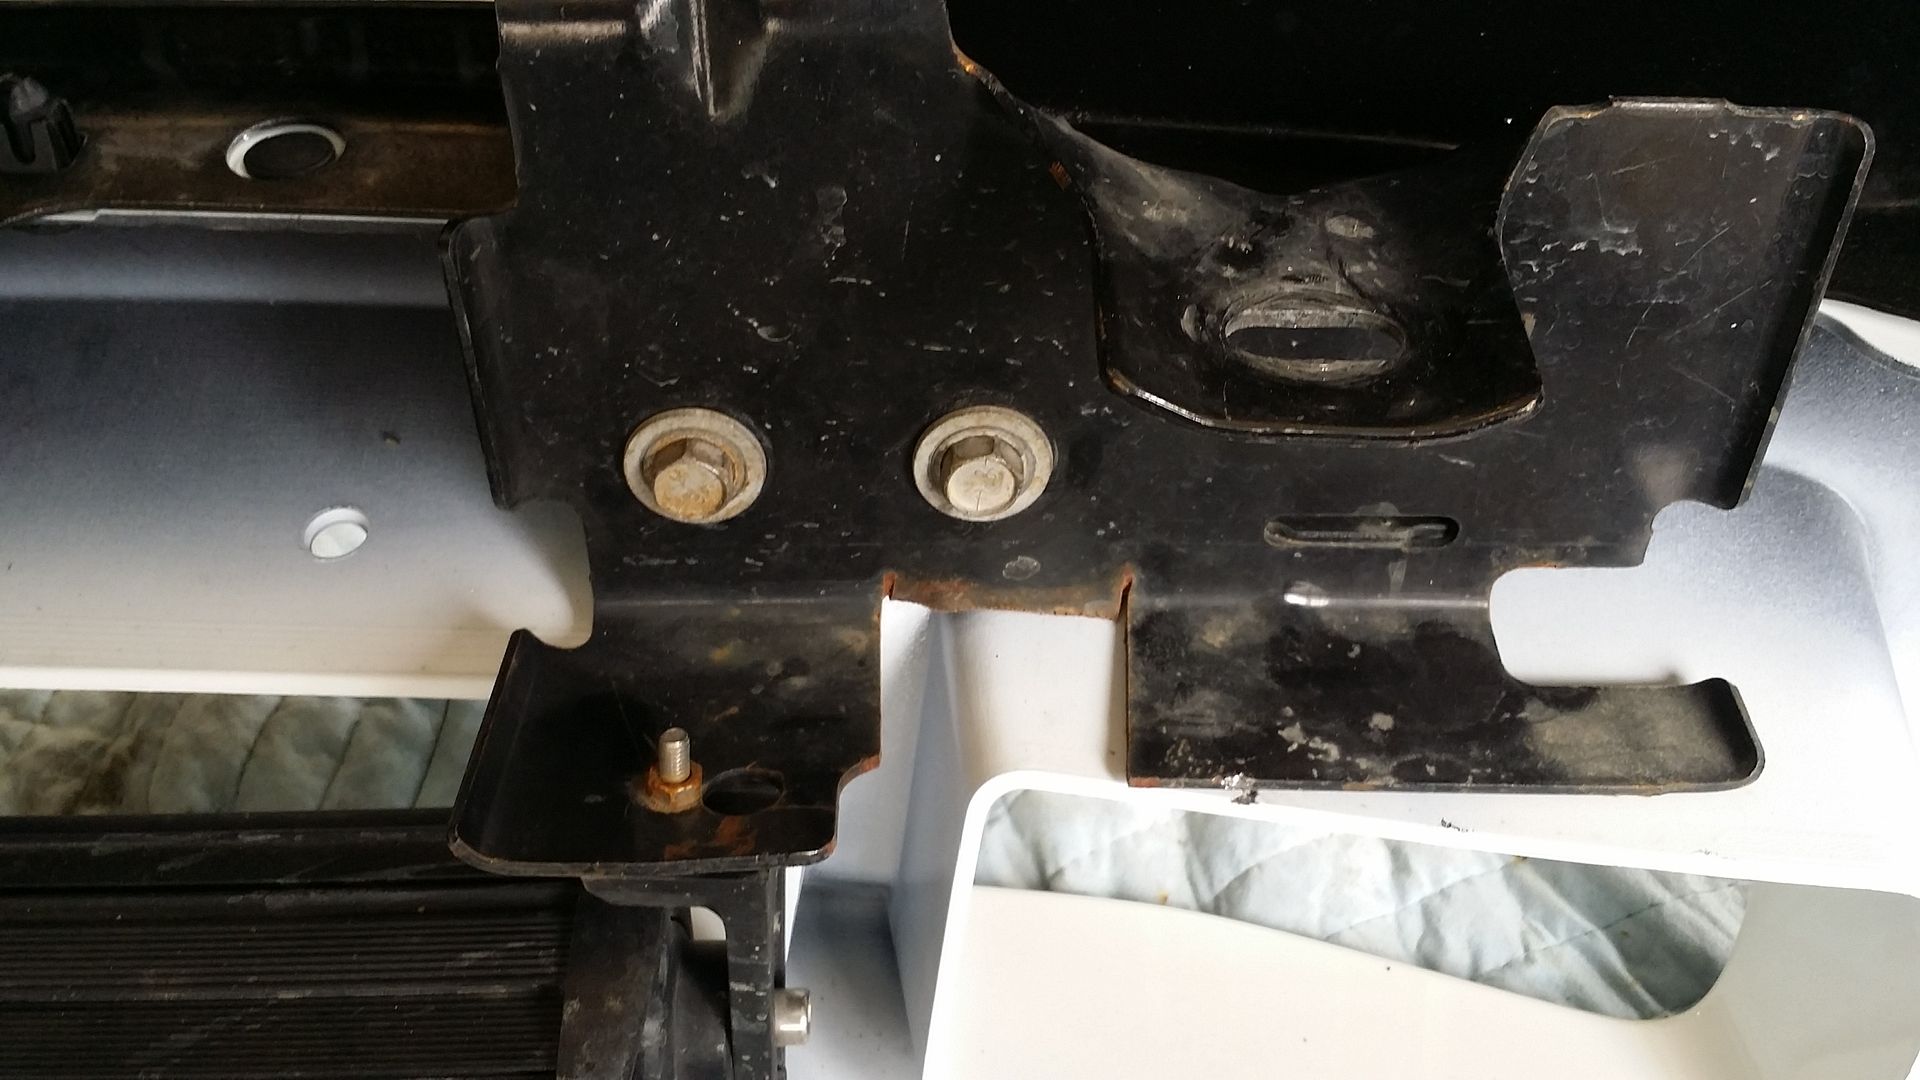
Brackets how they were cut again and installed on the bumper
Frame touched up with Rust Check Stone Shield.... best stuff ever.
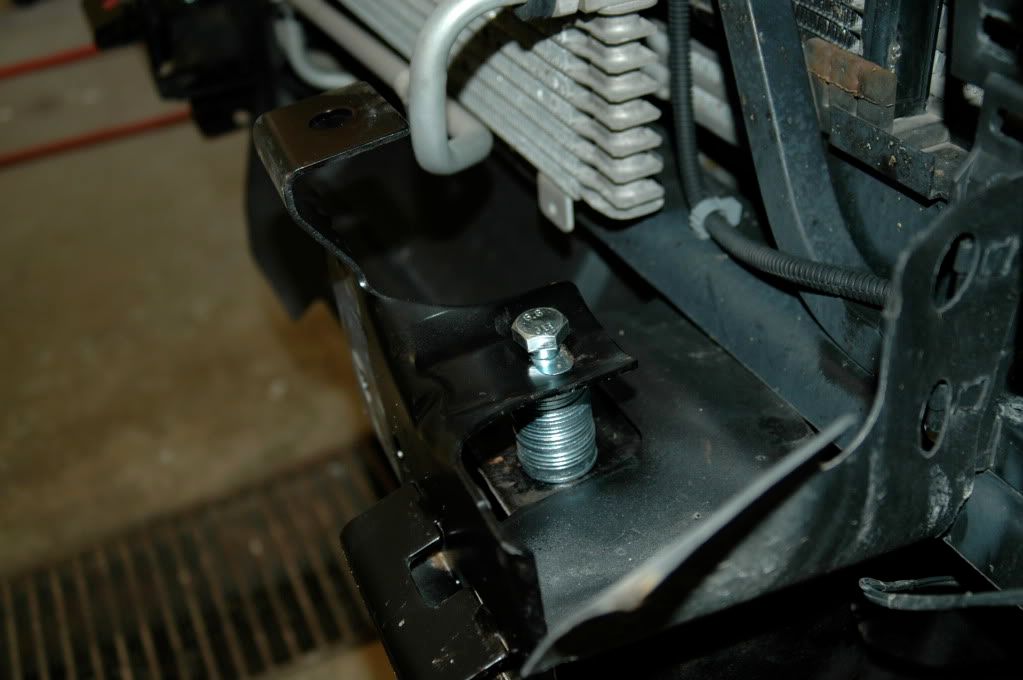
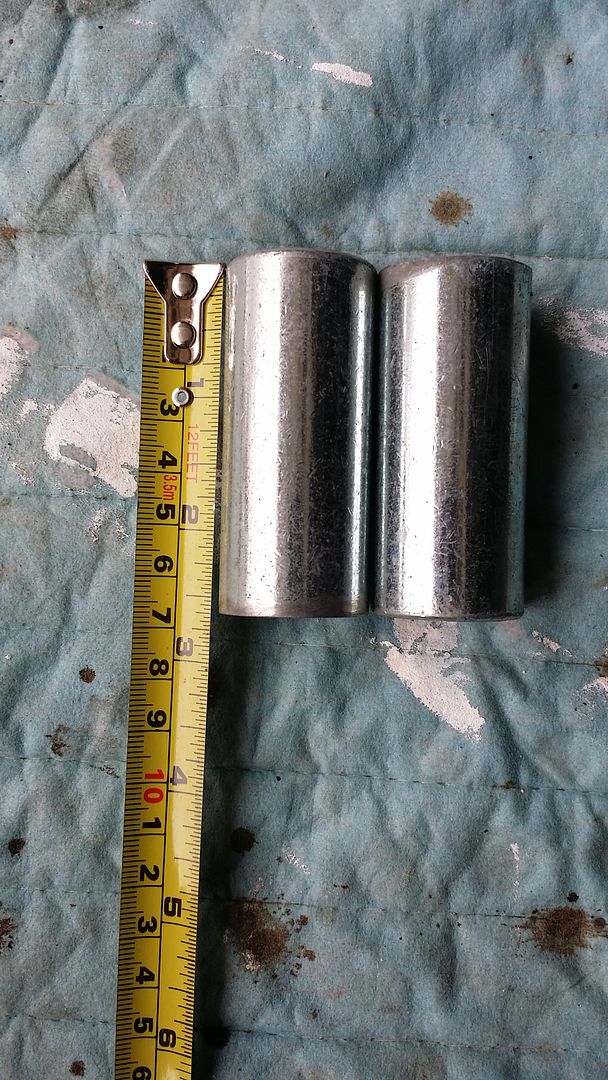
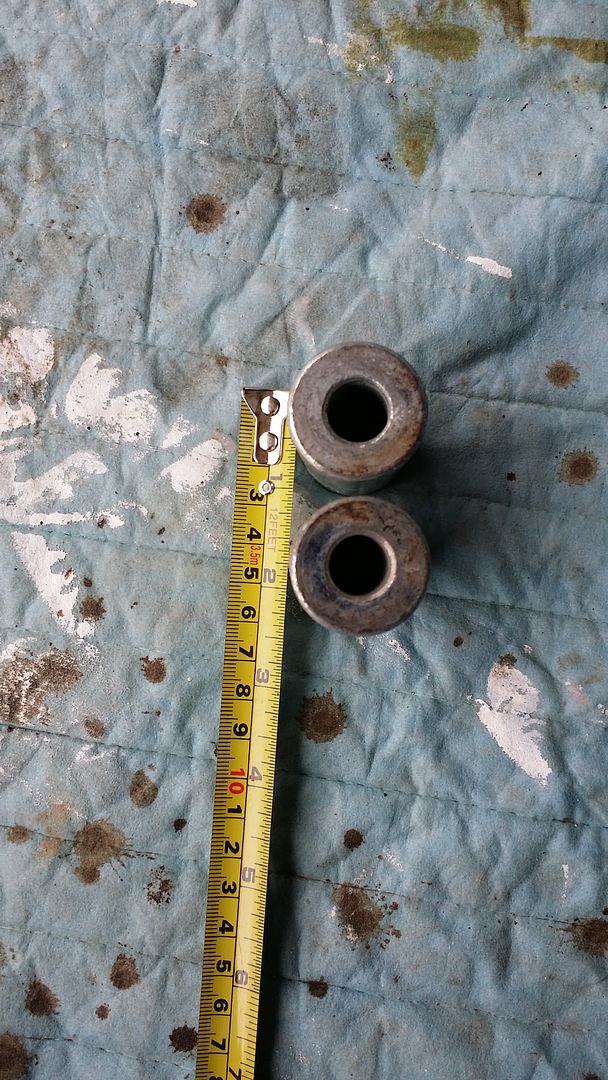
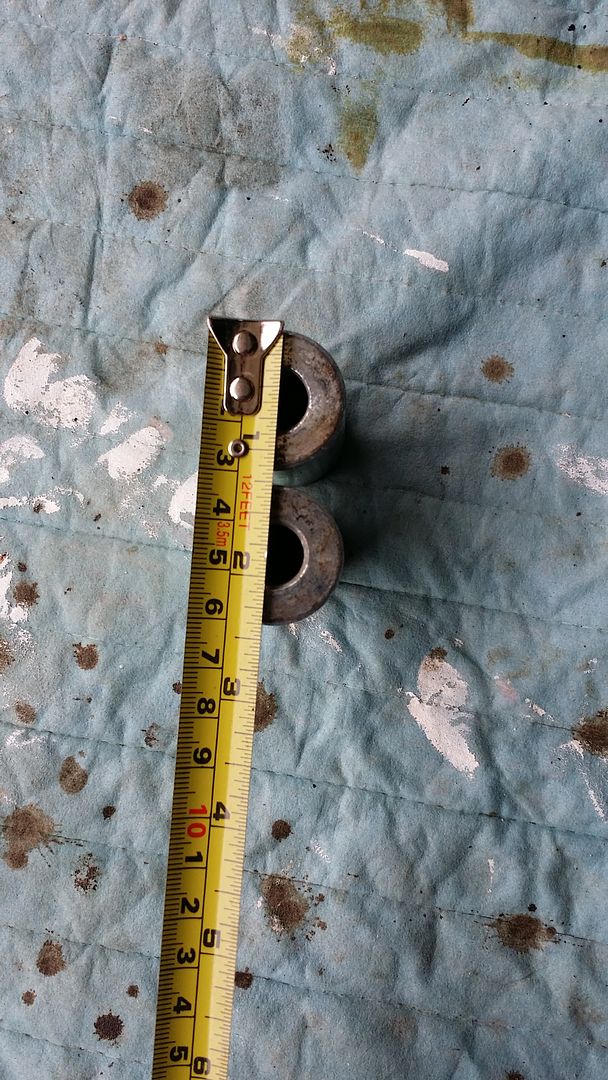
The spacers I used this last time
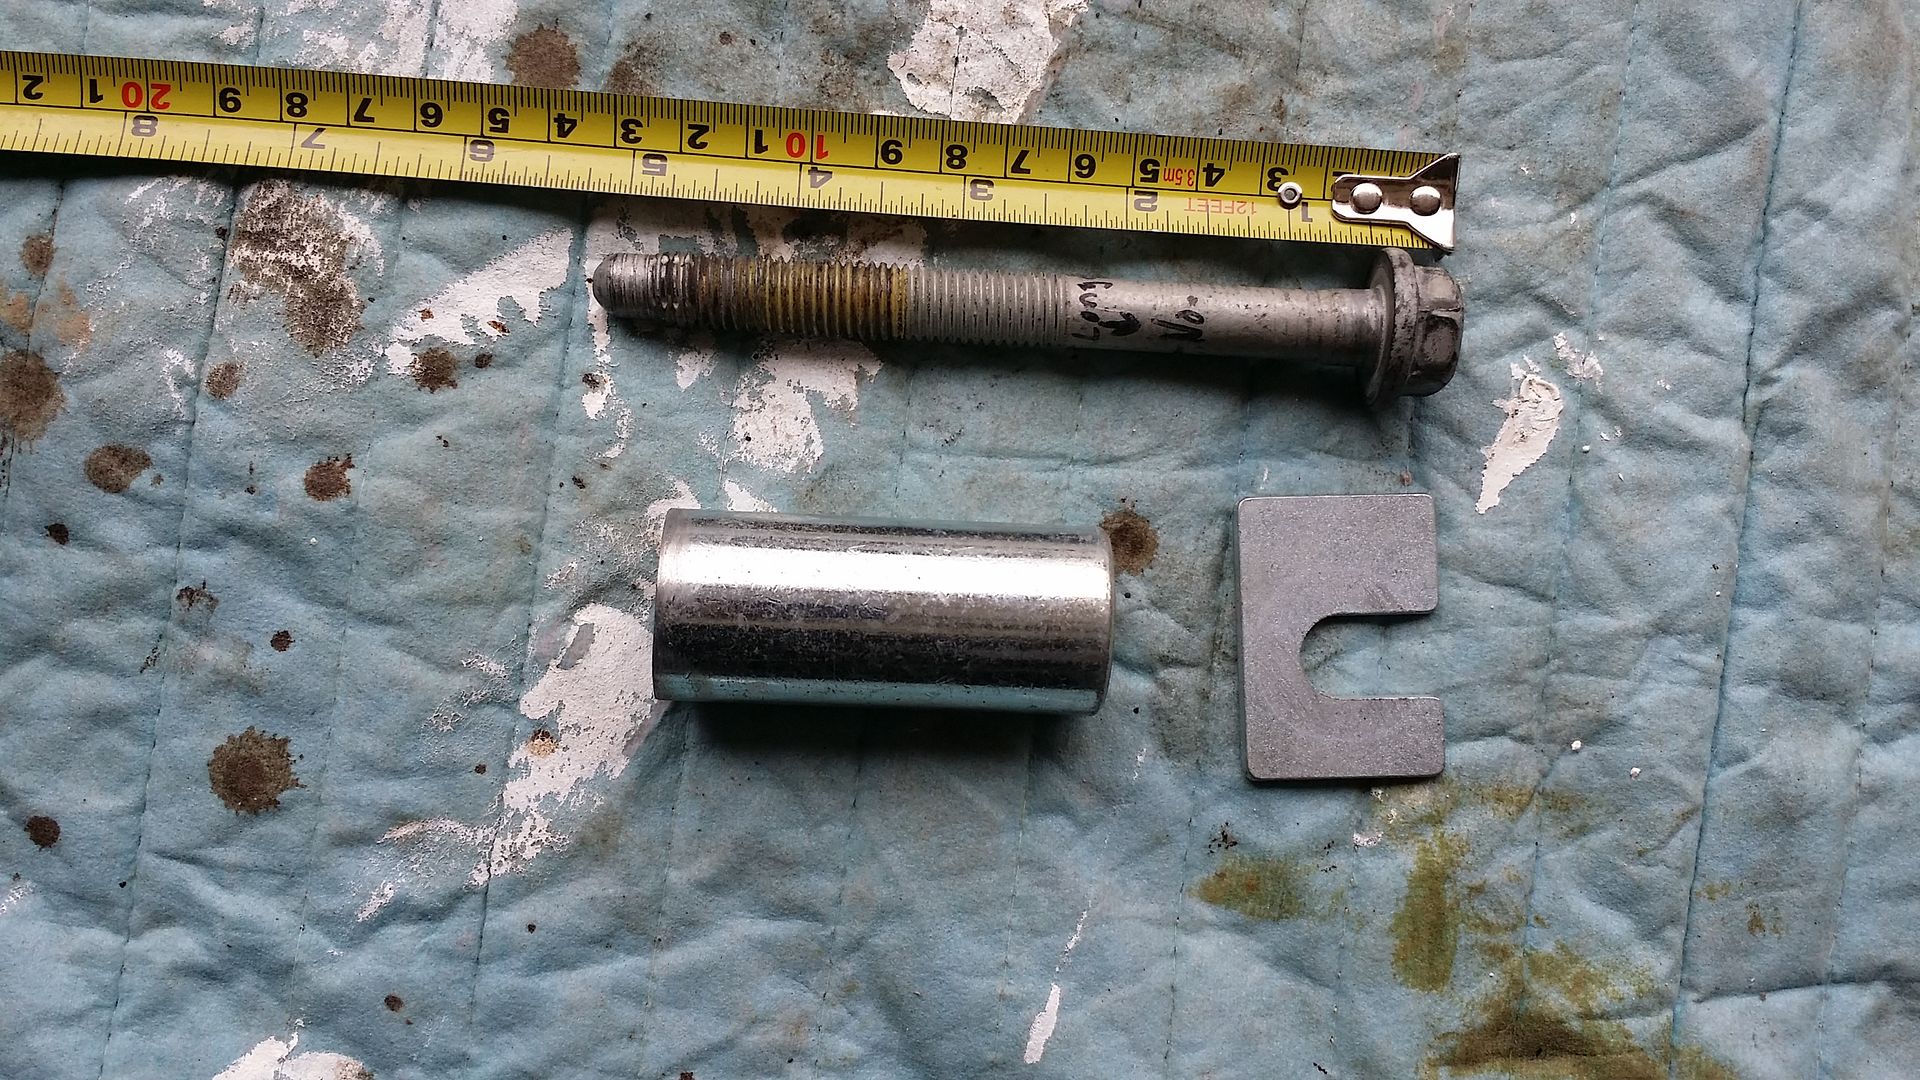
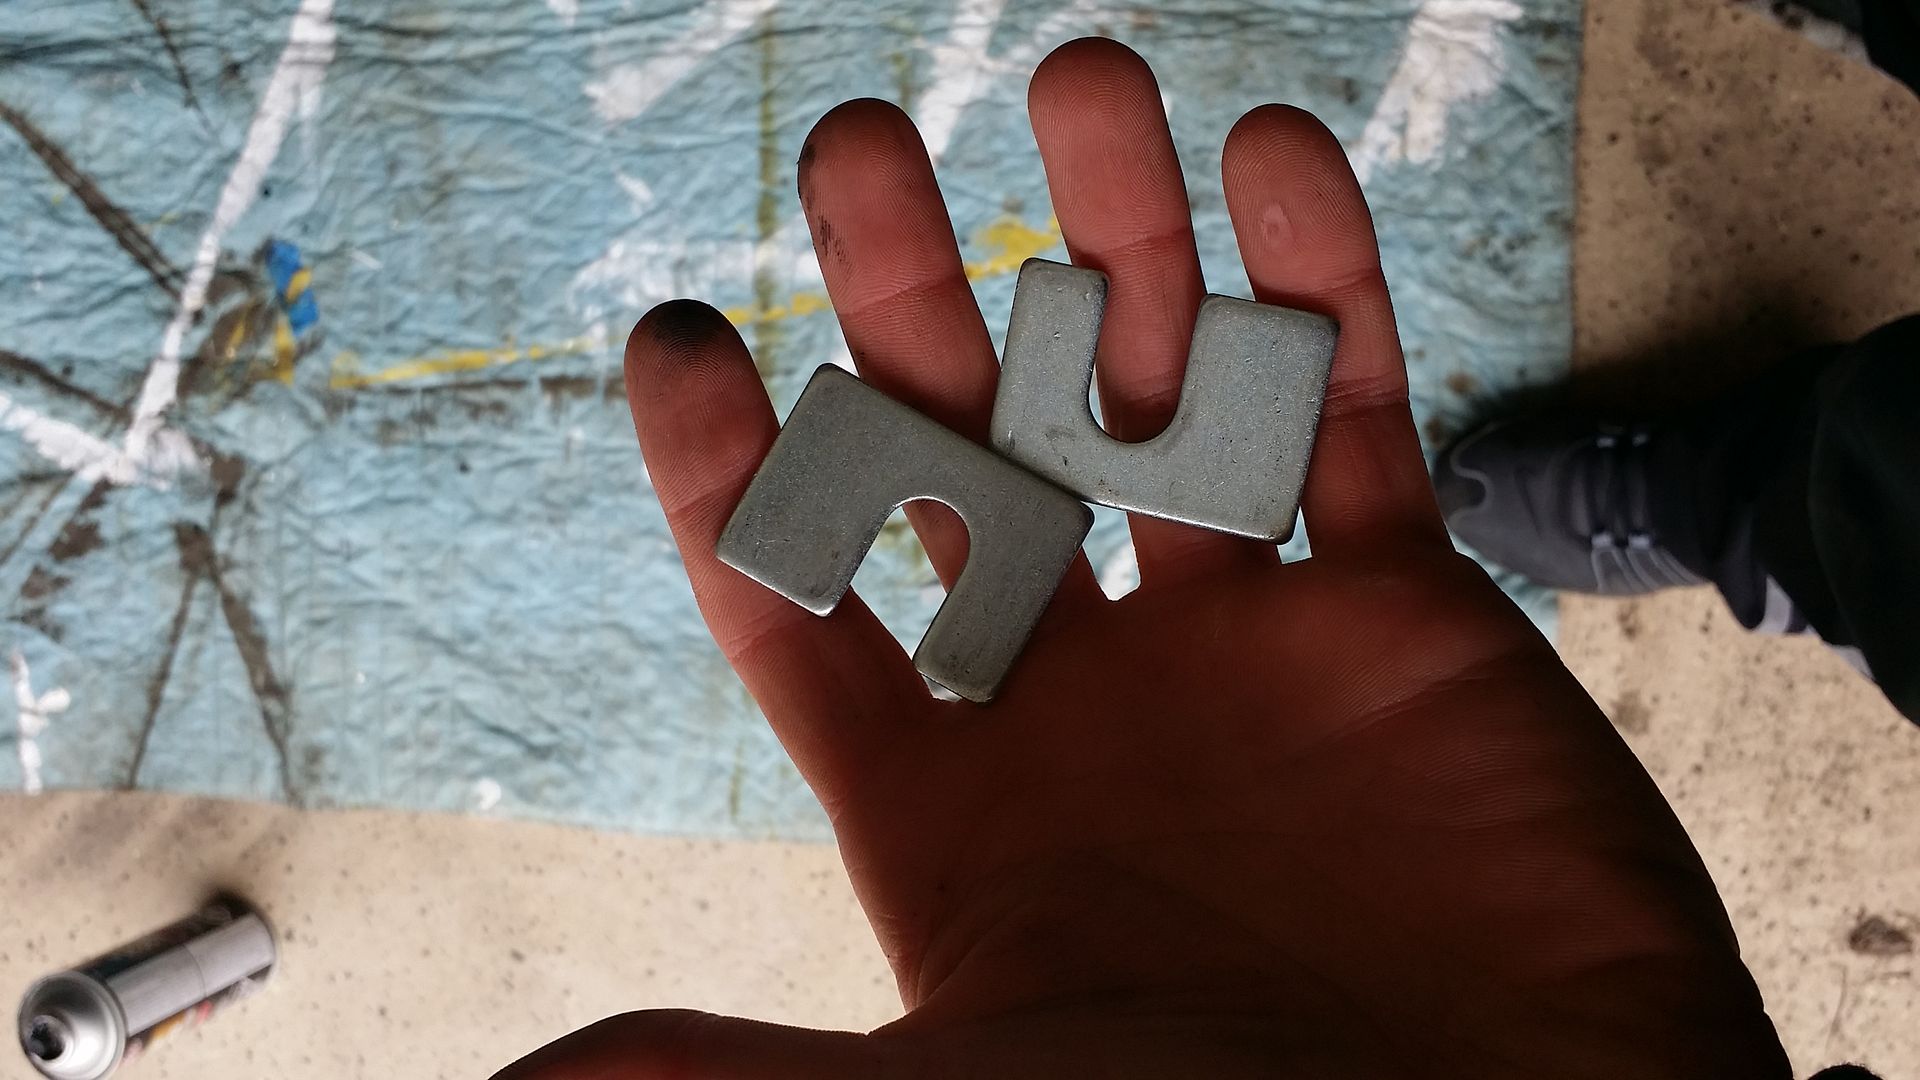
OEM bolts I used and body shims if you need them vs. using washers

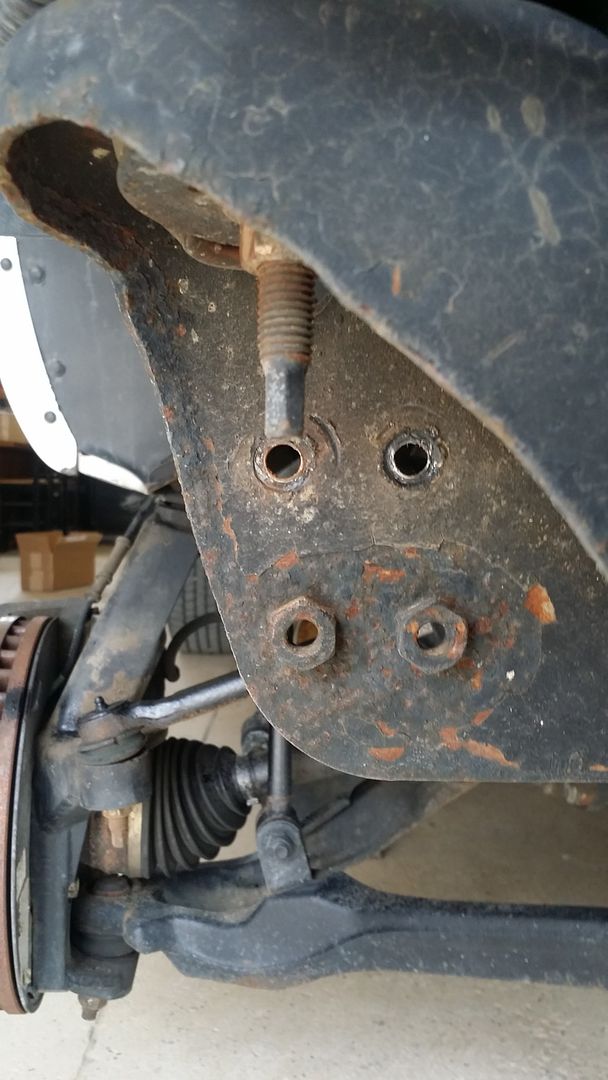
Side brackets on and hardware
Side bolts
Sweet auto merge fail, will someone please make a post so that I can throw the rest of my pictures up.... thank you.
You can use washers to raise the bumper, that's how I did it the first few times, that way is nice because you can tweak the bumper about 1/16th of an inch at a time to get the gaps nice and even by adding or removing spacers. People always criticize using spacers/washers and comment that it won't be strong in case of a collision. Well I was hit directly on the drivers front last February... bumper held up fine and it took quite a hit to the point that the crash tweaked my frame slightly and had to be straightened.
Start out by taking off the grille shell, shroud that goes over the core support with the 8 push pins so you can reach four of the bolts that hold the bumper on. After you get those four there are brackets on each side of the bumper with two additional bolts on each bracket.
Bolts removed:

Bumper Removed with brackets attached but loose:

Washers and longer bolts I used:

Next you have to modify the bracket that bolts to the frame and to the bumper. You have to do this so it clears.
The Bracket and how I cut it:


With the bolts in and fitted up with the raised bracket. This was before I re-drilled the side brackets and that is why the bumper is sagging so bad.

Adding to this:
This is what my frame looks like in front to clear the raised bumper.


Here are the holes re-drilled on each side


Brackets how they were cut again and installed on the bumper


Frame touched up with Rust Check Stone Shield.... best stuff ever.


The spacers I used this last time


OEM bolts I used and body shims if you need them vs. using washers


Side brackets on and hardware

Side bolts


Sweet auto merge fail, will someone please make a post so that I can throw the rest of my pictures up.... thank you.
Last edited: