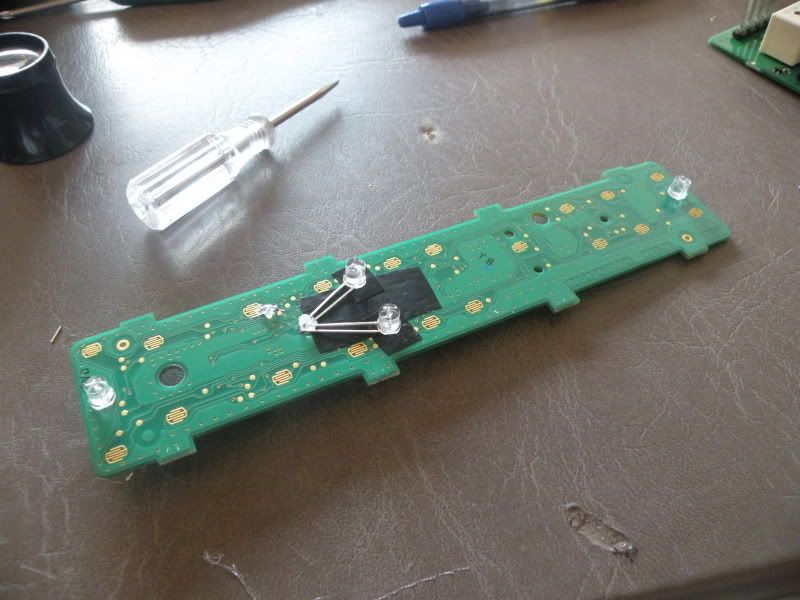
Door switches are fairly simple. I dont have any tear down pics but heres some of how i did the driver door:
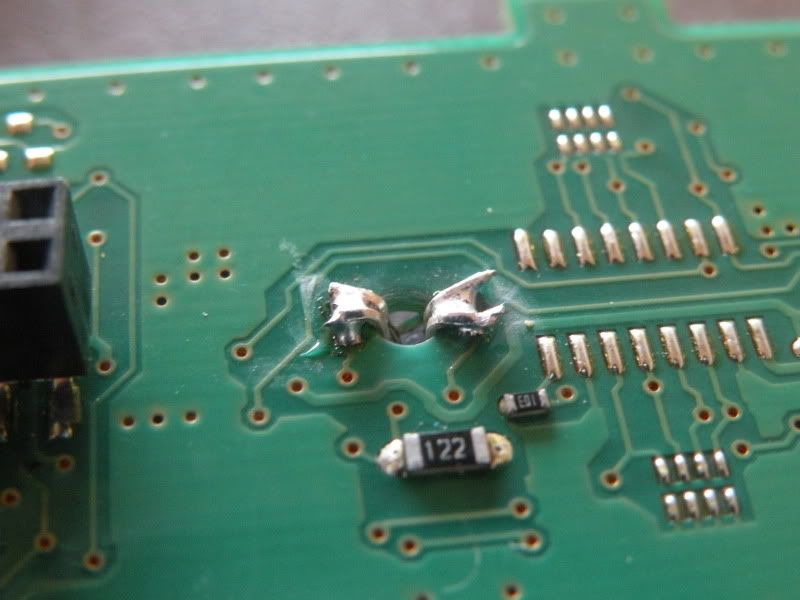
The factory switches have smd LED's soldered in place. Just touch the soldering iron to one side while using a small screwdriver to push against it to lift it up off the board, do the same for the other side and you'll have one of these guys:

All you have to do is solder a blue LED in its place! No resistors! The board has already got resistors soldered into the tracer lines since the factory LED's are a warm white color....and white uses the same voltage drop as blue so its just swapping diodes!
For the passenger side you can just cut the legs off your LED to the same length. Build up a small mound of solder on the board where you removed the other LED's, then solder you new LED in place. (BTW in case you dont want to mess with the orientation of your LED's, the factory resistors should be your positive side!
Heres how i did the driver side:


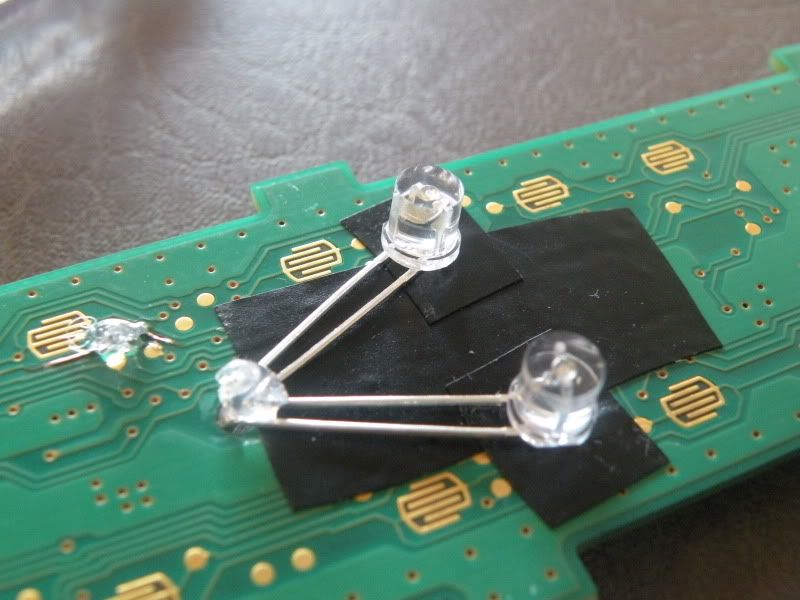
The driverside is a 2-piece. The main board on bottom, and the touch pad on top. For the driverside, the LED's actually mount underneath the top circuit board pointing up. So on this one, you'll need the LED leads long enough to curve under the existing holes, and solder from under the board. Replace the door LED, and the mirror select LED as normal, and for the window switches, you can do 1 per window switch since they're independent. Remember you're not re using the diffuser, so just take that out and toss it! And put a piece of electrical tape down where the leads of the LED are so they dont contact the board.
Heres how to orient the mirror select and door lock LED's for soldering:

And thats basically it! You can get creative on how you do your window switch LED's but this is how i do mine.
:shake:
You should a write up!
Sent from my SAMSUNG-SGH-I777 using Tapatalk

